Prep time for coreboot and distros.

Table of Contents
This is the biggest section of them all since it covers everything needed to install and compile:
- Coreboot (from scratch.)
- Libreboot
- Heads (Linuxboot)
Hardware #
On the hardware side, we’re going to need the following:
- The computer where you plan to install Coreboot/Libreboot/Heads (In my case, the Thinkpad X280 and T480, hopefully the family grows bigger in the near future)
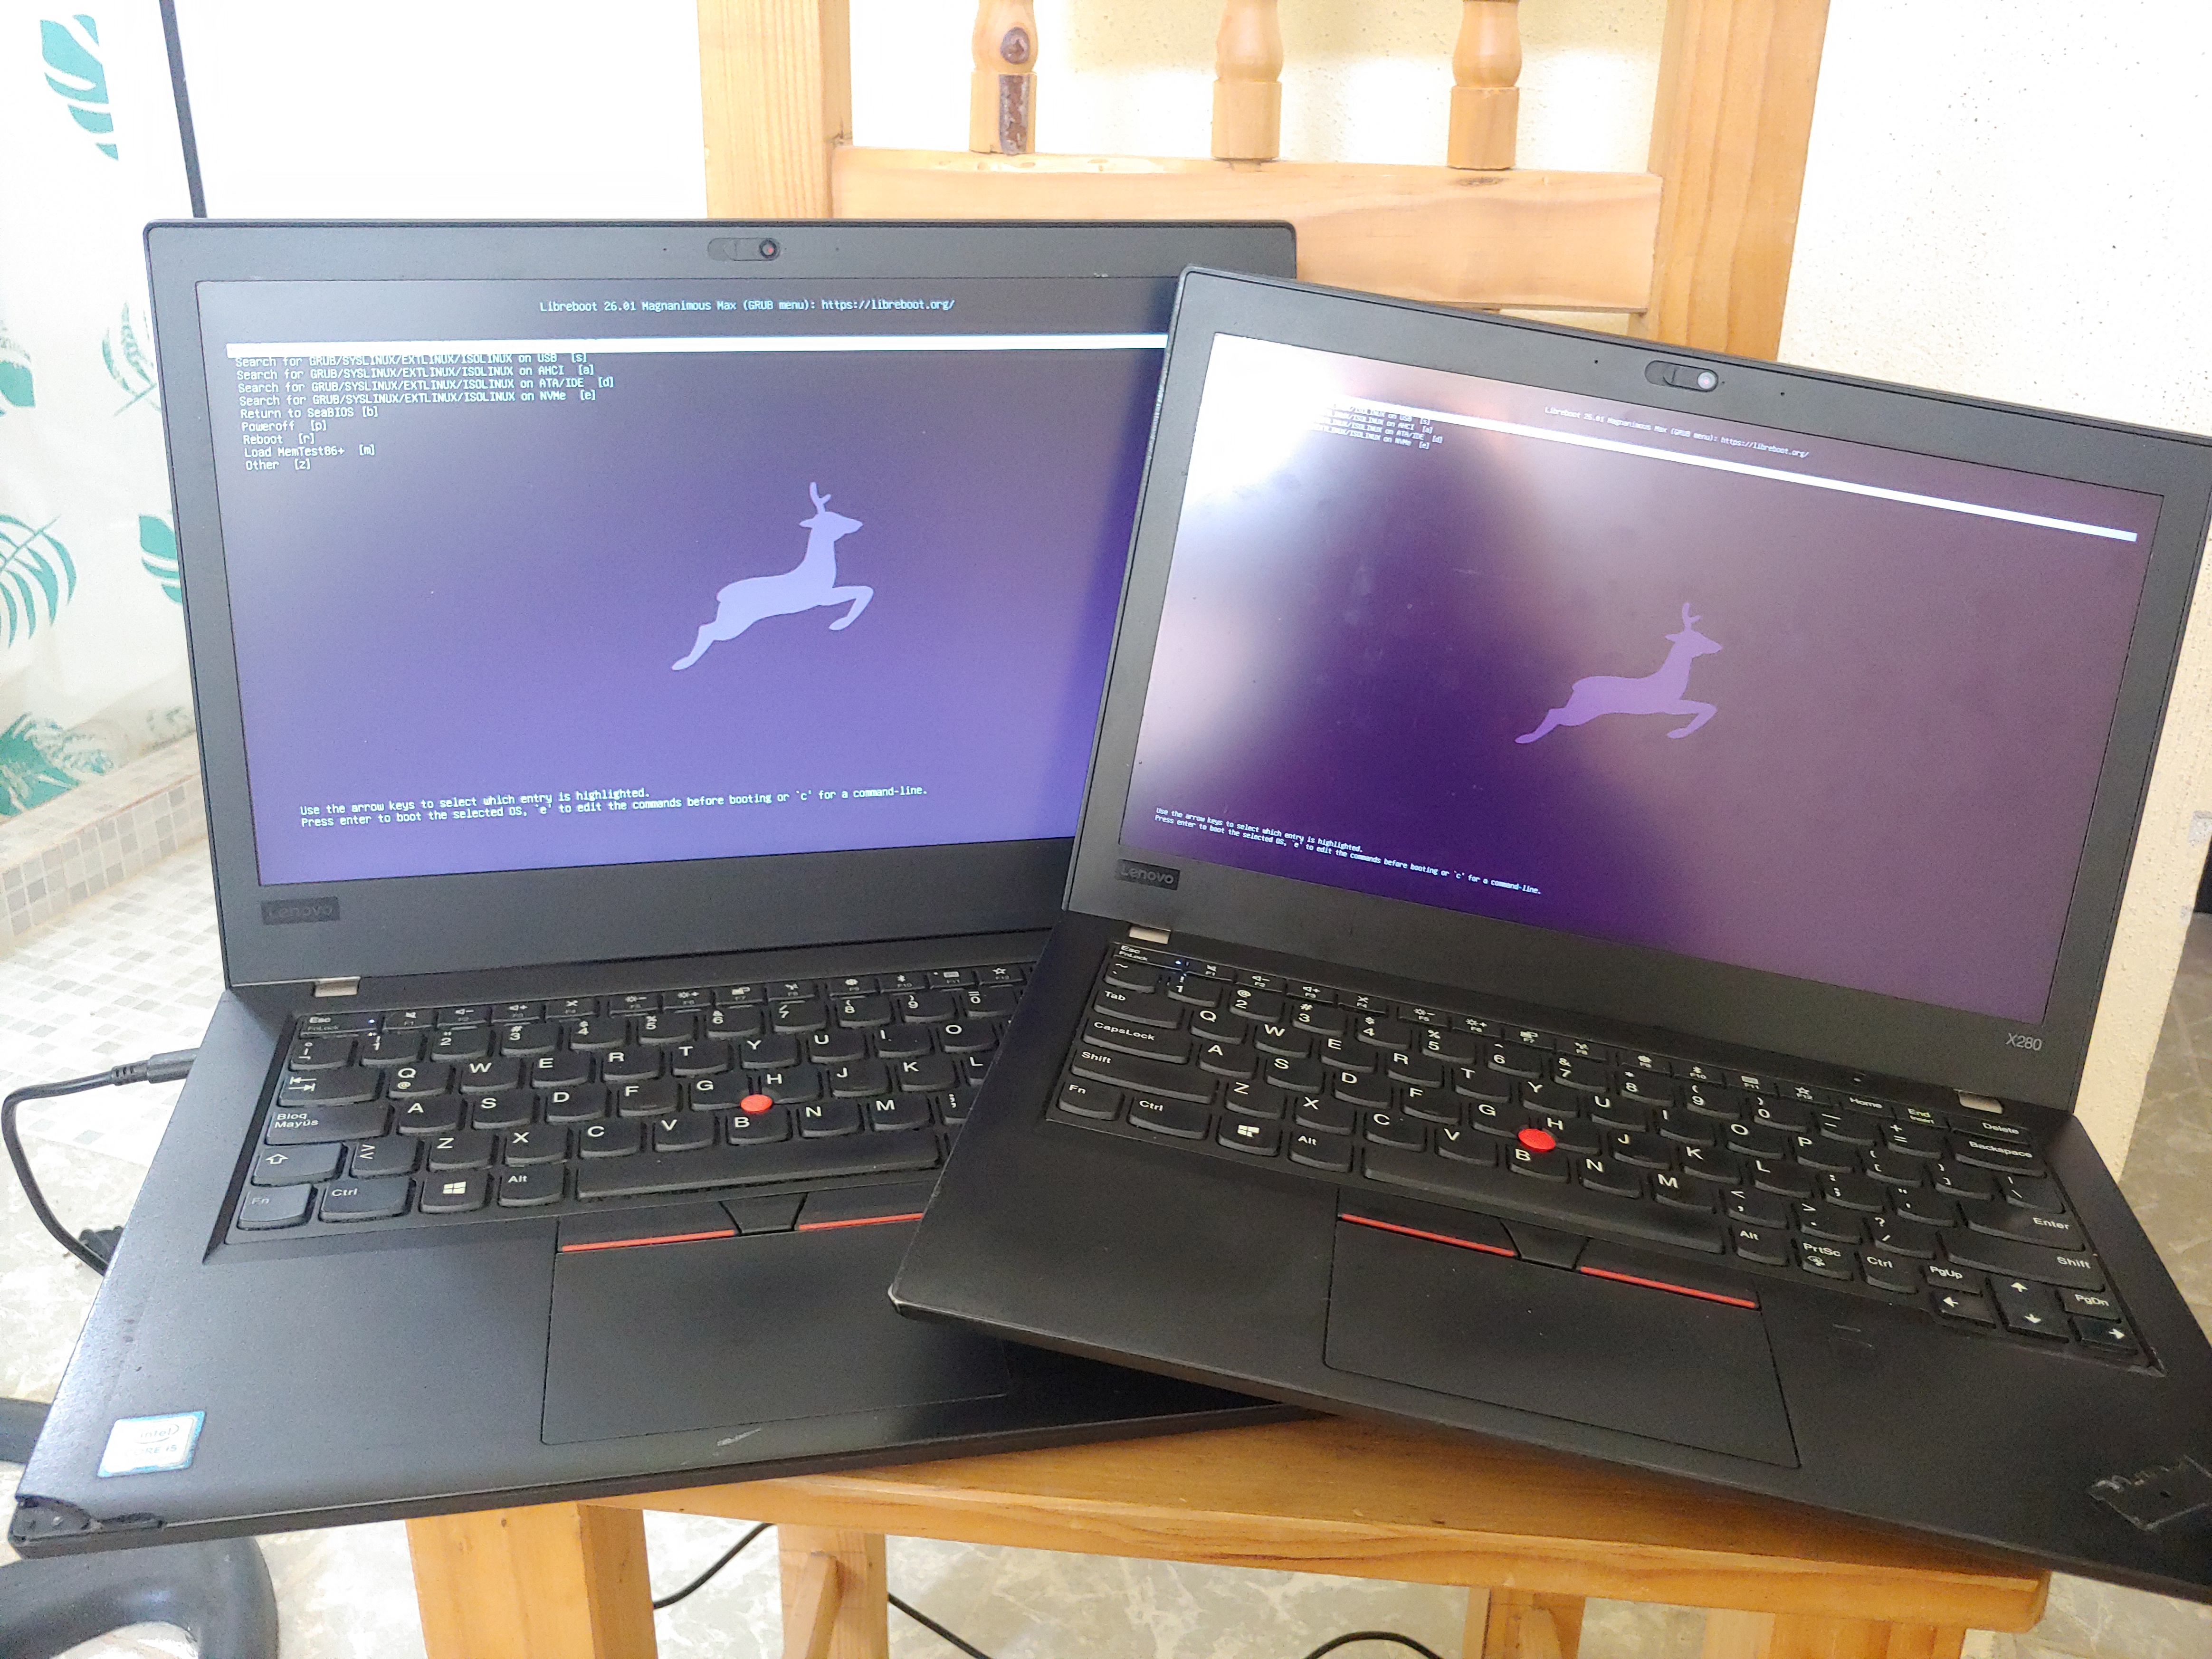
- Another Linux computer. And yes, it is completely necessary since we need to send commands to the Raspberry Pi Pico from somewhere. Distro doesn’t really matter, though a Debian, Fedora, or Arch base is recommended. In my case I ran tests with the following hardware: (alongside the Thinkpad X280 & T480. When I flashed one, I used the other for the software setup.)
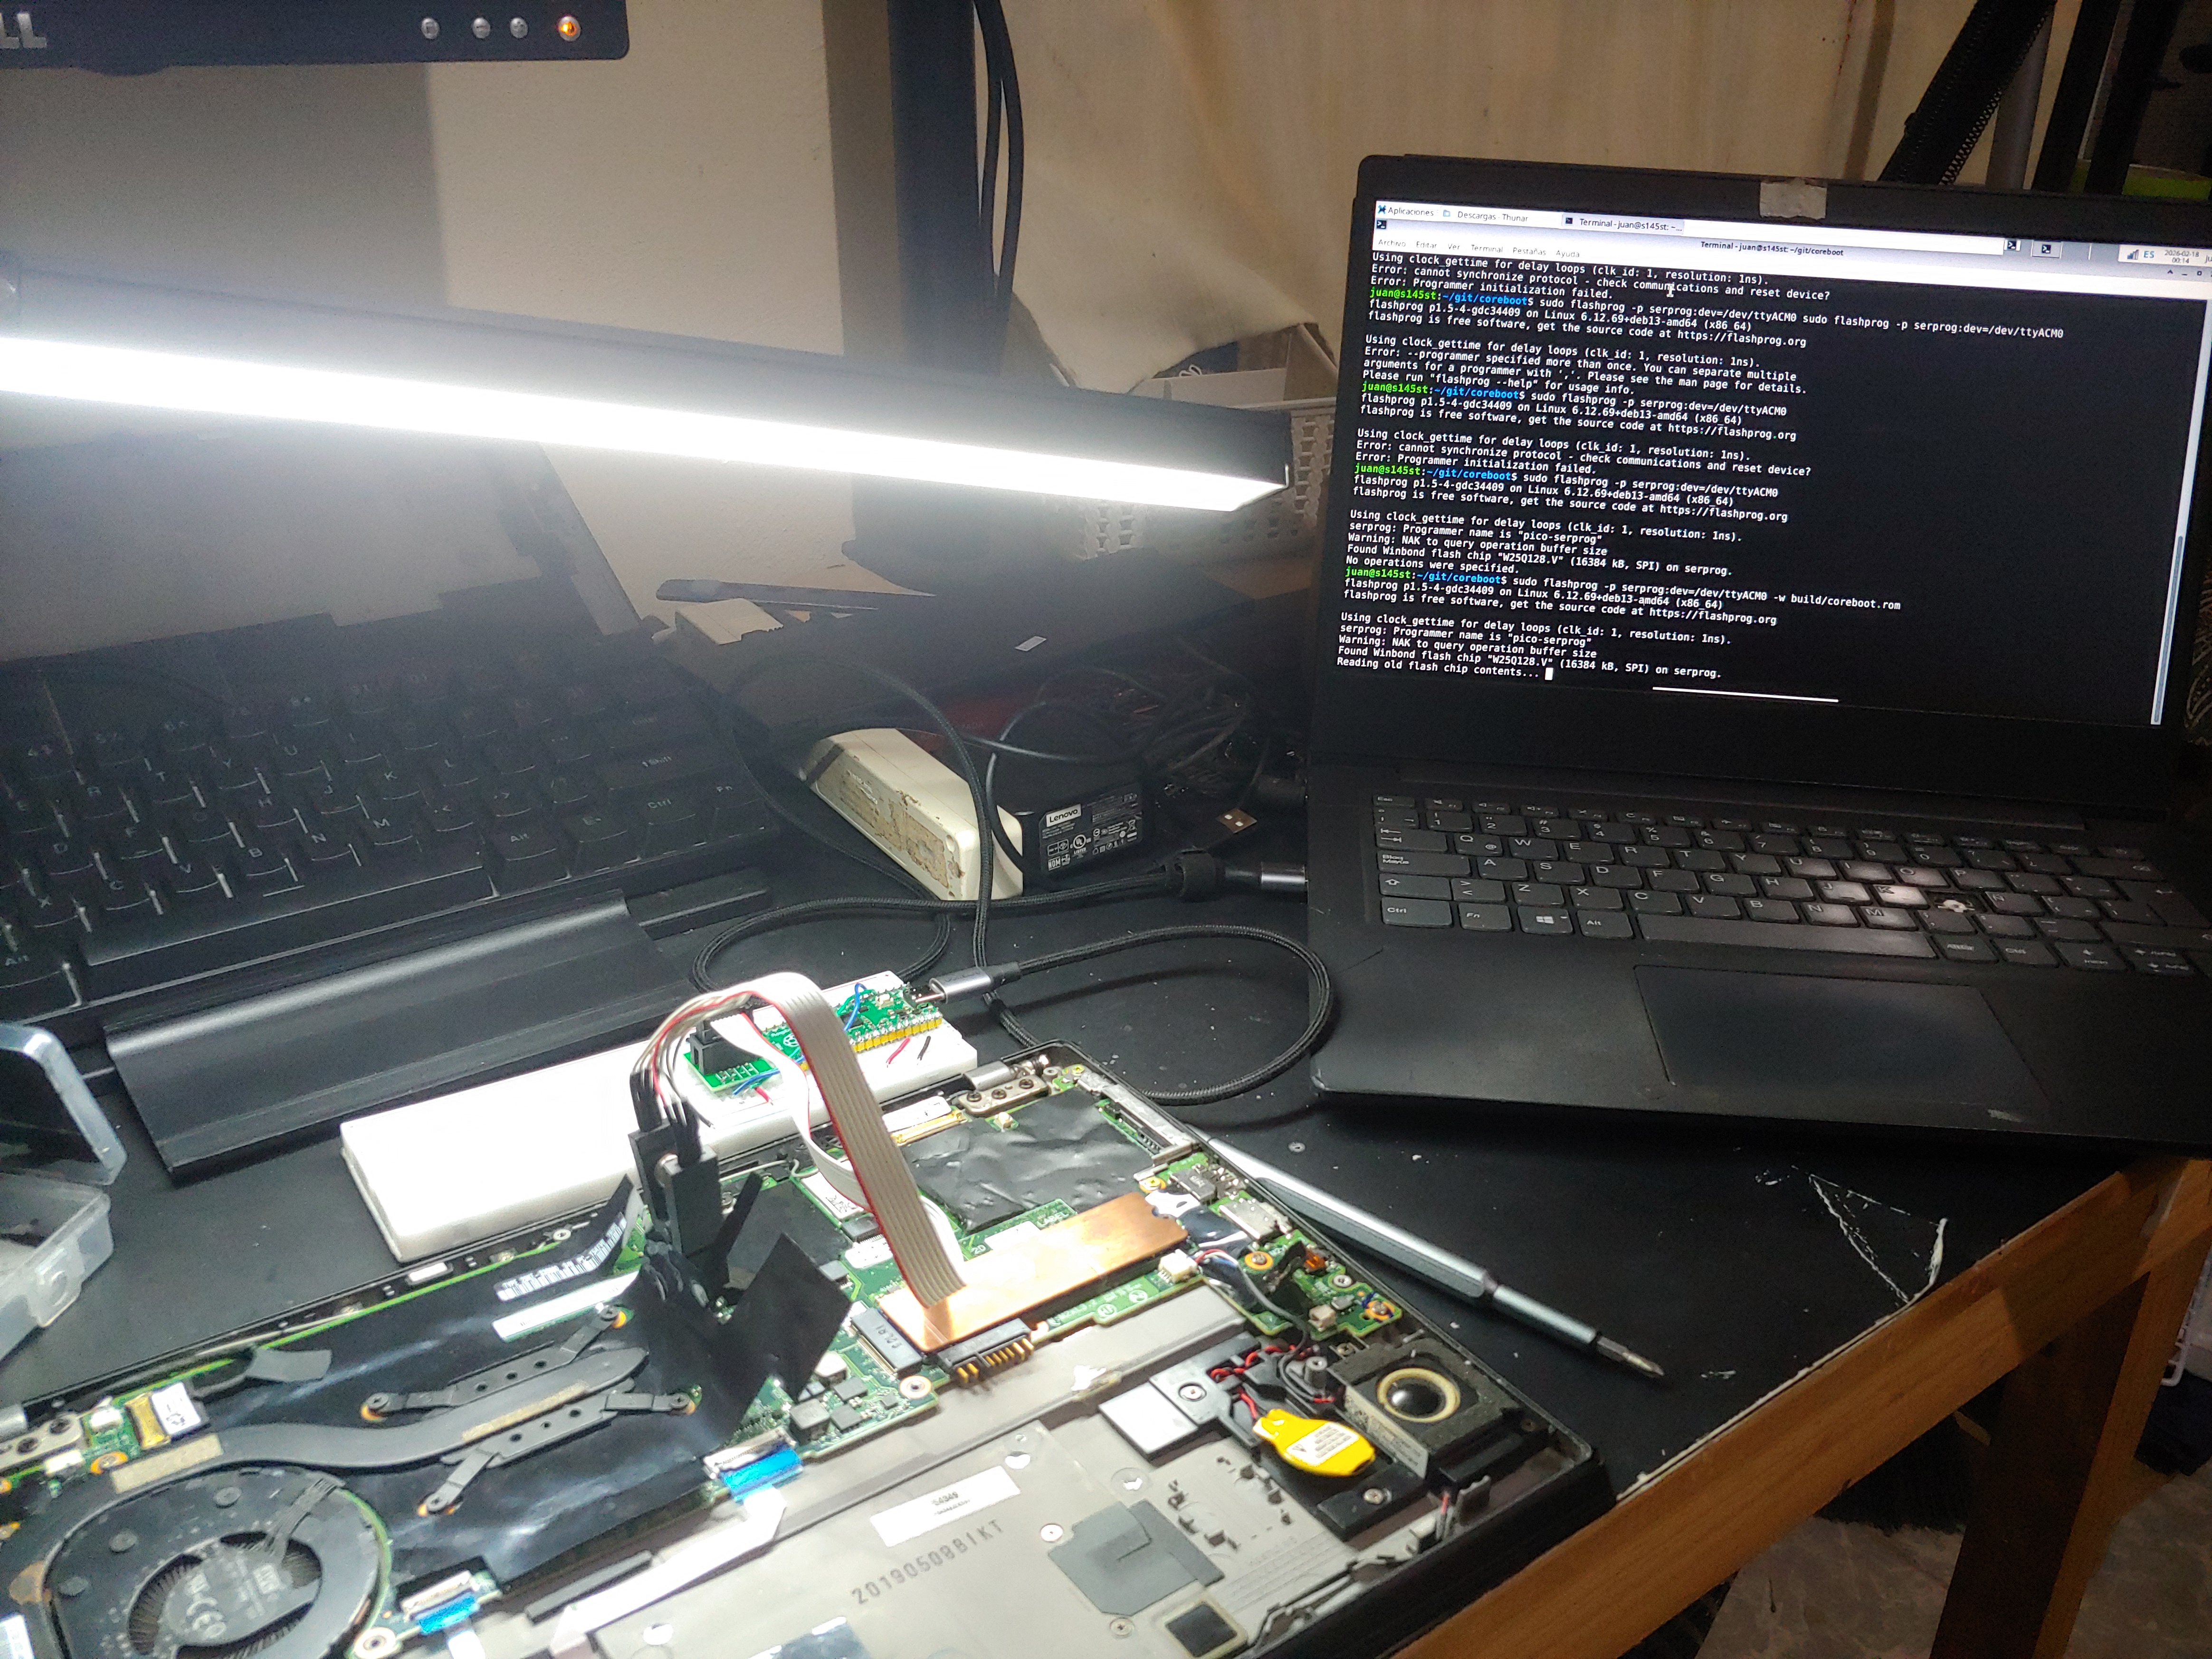
Ideapad S145-14AST with an AMD A9-9425 (and 4GB of RAM @ 2400MHz) running Debian 13 XFCE
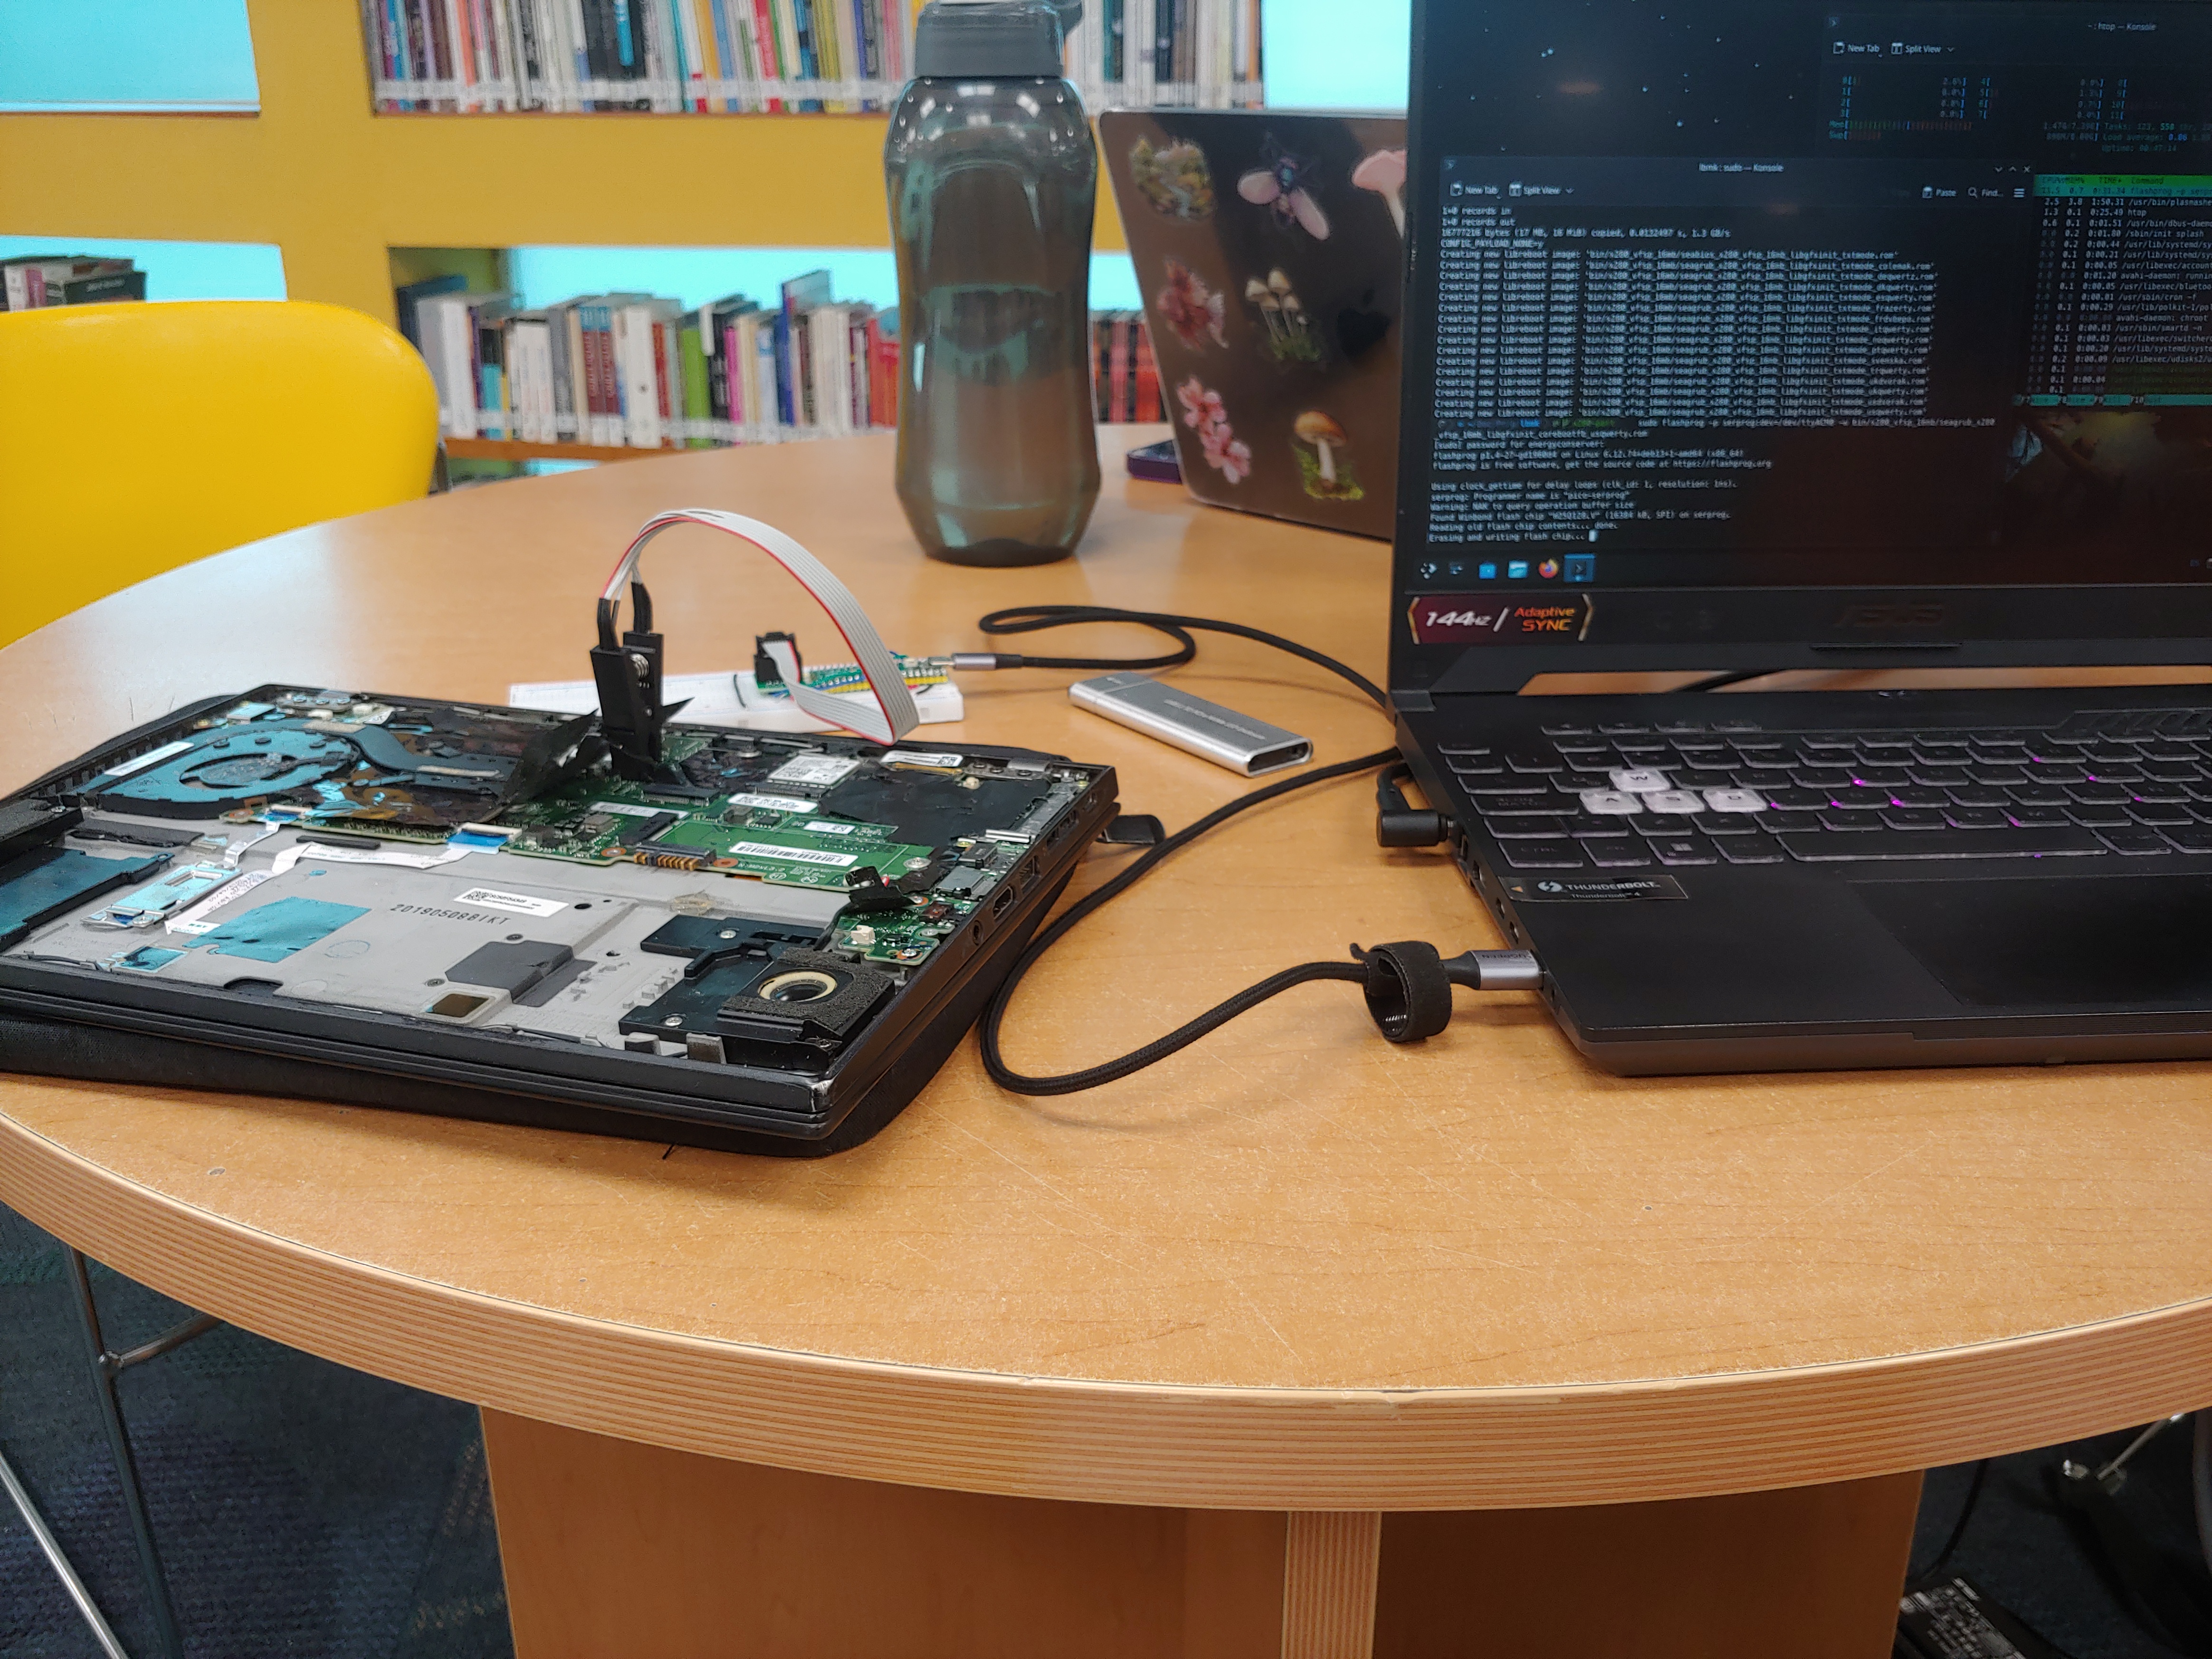
A friend’s ASUS gaming laptop running Debian 13 KDE.
- Raspberry Pi Pico. Depending on your Pico board, you might need to solder pins/wires.
I recommend getting the Raspberry Pi Pico H, which already has the header pins soldered on (or any other board with pre-soldered pins.)

- Phillips screwdriver, I don’t know the exact size, but if it let’s you open the computer, yeah, that one.
You can also do what I did and grab:
- Breadboard
- Dupont jumper wires
If I’m brutally honest, anything that makes solid contact with the bios chip will do the job. You could also use:
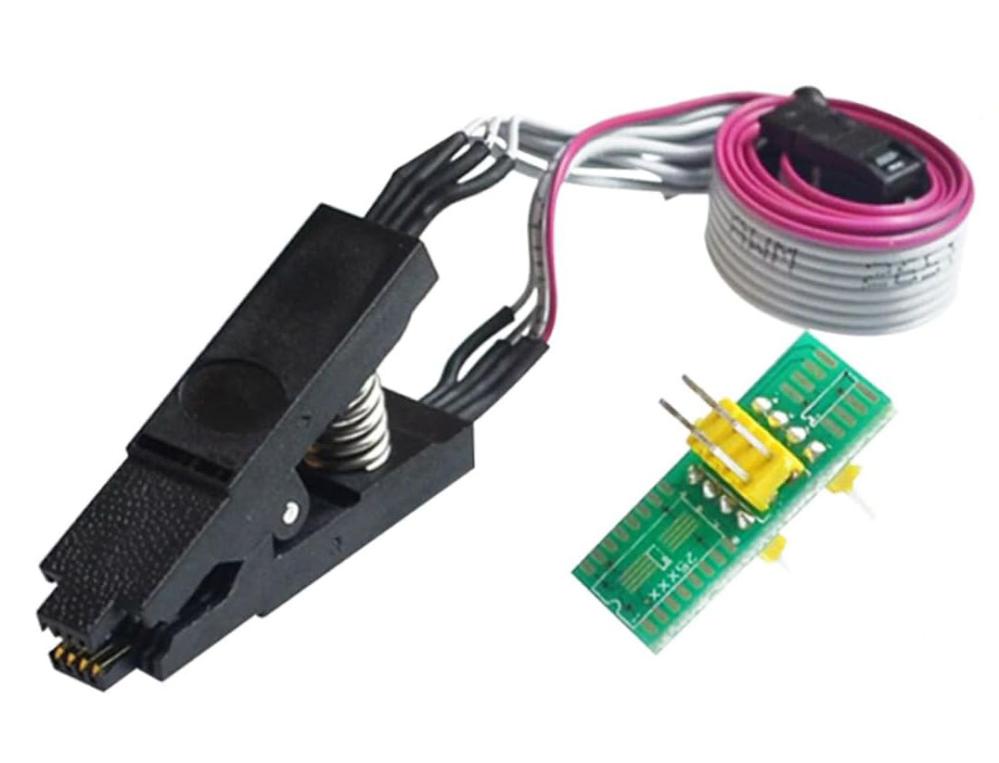
- SOIC 8 clip.
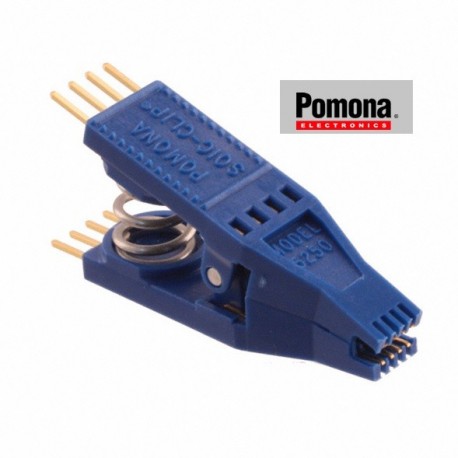
A SOP8 pogo pin probe.

Or, if you’re an absolute insane like me, you can solder dupont wires directly to the bios chip. (Which is what I ended up doing on my X280 because I can’t stand the SOIC 8 clip.)
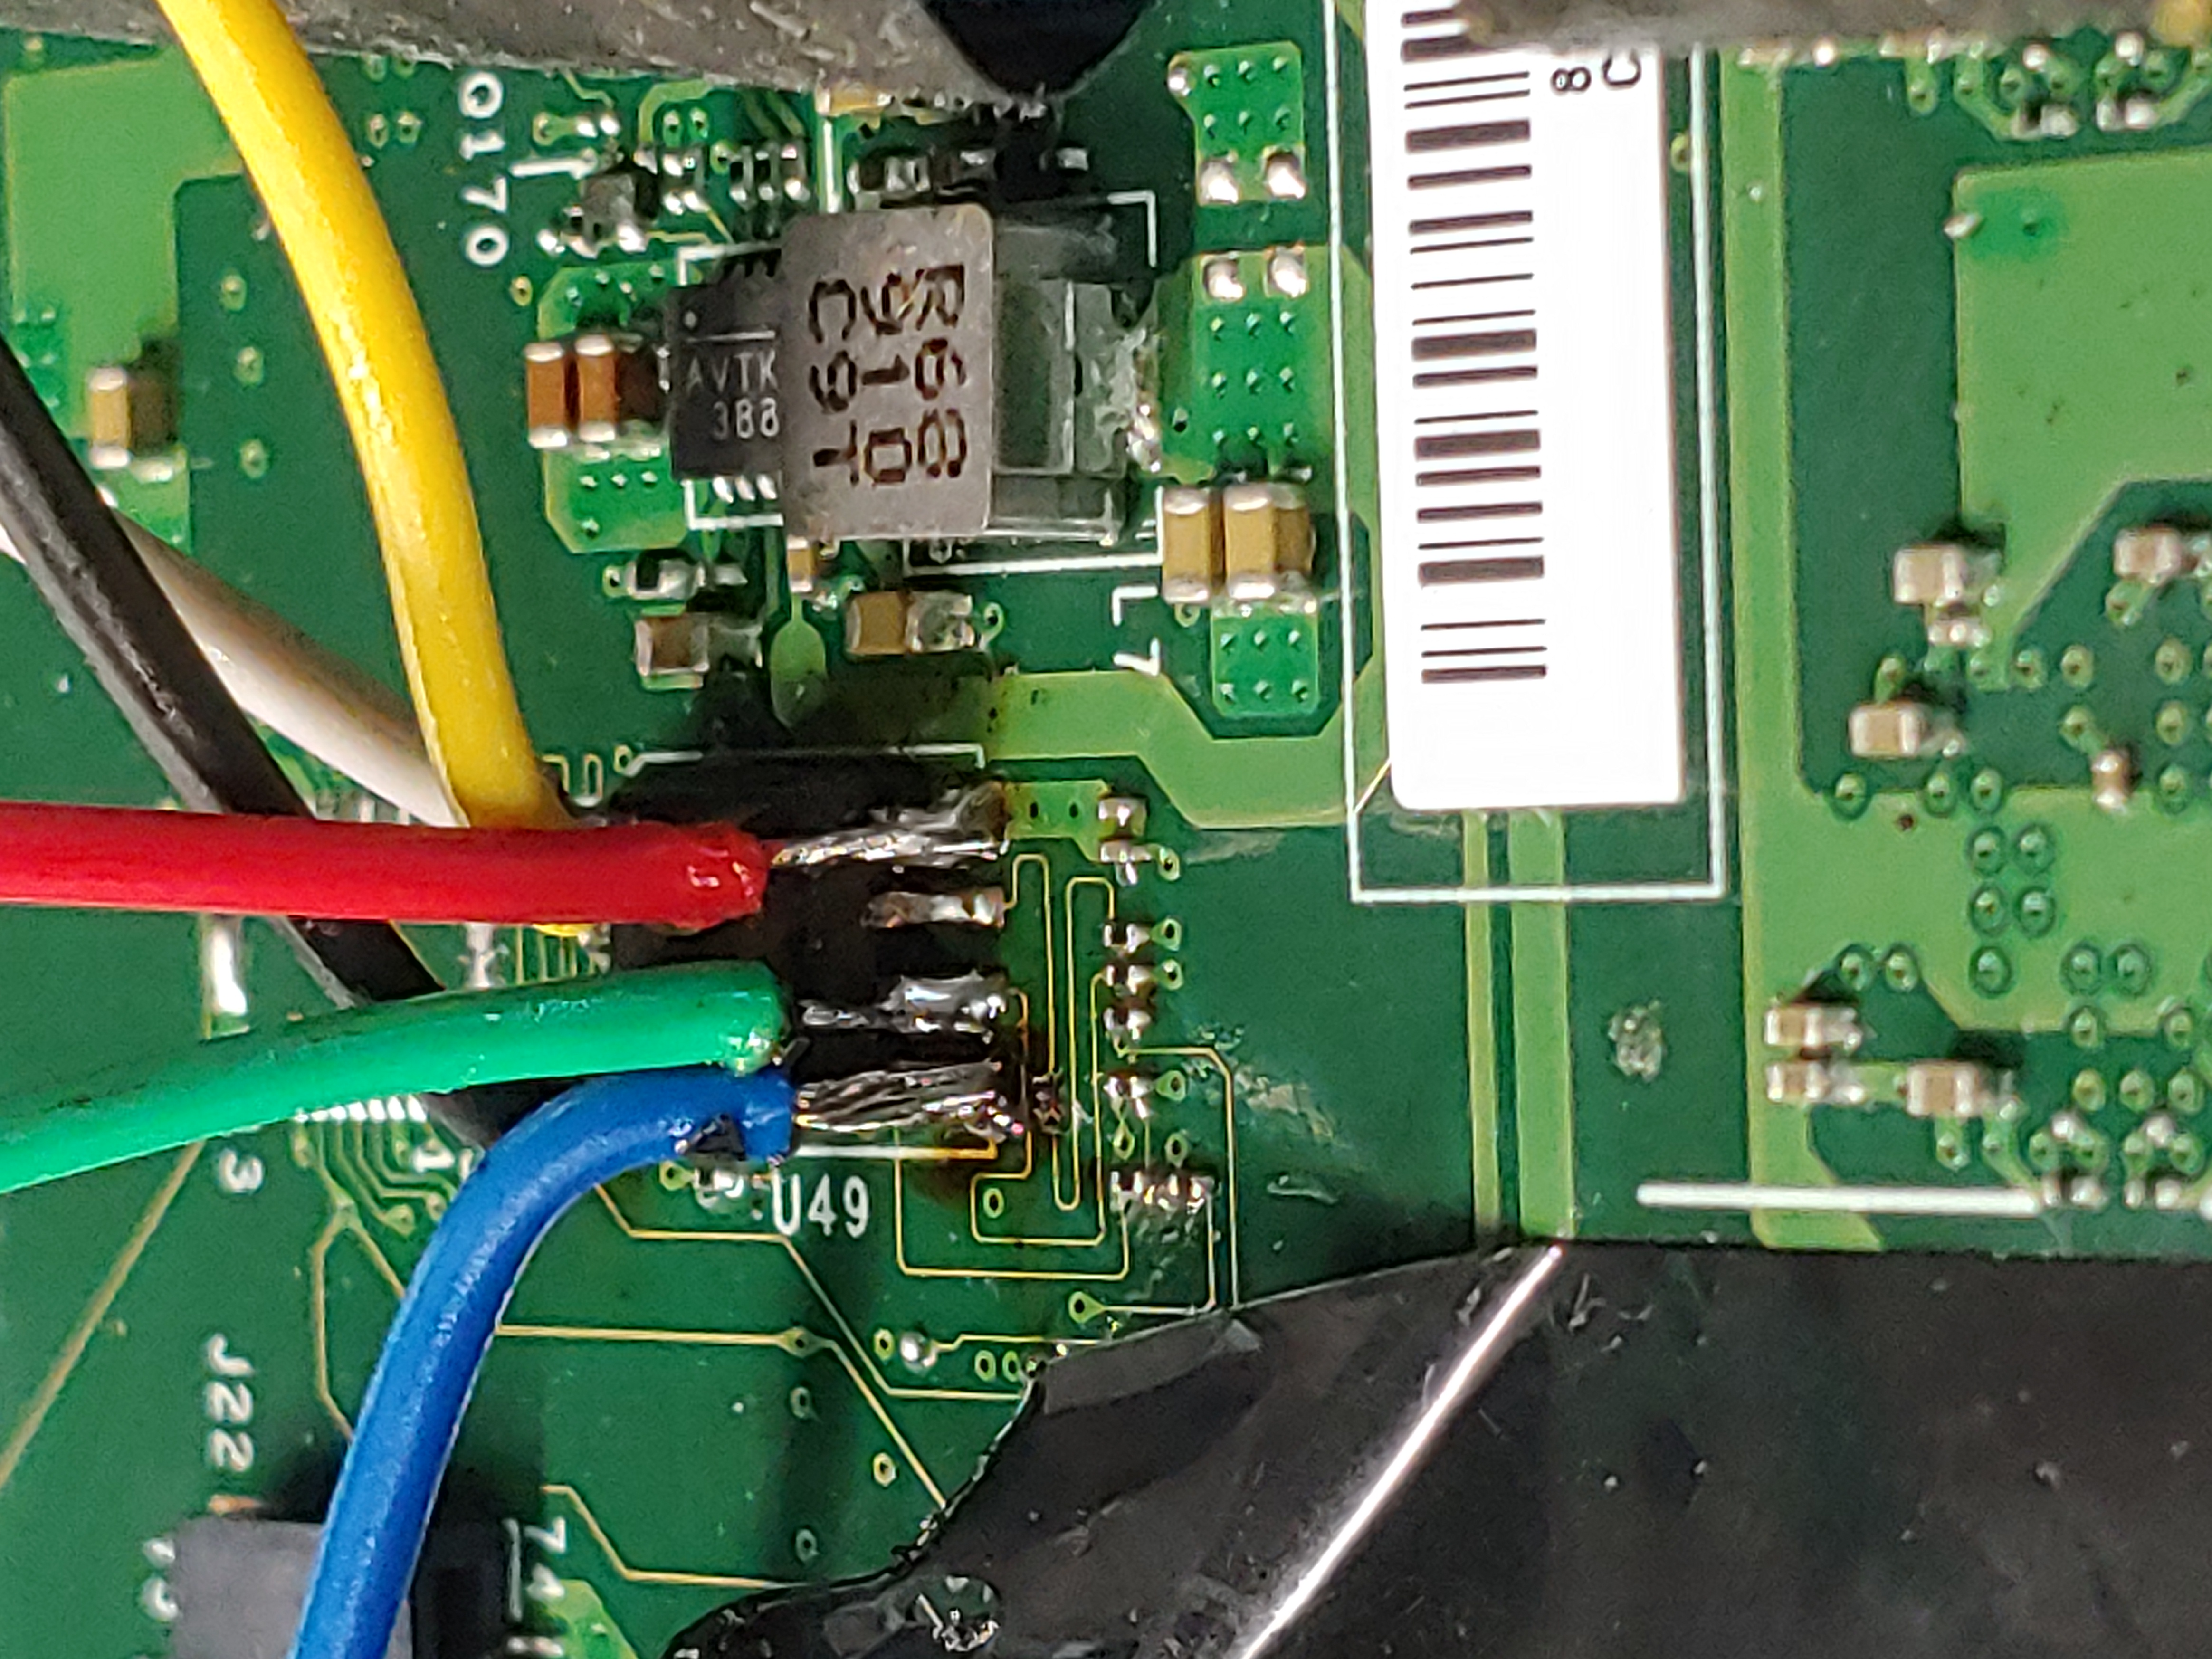
Or if you’re already desperate enough and need another entry in your top character development moments, you can hold the wires down directly with your hands, masking tape, and pure sheer willpower.
(A friend’s nephew’s cousin’s kid told me it works, and I totally trust that guy.)
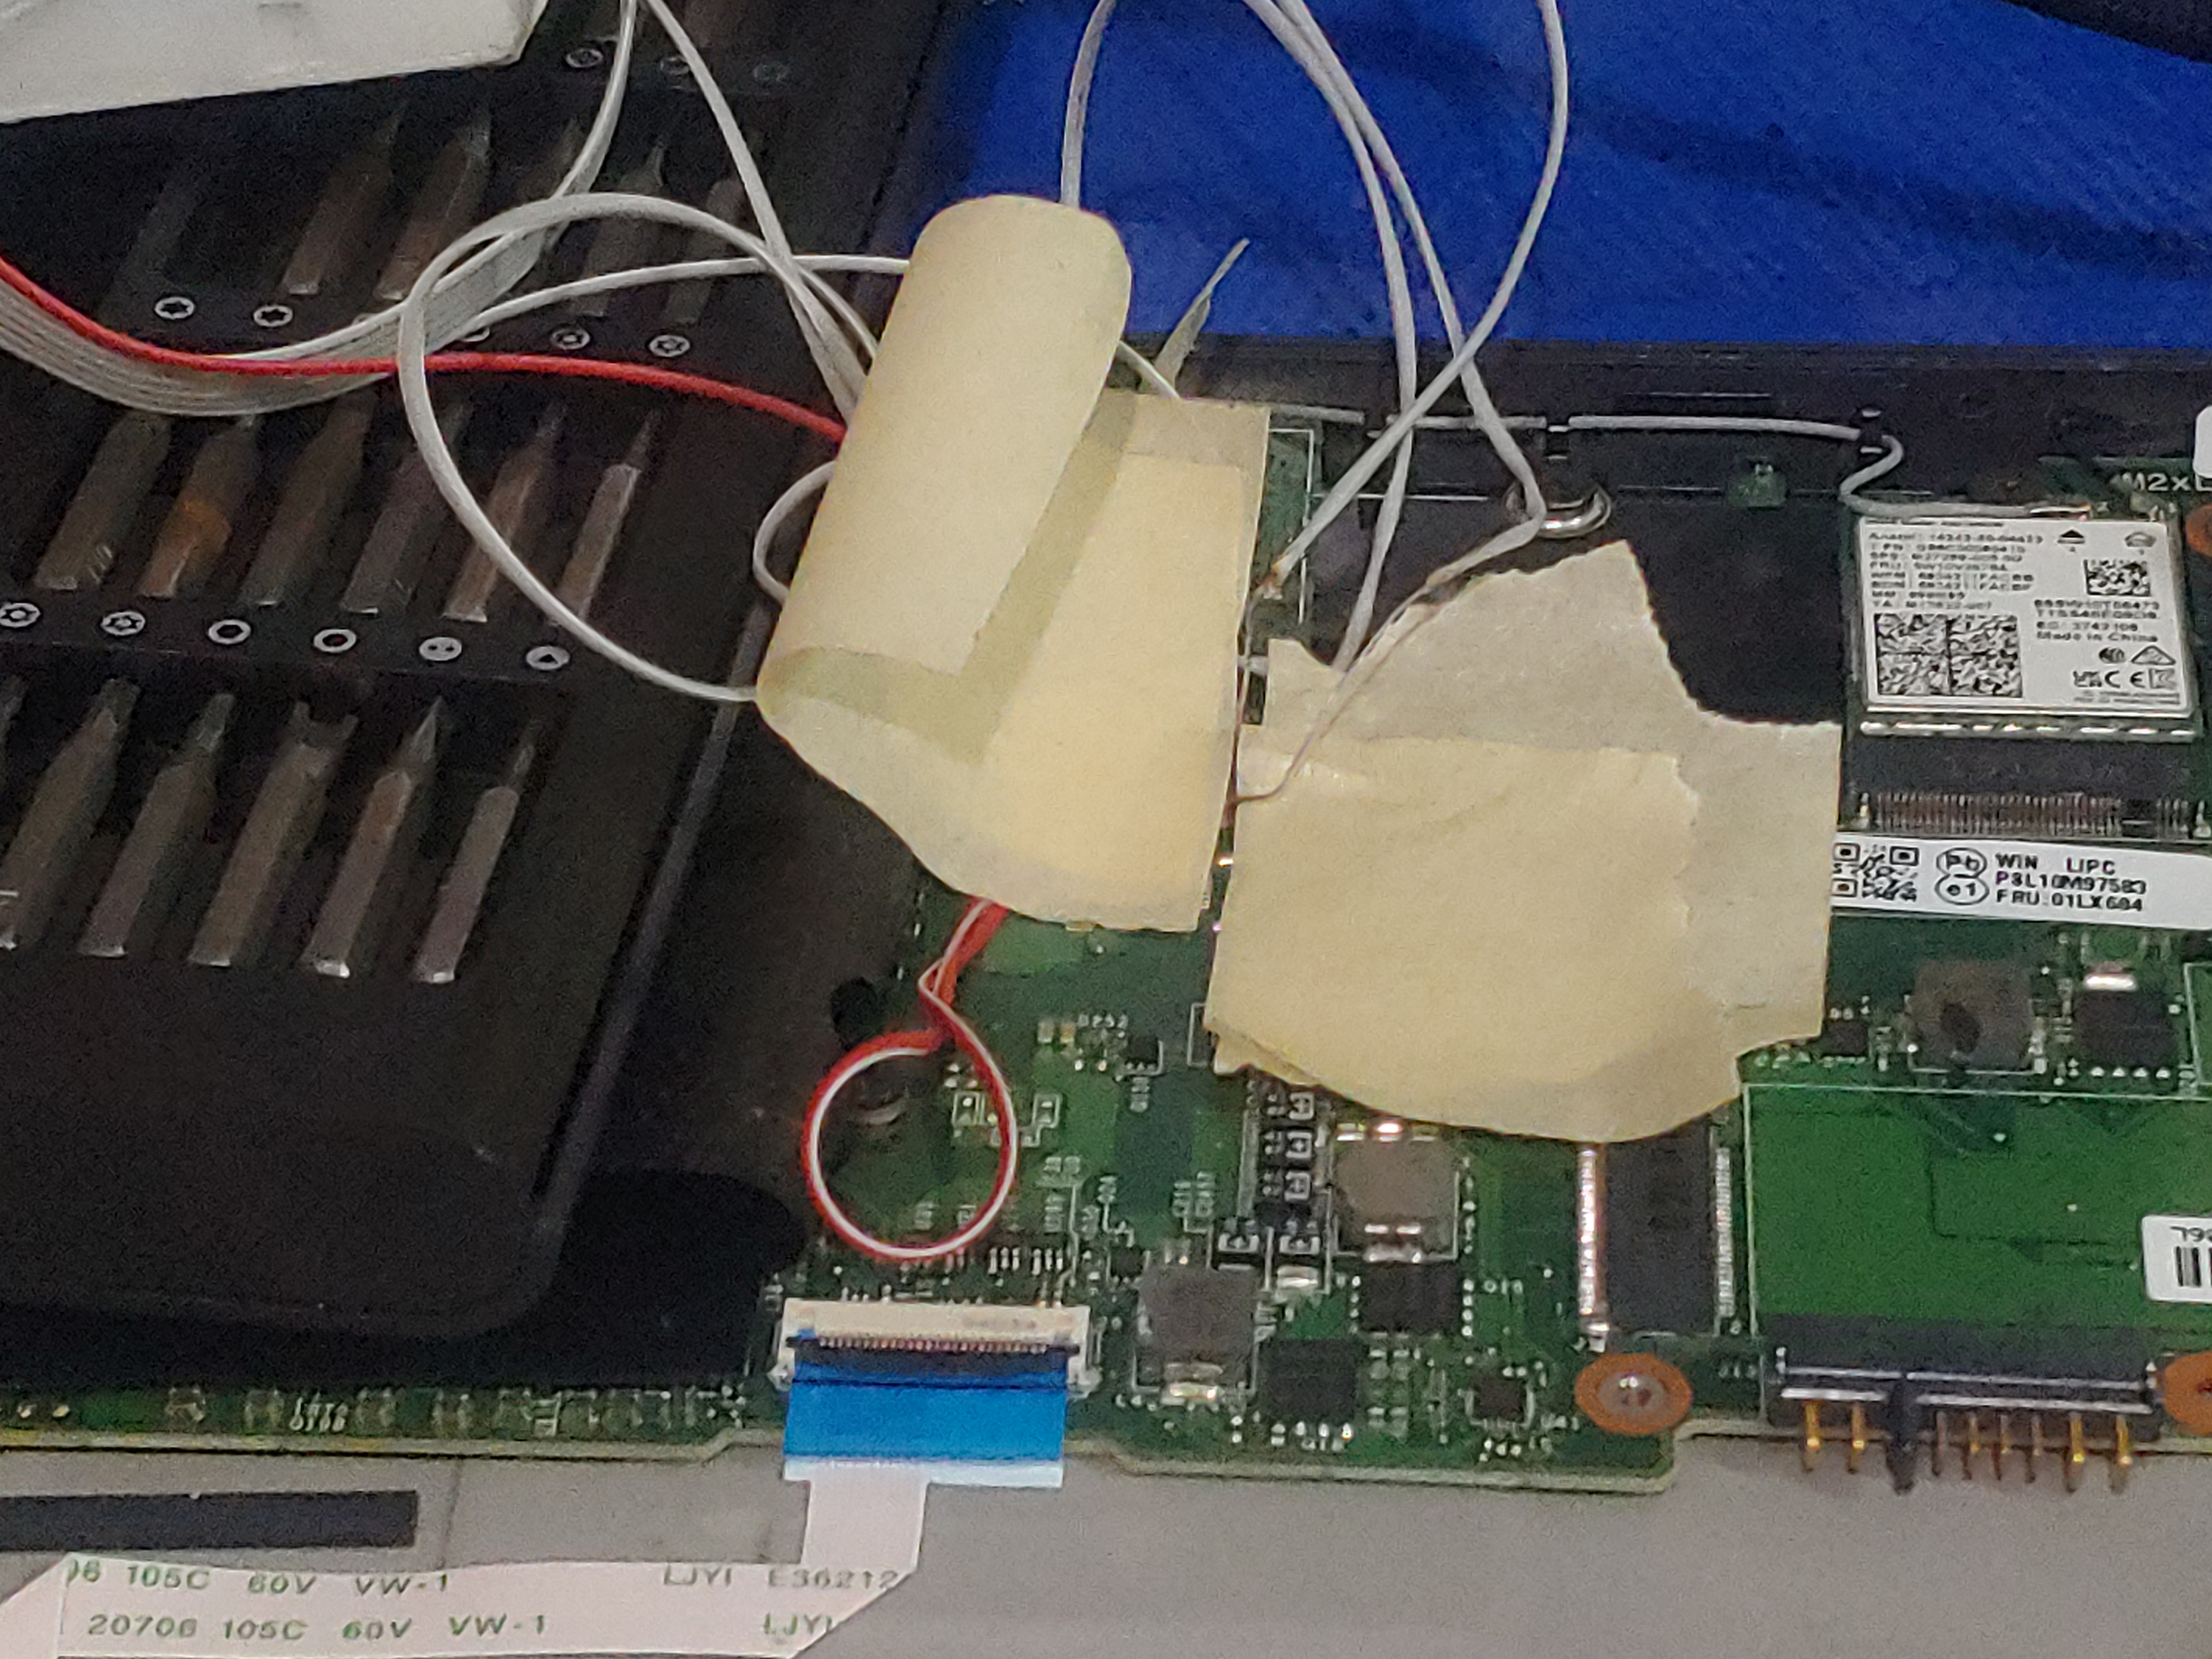
The point is, like I said, the wires just have to make contact with the right pin. The method doesn’t really matter.
Circuit and wiring. #
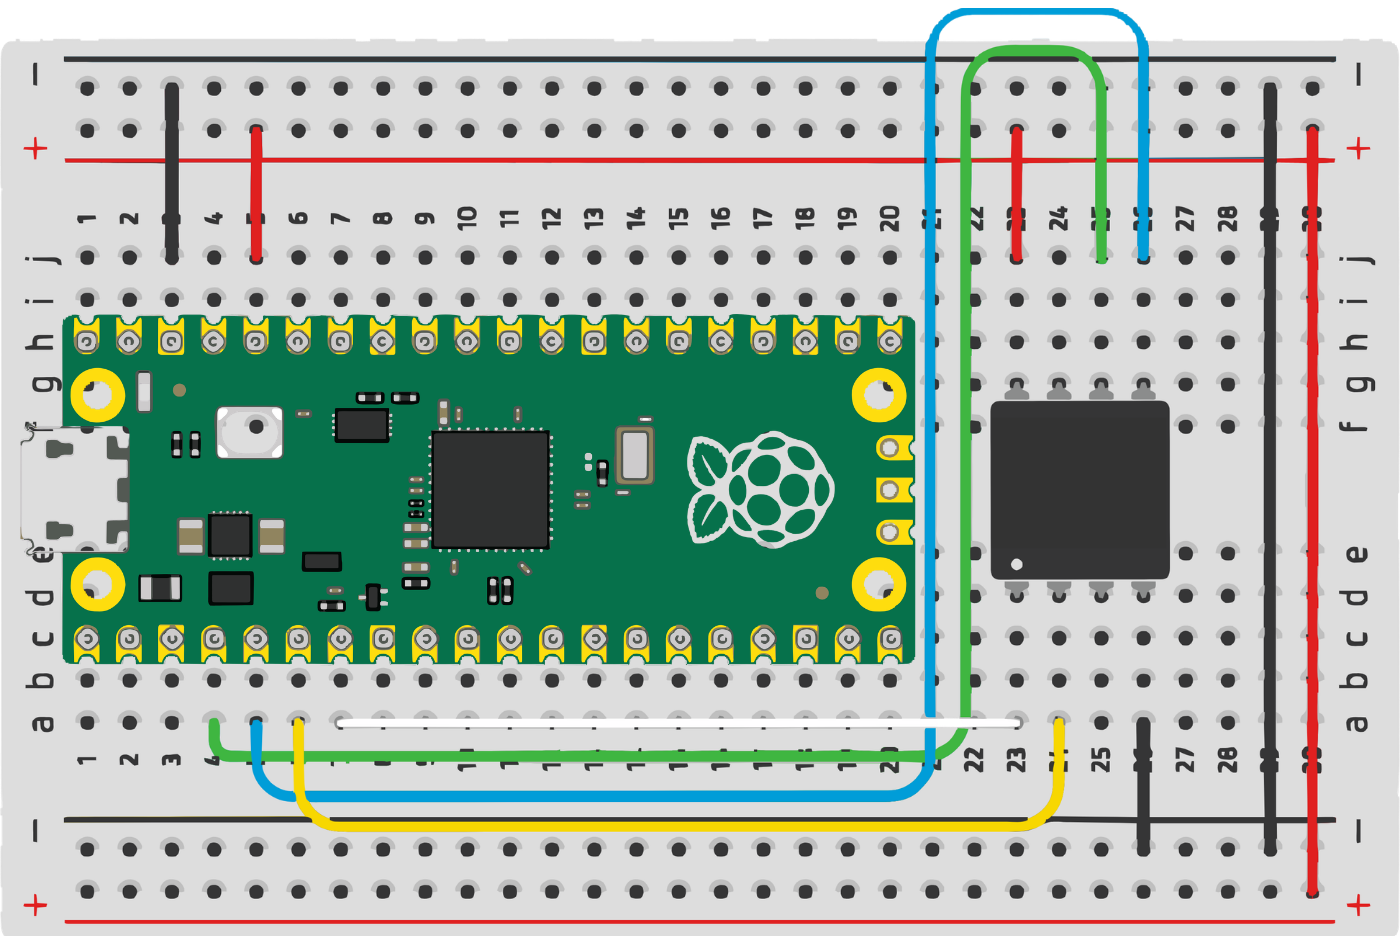
To wire the Raspberry Pi Pico to the clip, we follow the pinout from the official Libreboot documentation
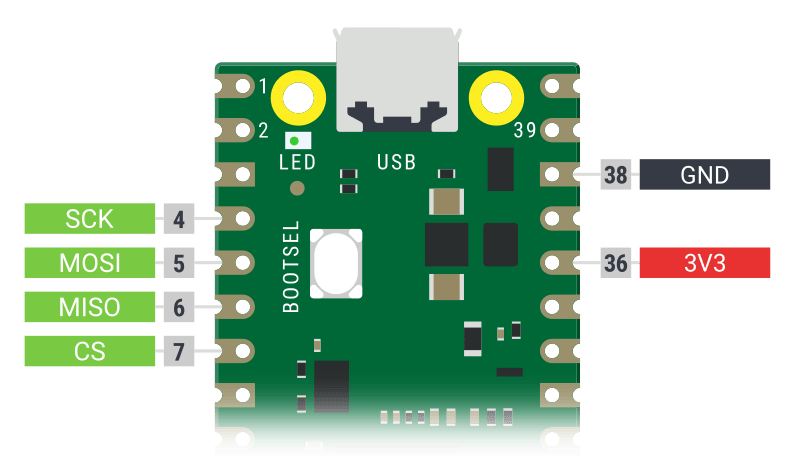
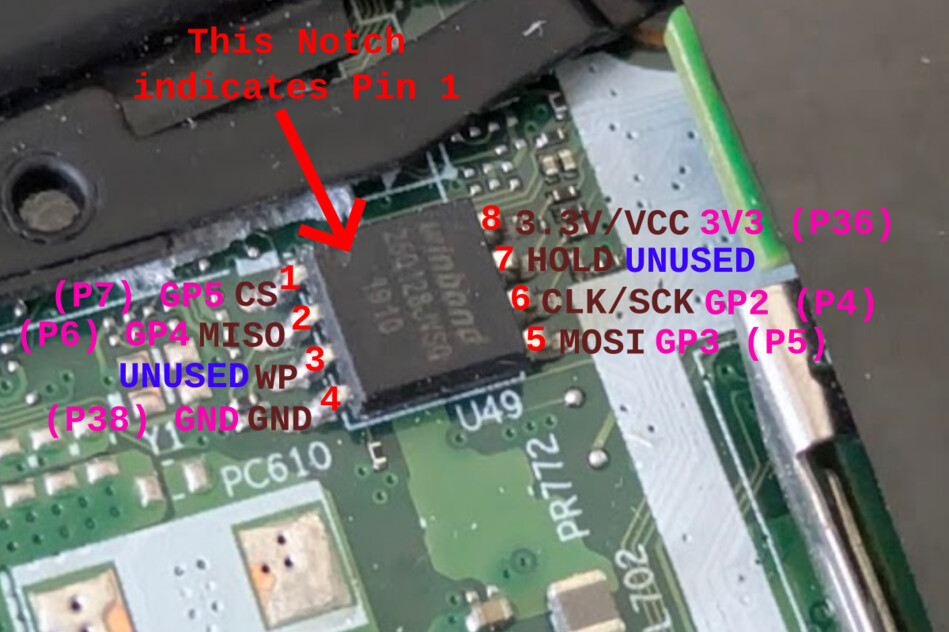
Personally, I found their diagram a bit confusing to read, so I made this one for you because I love you too much:
Another thing to note: instead of wiring directly to the bios chip on the board, you can use the clip on an external socket/adapter board, which is what I did for the T480:
Software setup on the other Linux machine. #
In theory we could fetch and build every piece individually and get the same result, but thanks to the Libreboot make script (lbmk), all these steps become way simpler. (Even if you don’t plan to flash Libreboot, you can just delete the directory when you’re done.)
Clone the LBMK repo. #
git clone https://codeberg.org/libreboot/lbmk
cd lbmk
Required environment variables. #
We also need to define an environment variable for the thread count used during compilation. The official documentation says:
export XBMK_THREADS=2
That depends entirely on how many CPU cores/threads your machine actually has. To save yourself headaches and squeeze out all performance while compiling, just run:
export XBMK_THREADS=$(nproc --all)
What the command above does is set XBMK_THREADS to the output of nproc –all, which simply returns an integer with the total available threads on your machine.
The Libreboot documentation mentions you need to run:
git config --global user.name "John Doe"
git config --global user.email [email protected]
This can be a hassle if you’re using your main development machine where you already have your own git username and email set up. You can try skipping it. In my tests, whether using the dummy variables or my real git config, the resulting image was identical (verified via sha256sum and diff). Still, sticking to the official guide is a good practice. Another clean option is building inside a secondary machine, LXC container, Docker container, VM, or a chroot environment (which is what I did). Since that’s more advanced, I’ll leave that choice up to you (And maybe for another post, who knows.
Installing dependencies. #
Obviously, otherwise how are we going to build anything. Keep in mind there is only out-of-the-box support for these base distros:
- Debian.
- Fedora.
- Arch Linux.
(Along with all their derivatives, of course.)
I know I sound like a broken record by now, but always check the official docs (this guide is meant as a walkthrough). That being said, we have the following commands:
#./mk dependencies ubuntu #if you use ubuntu
#./mk dependencies fedora43 #for the newest fedora version at the time of writing
#./mk dependencies arch # for arch and derivatives.
./mk dependencies debian --reinstall
Installing Flashprog #
In the best case scenario we could just do:
sudo apt install flashprog
Currently the package isn’t available in the Debian 13 repositories…
But if your using Arch Linux you can just run:
sudo pacman -S flashprog
and you’re good.
Run:
flashprog
In your terminal, instead of getting a command not found error, you’ll see something like this: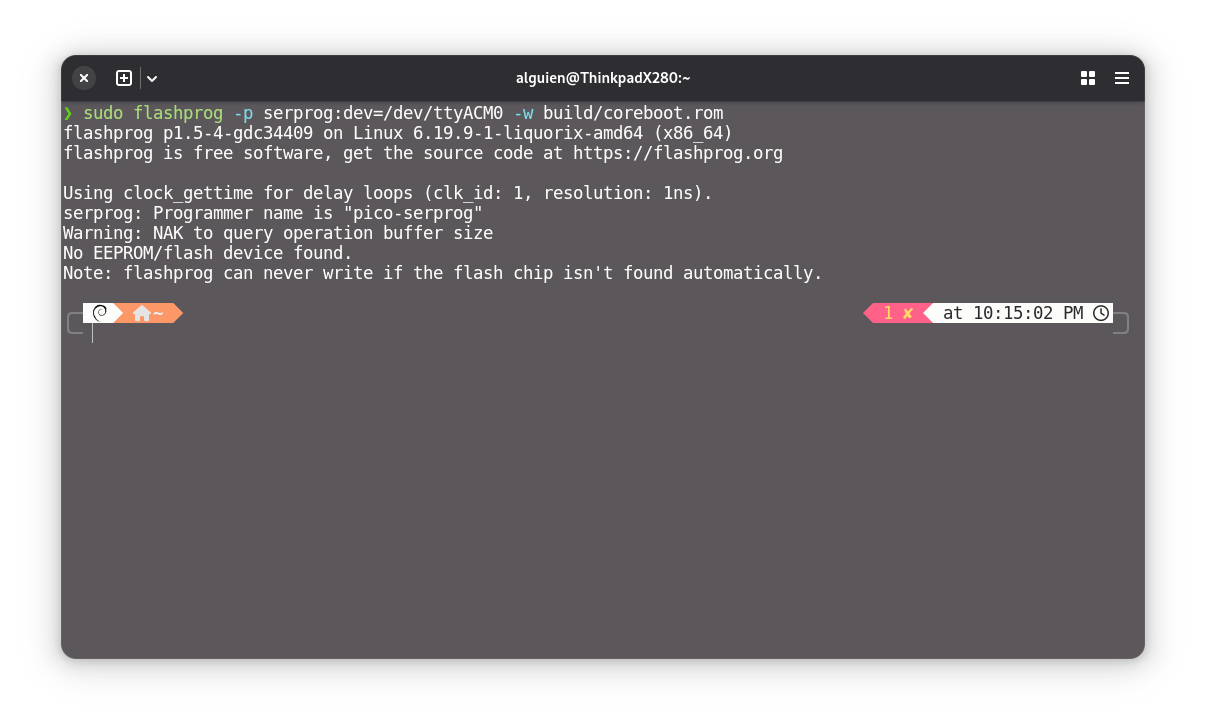
If your distro doesn’t have the package in its repos, follow these steps. Otherwise feel free to skip ahead.
Inside the lbmk directory, run:
./mk -b flashprog
cd src/flashprog
sudo make install
cd -
Breakdown of the commands. #
Here is a breakdown of what each command does (so you don’t think I just hacked your system XD.)
This command invokes the lbmk script to fetch the source code and build flashprog:
./mk -b flashprog
This drops us into the flashprog source directory:
cd src/flashprog
Installs it system-wide so we can run flashprog from anywhere:
sudo make install
Finally, we return to the root lbmk directory:
cd -
Raspberry Pi Pico setup #
Looking through other guides, I noticed people tend to overcomplicate this part. It doesn’t need to be that way when we can just head over to:
Pico serprog source code on GitHub
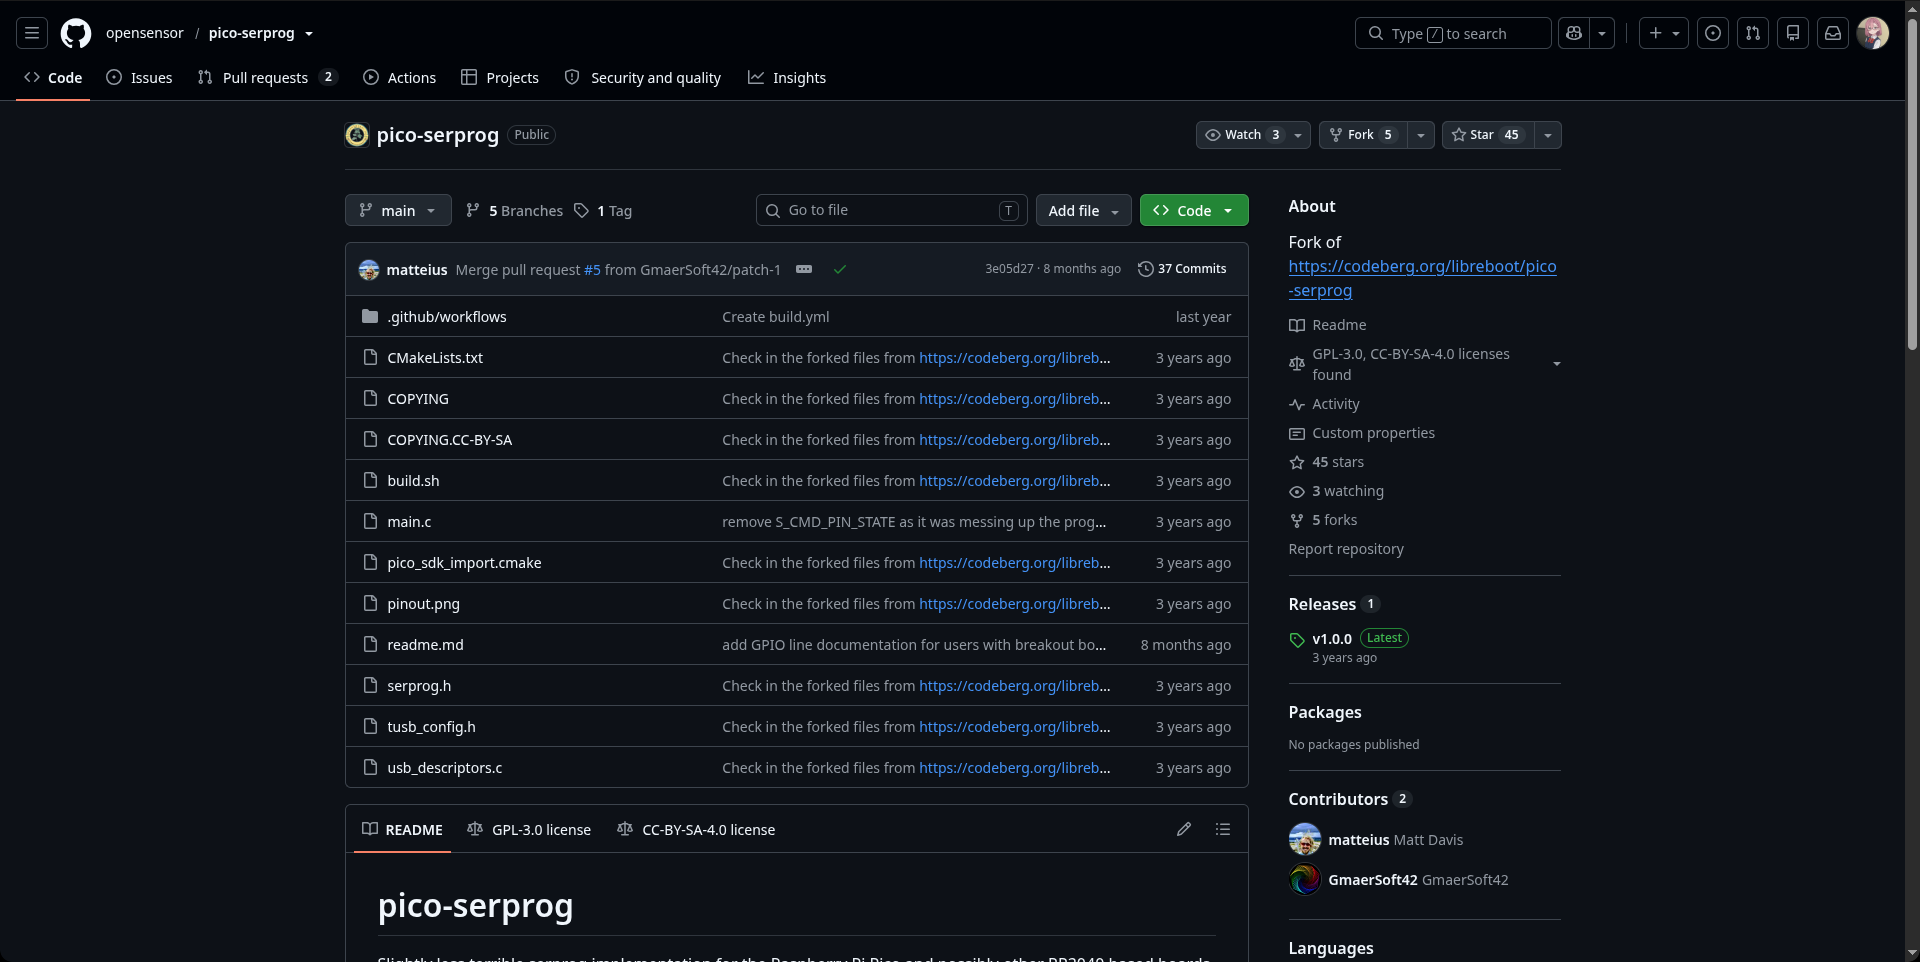
Go to the releases tab and download the file: pico_serprog.elf

Now plug your Raspberry Pi Pico into the computer:
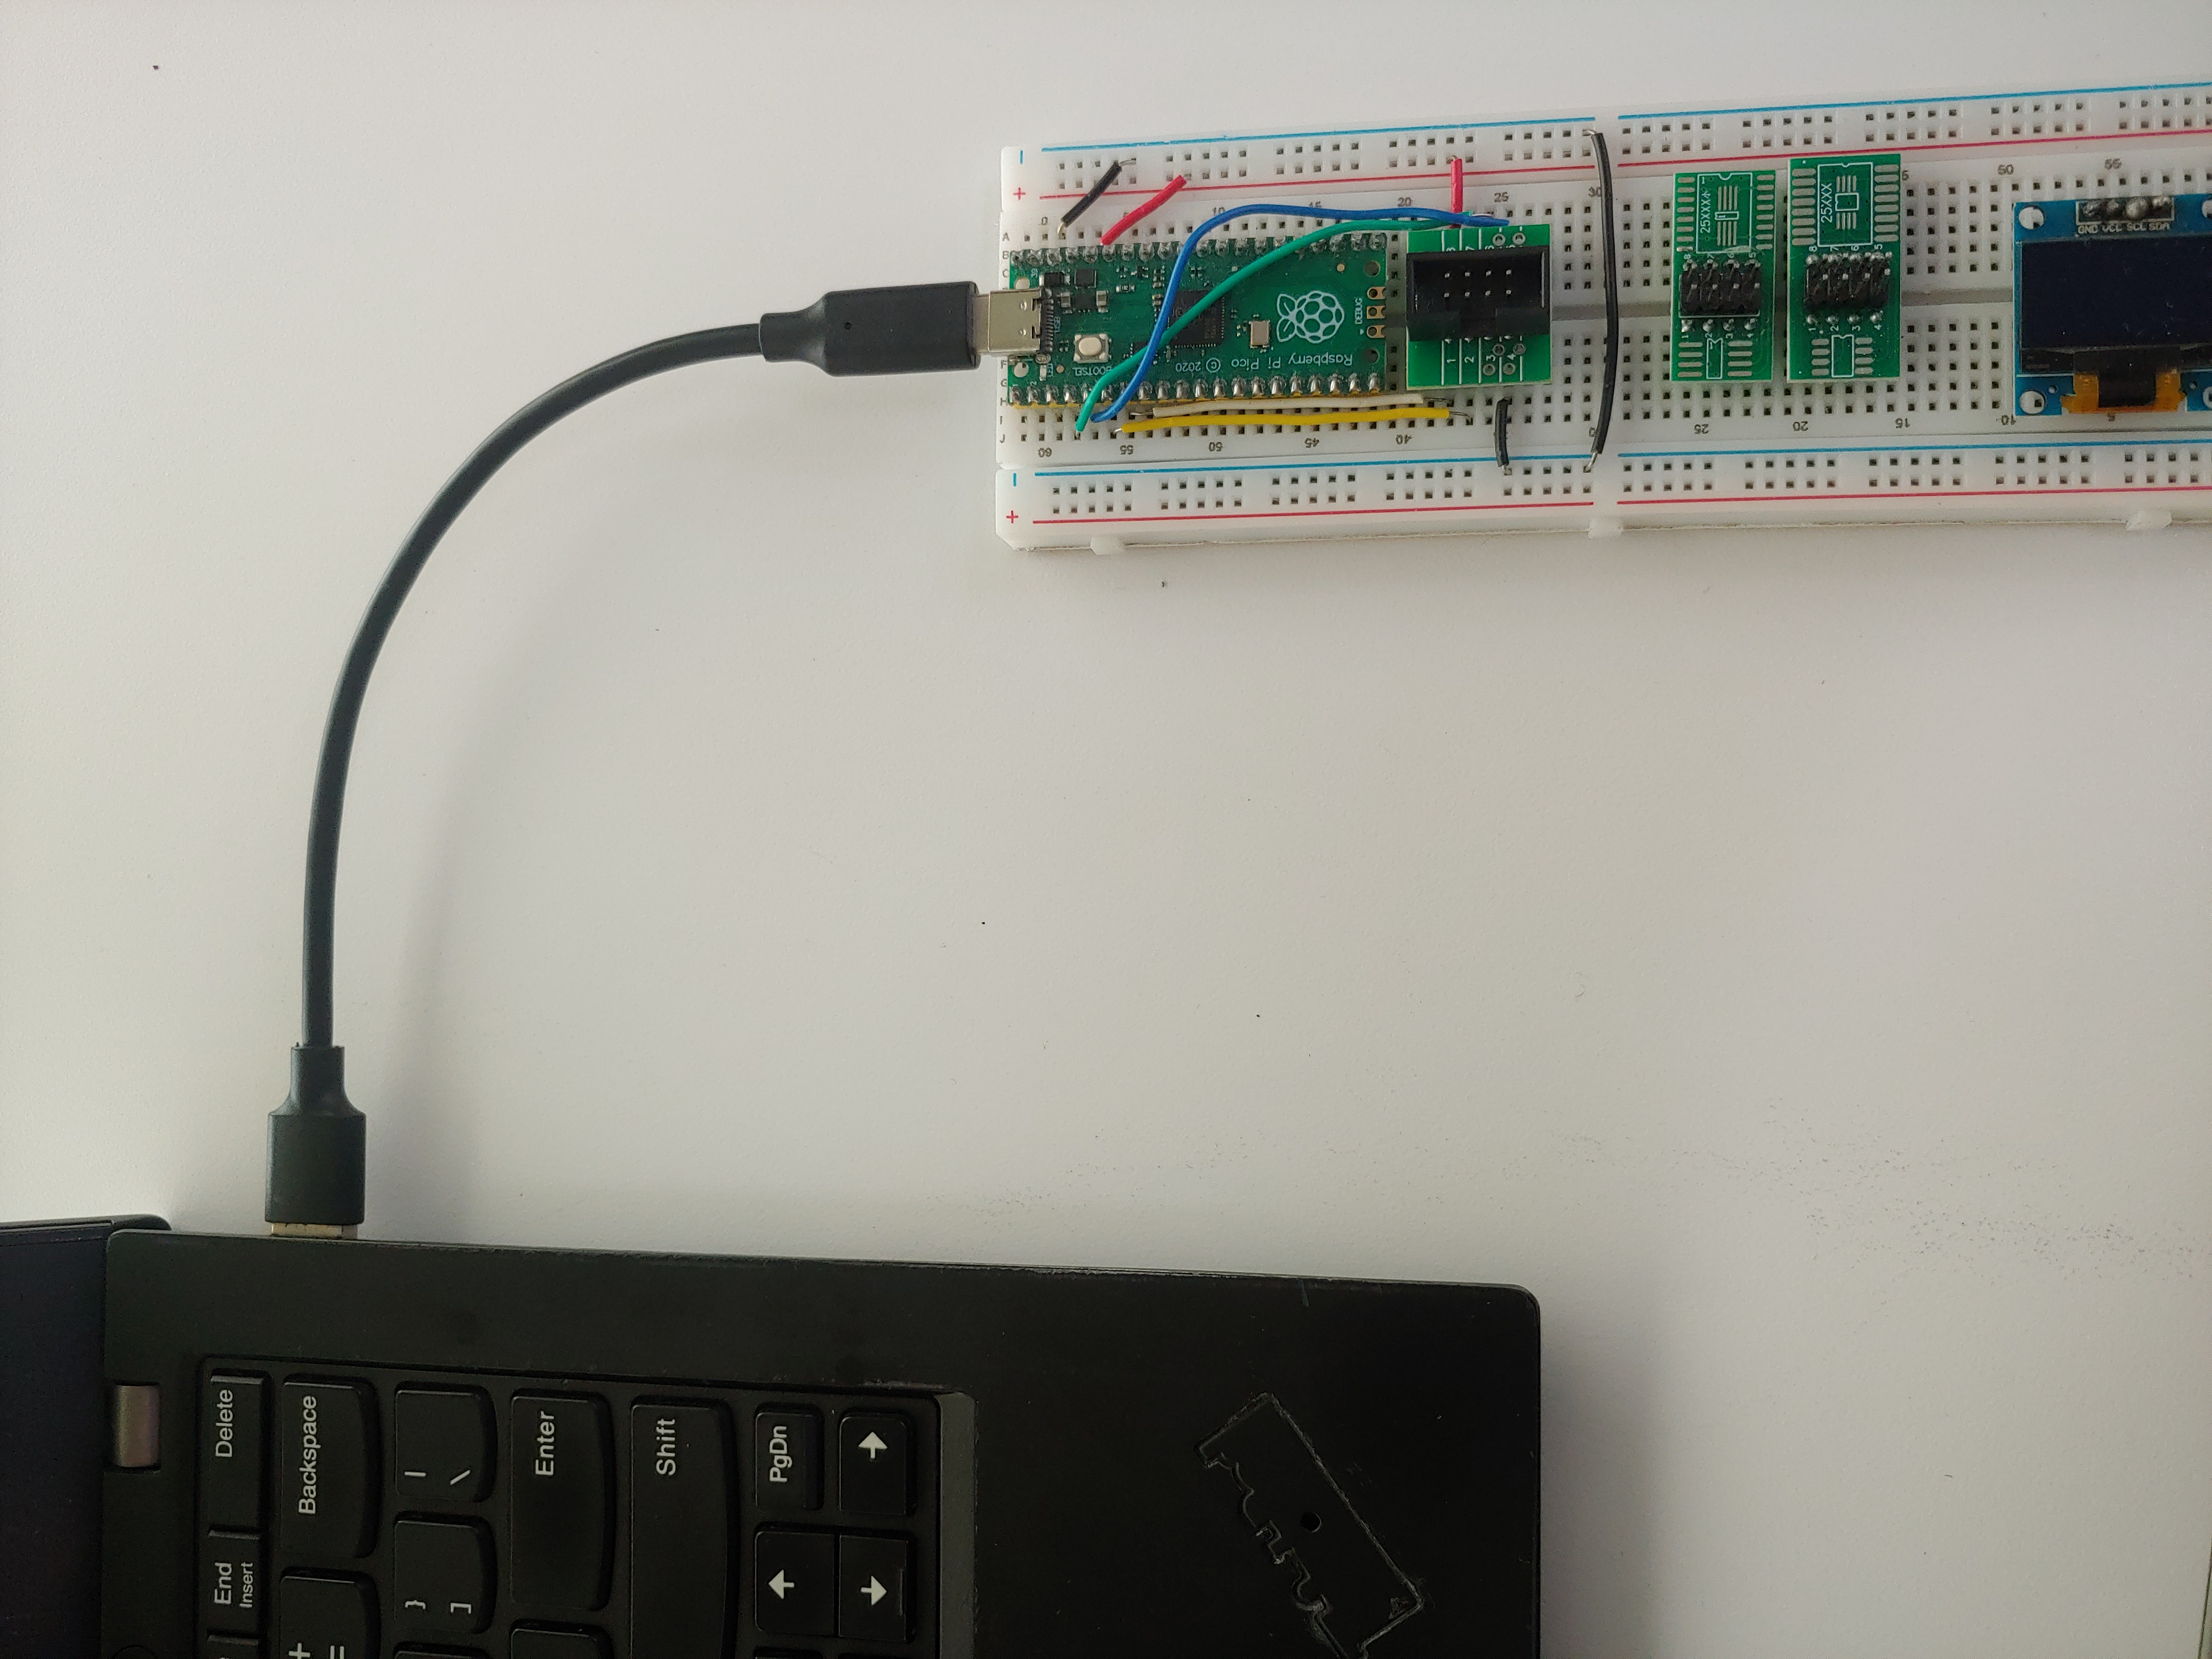
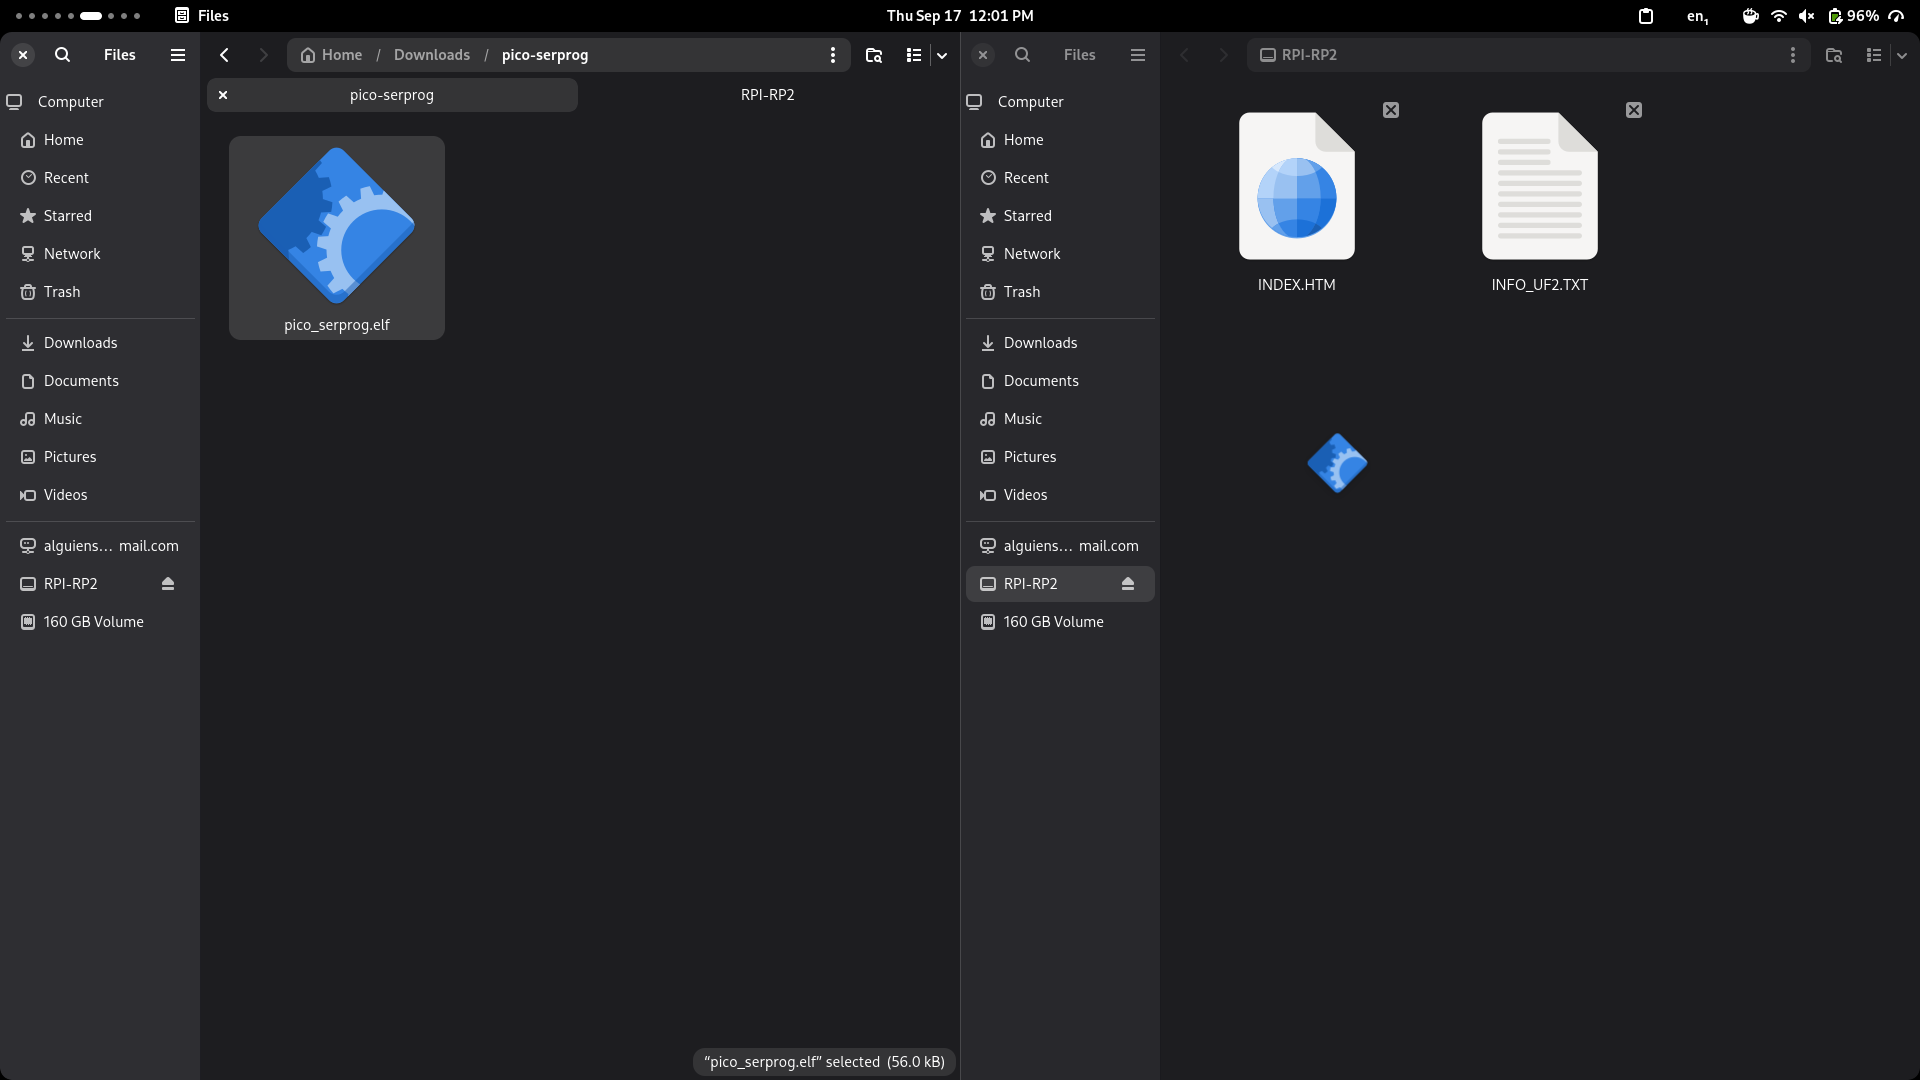
Open your file manager of choice (in my case, the GNOME default, Nautilus).
Under devices you’ll see it mounted like a USB flash drive.
Just drag and drop pico_serprog.elf onto the new storage device. That’s it.
As you’ll see, the storage device unmounts automatically. That’s normal; in fact, that’s what’s supposed to happen.
If we list the devices on our machine:
ls /dev/ttyACM*
A new device (most likely named ttyACM0) should show up there.
If all you want is to install Libreboot/Heads (Linuxboot), this is all the setup you need, since their automated build scripts take care of the rest.
If you plan on contributing to the projects or compiling coreboot from scratch, the steps in the next post will be what you need. (Dropping tomorrow for sure, trust me.)