BIOS Backup for Thinkpad X280
Table of Contents
By this point it is important to have disassembled the machine, the bios chip properly locatedand installed flashprog on another linux computer. These steps are detailed in these posts:
Locating the bios chip. #
With the machine completely de-energized we can proceed to do evil things to it >:V
The first thing would be to connect the bios chip to the raspberry pi pico and check that it works.
The bios chip in question is located right between the processor and the WWAN port. I’m not joking when I say that to get an idea of where the chip was, I had to dig into a Russian forum where they had photos of several Thinkpad models and their bios location (absolute heroes.) I also found the post by this reddit user.
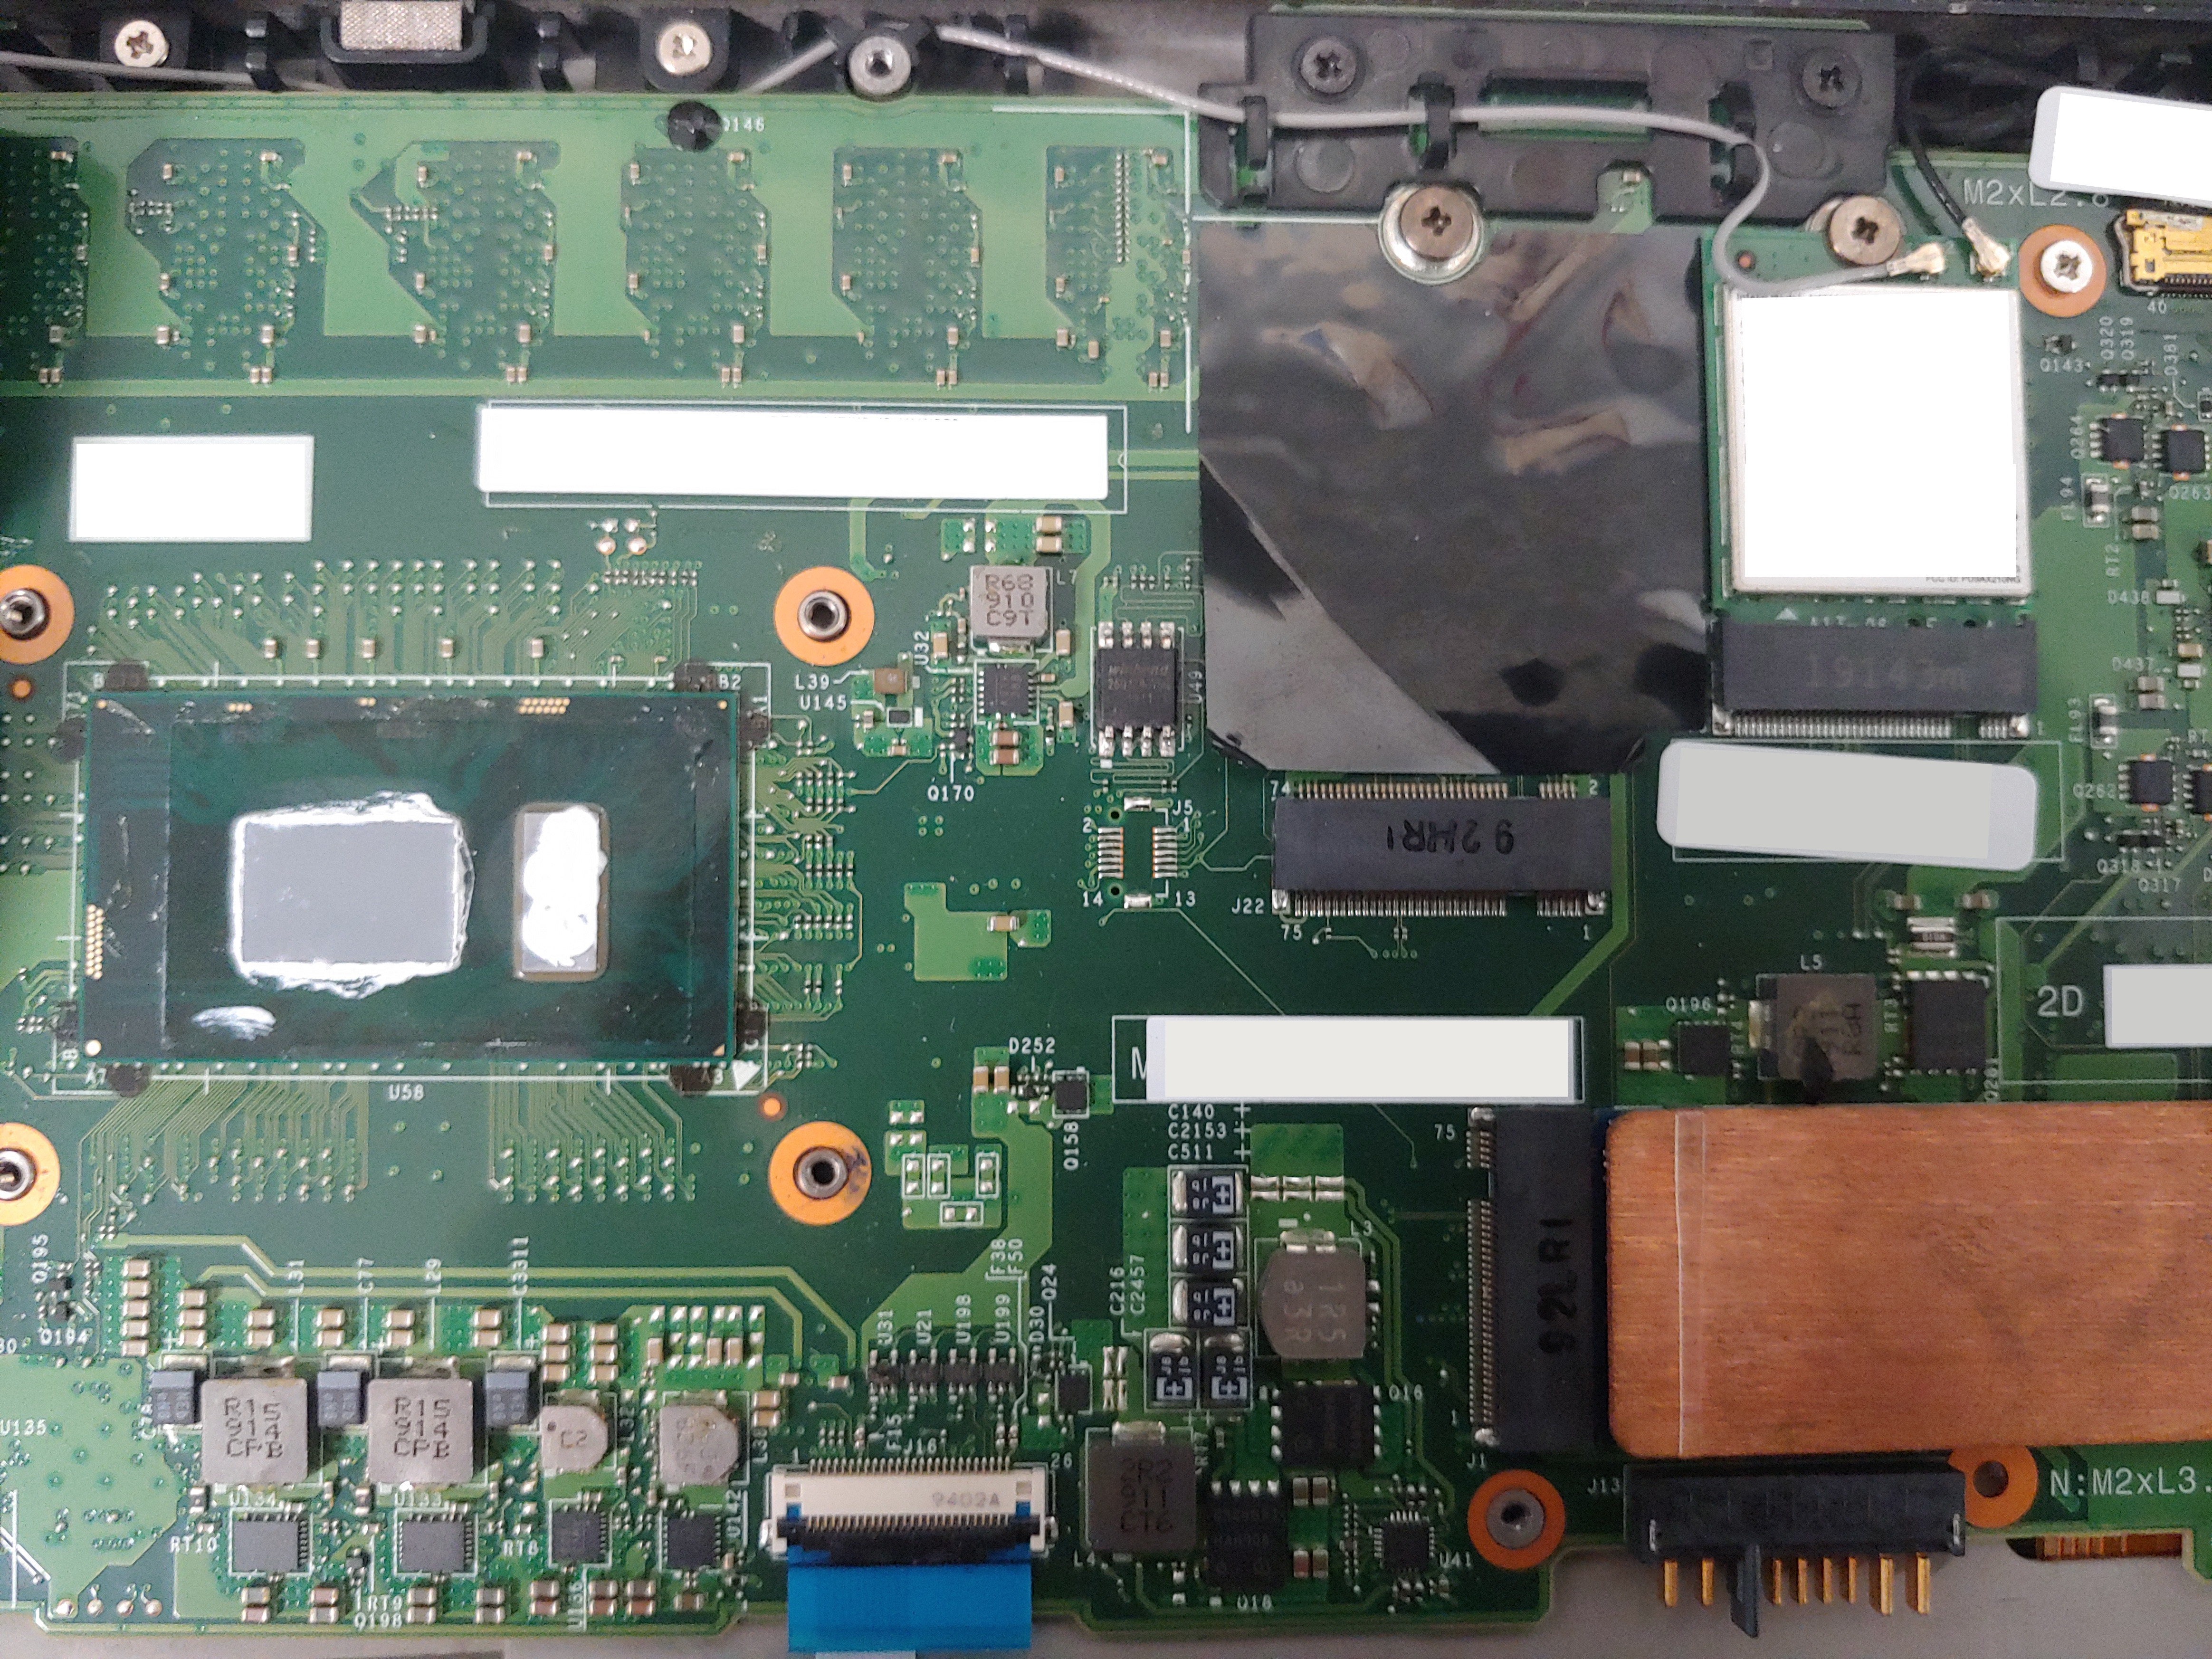
Connecting the bios to the soic 8 clip so the Raspberry PI recognizes it. #
Now comes the hardest part… well, it’s not really thaaaaaat hard, just stressful as hell (at least for me).
If you followed the libreboot wiring guide, and depending on your clip model this might vary, but in my case the red wire aligns with pin 1. And pin 1 is identified by the tiny dot on the corner of the chip
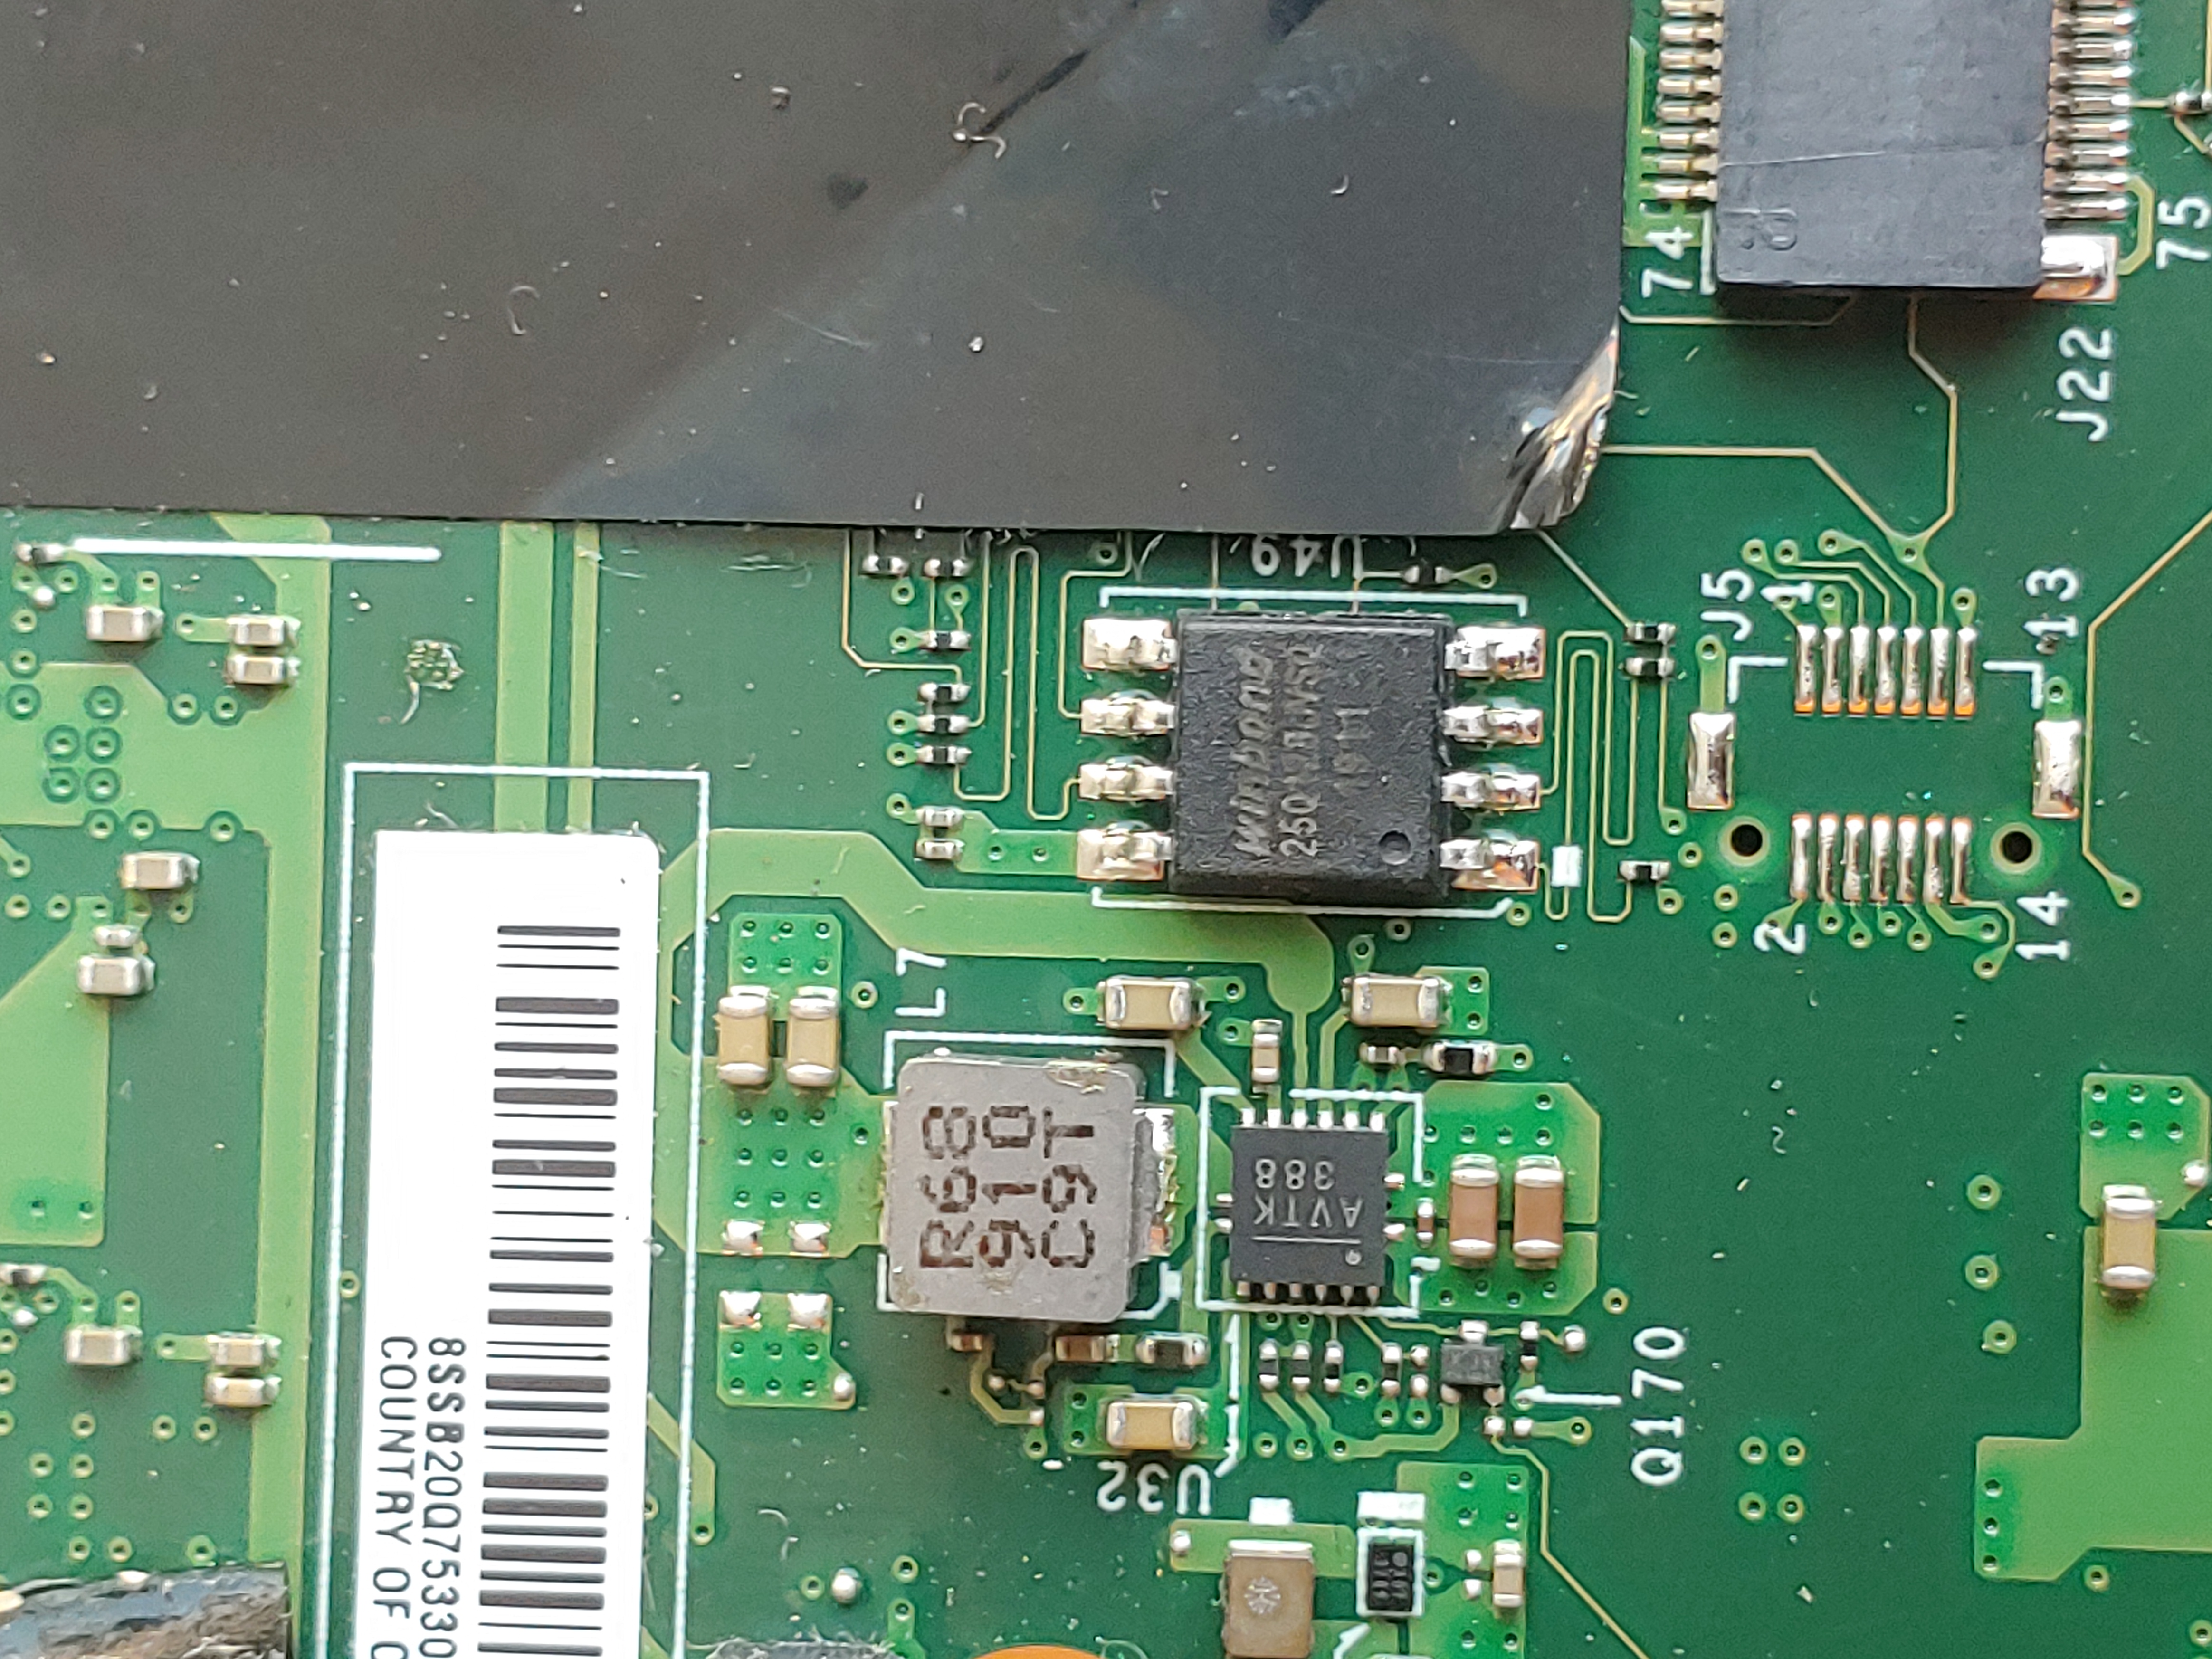
Be very careful when opening the clip, as there are tiny resistors on the sides that could break if you’re not careful. With that in mind, it should look something like this.
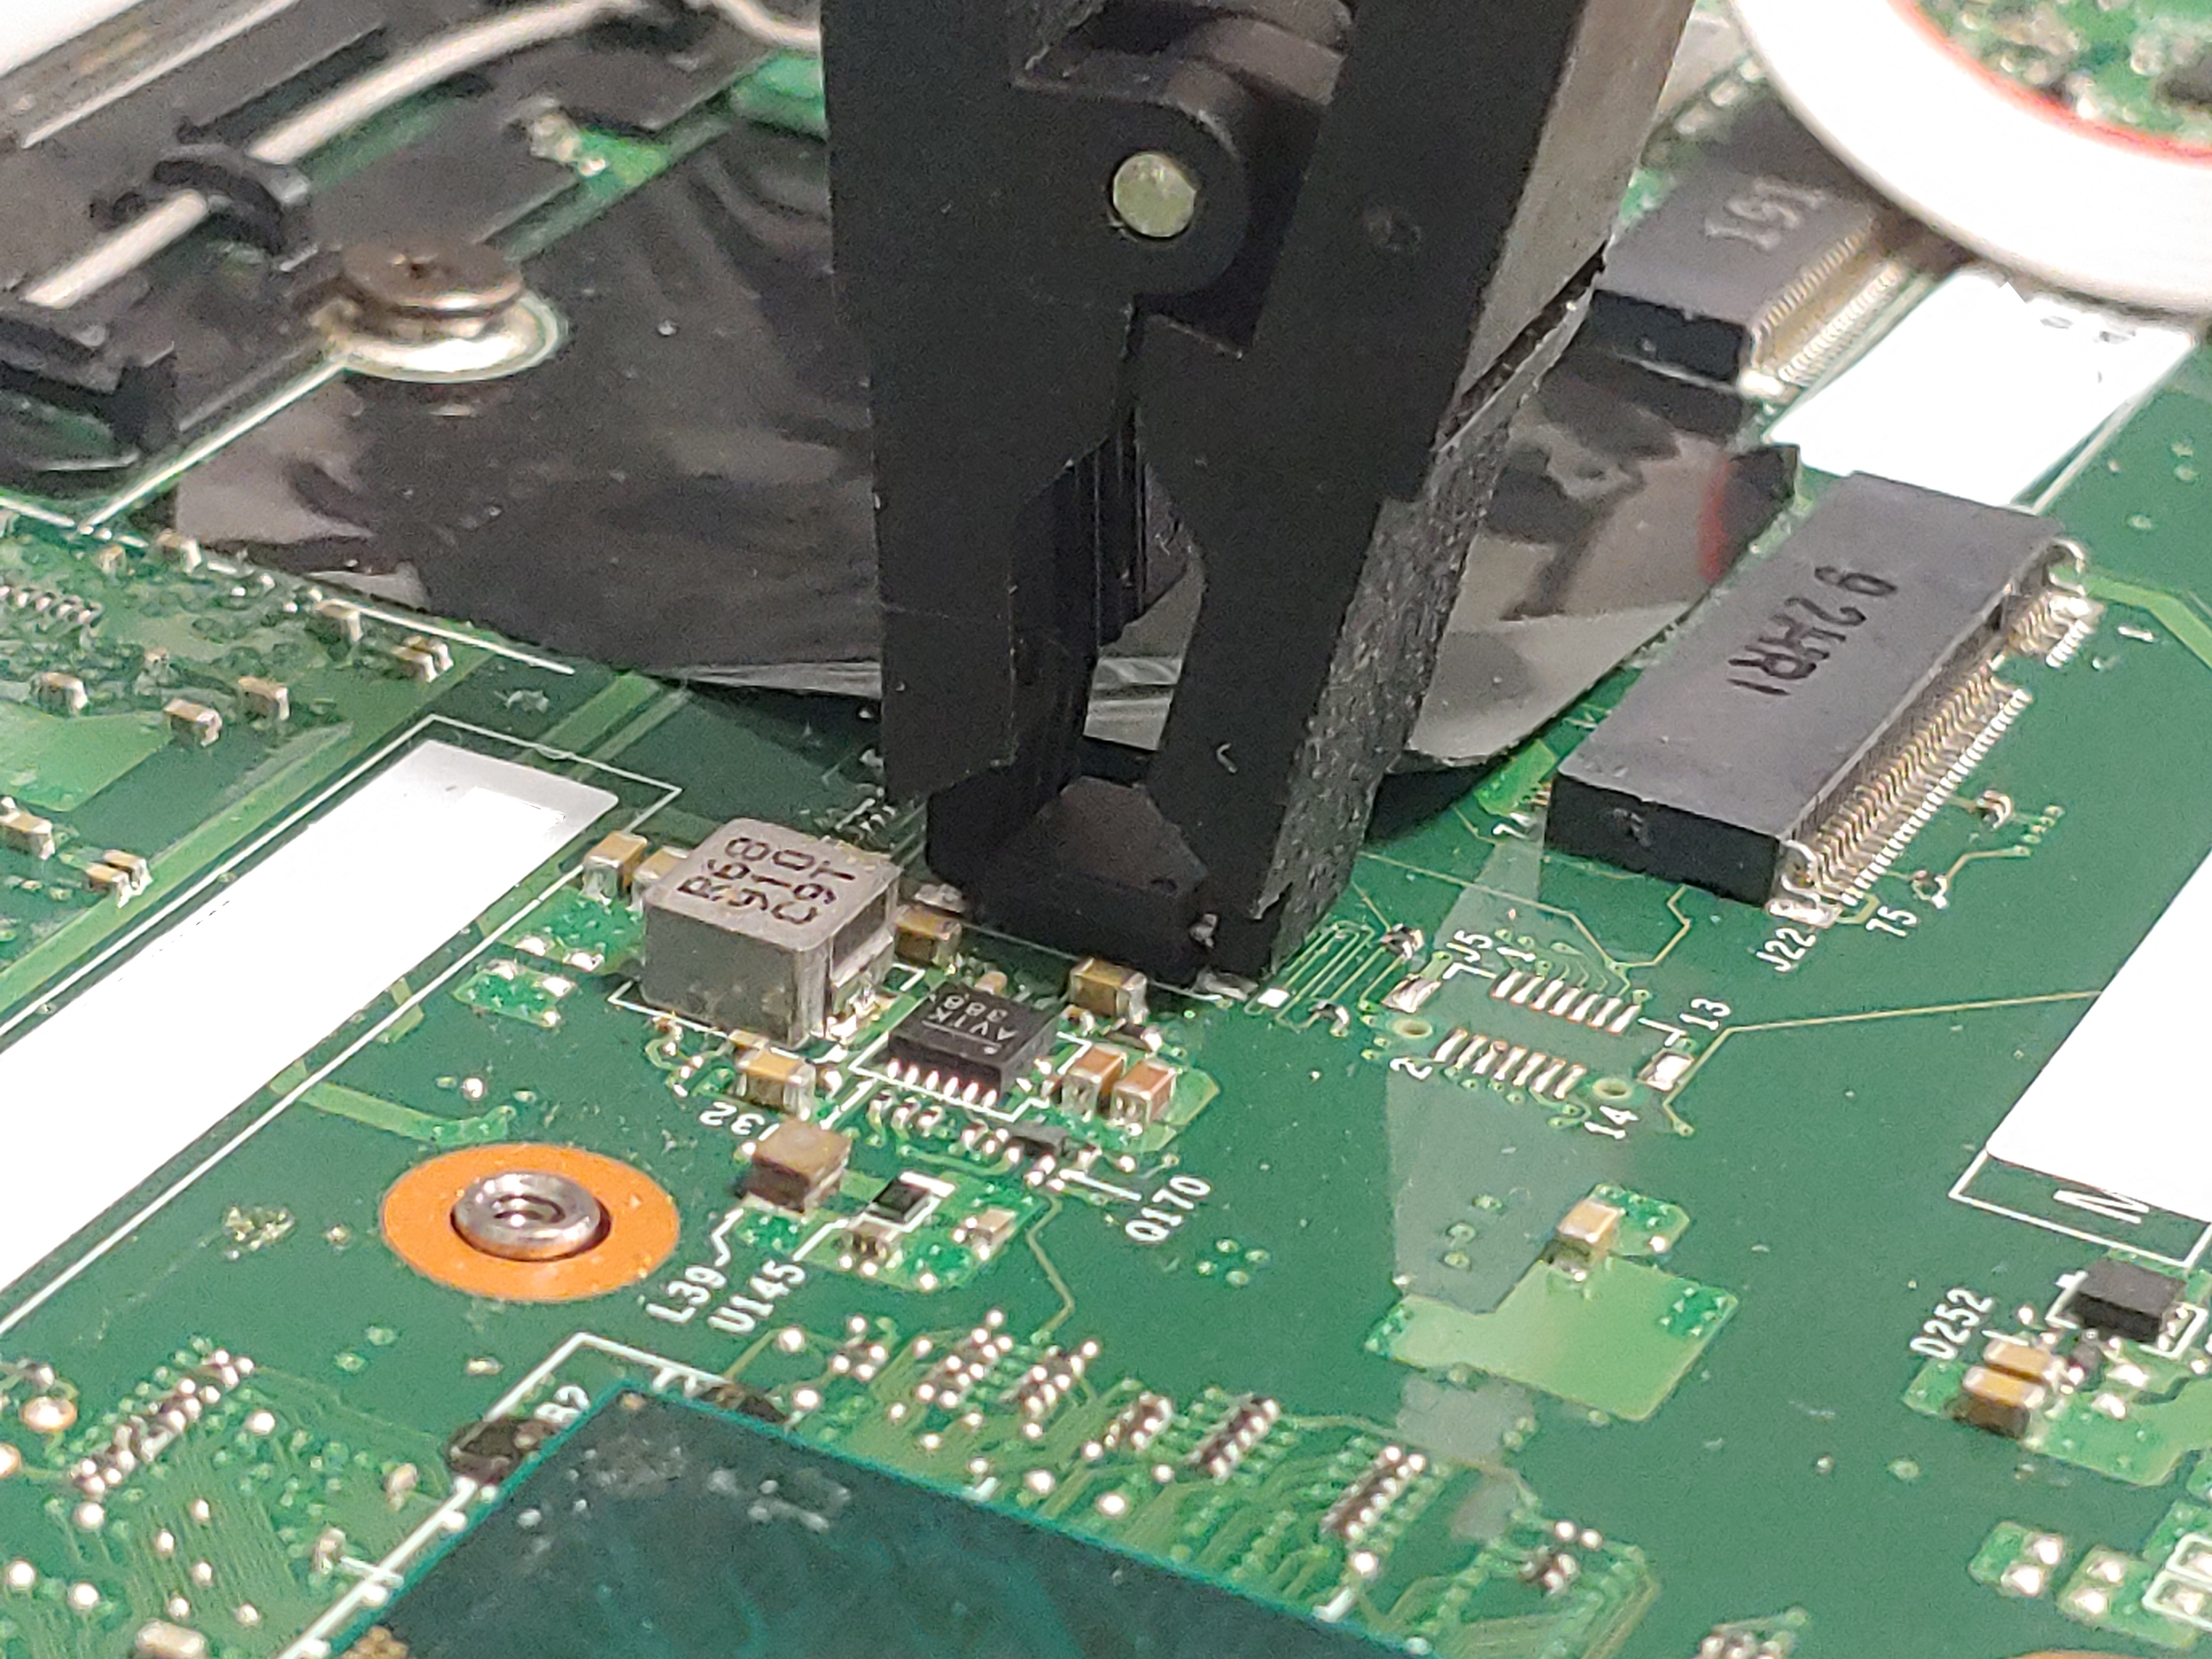
And now we can test that our wiring is correct. For that we have to go back to our other computer running linux.
Proper BIOS chip detection. #
Run the next command:
sudo flashprog -p serprog:dev=/dev/ttyACM0
We should see that the chip is recognized just as shown in the following image.
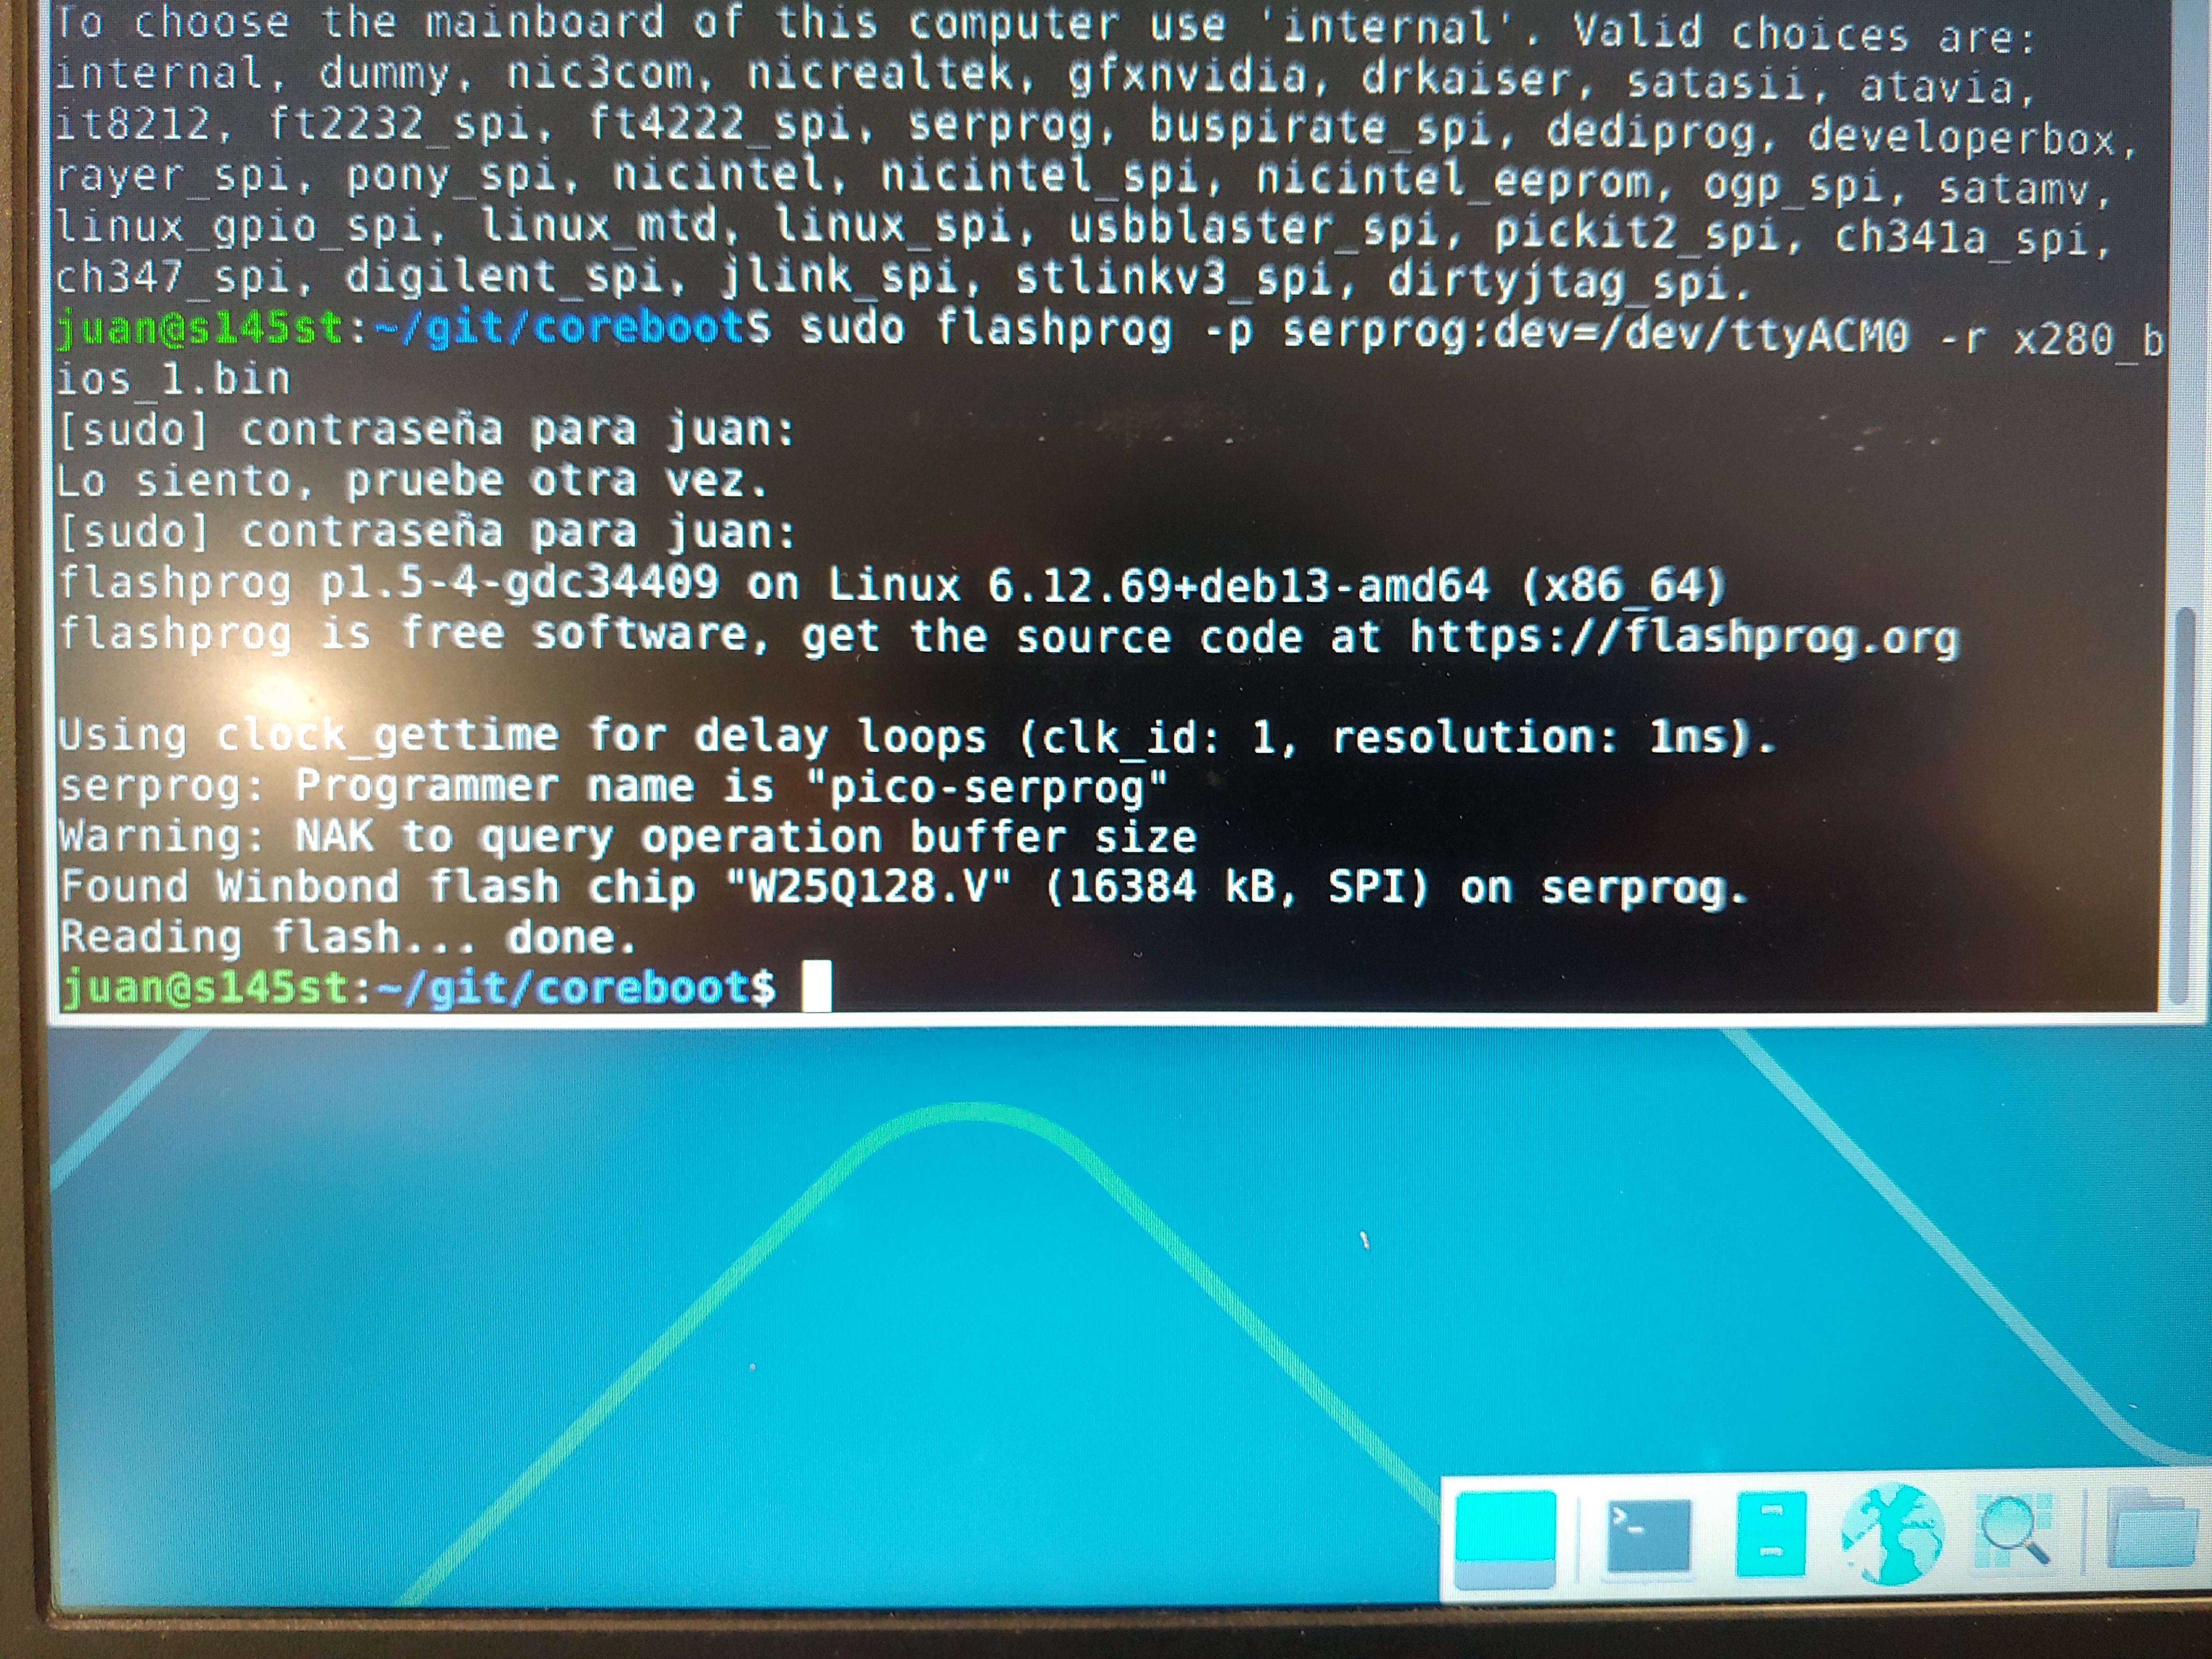
In case a message like the following pops up: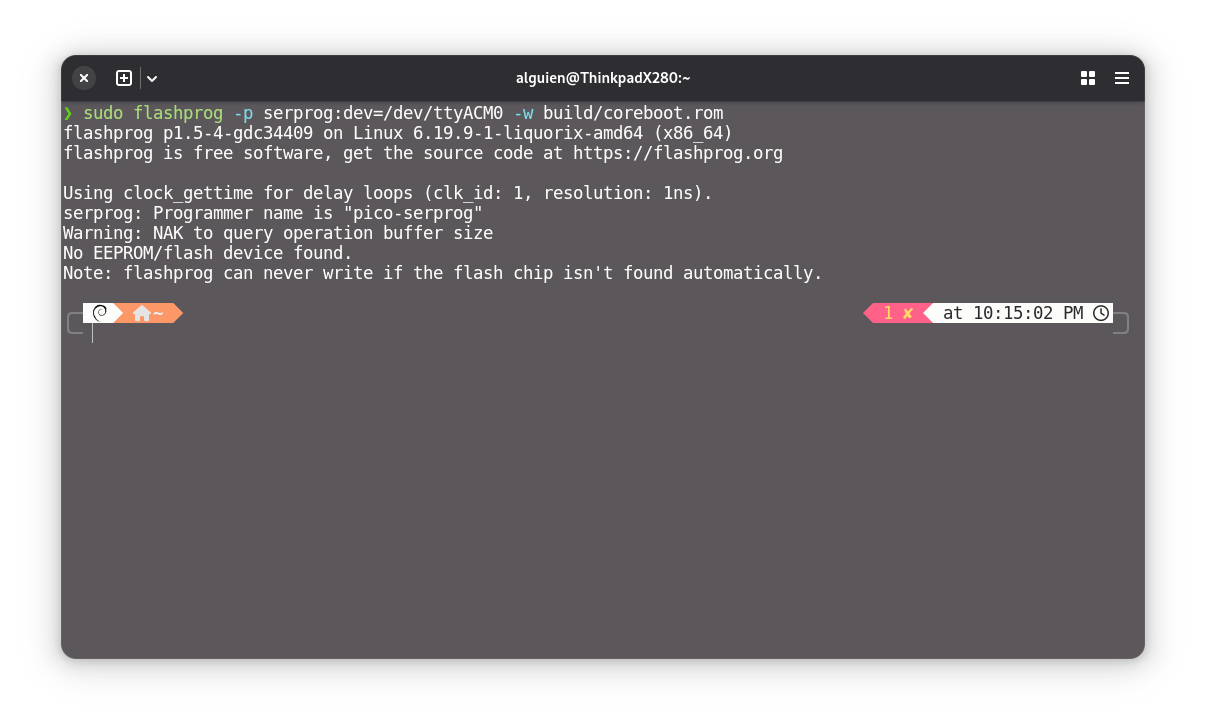
We’ll have to be patient and try connecting the bios chip with the clip again or rewire the circuit until the chip is recognized. As I mentioned before, this is one of the hardest steps, personally it took me around 12 attempts and several circuit verifications to get it recognized, so don’t despair.
Having gotten through the hardest part, I recommend not even looking funny at the machine so it doesn’t disconnect lol. And right at this moment is when the fun begins.
Save the bios chip to create a backup #
First thing is, on the external linux computer, type the following command:
sudo flashprog -p serprog:dev=/dev/ttyACM0 -r x280_original_bios_1.bin
As should already be obvious, you can change the name x280_original_bios_1.bin to whatever you want. This command might take longer or shorter depending on several factors, like the length of the cables you used; as you can see in my case , the wire length from the clip to my raspberry is roughly about 30 cm and my usb cable is 1m, so taking the backup took me about 10 minutes or so, but you might get lucky and wait less than that.
Once you finished, it’s necessary to run the same command again but different (¿?):
sudo flashprog -p serprog:dev=/dev/ttyACM0 -r x280_original_bios_2.bin
This is to verify that the clip didn’t accidentally move and read an incorrect bit, and yes, that changes everything, because the hashes will be different and if you try to restore it later, well, you won’t be able to do it and you’llhave succesfully bricked your Thinkpad X280.
Personally I recommend disconnecting the clip, reconnect it and running the command again:
sudo flashprog -p serprog:dev=/dev/ttyACM0 -r x280_original_bios_3.bin
and
sudo flashprog -p serprog:dev=/dev/ttyACM0 -r x280_original_bios_4.bin
But if you don’t feel like doing so, or getting the computer to recognize the bios chip again (just like me), you can just make the 2 backups without disconnecting the clip.
Assuming the directory where you made your backups is empty, you can run the following command:
#More options for the command:
#diff x280*
#diff *.bin
diff *
& if the command returns nothing, then our backup has been successful. Or you can try verifying the hashes of all the backup files you created:
#More options for the command:
#sha256sum *.bin
#sha256sum x280*
sha256sum *
Because in case something were to go wrong (which if you follow this guide to the letter and have a bit of care and common sense shouldn’t happen) you won’t be able to restore the original bios.
I messed up, how do I go back to the original bios. #
In case something went wrong (you moved the clip, built the coreboot image incorrectly, etc.) You have to repeat the steps from this same post.
- From Locate the bios chip
Now, we take the backup of the bios chip we made in step: Make the backup
Exactly!!! The one you absolutely and clearly didn’t forget to make :)
- We will run the following command:
sudo flashprog -p serprog:dev=/dev/ttyACM0 -w x280_original_bios_1.bin
Remembering that x280_original_bios_1.bin is whatever name you decided to gave it.
Wait a while.
Reassemble the machine.
Power it on.
Done
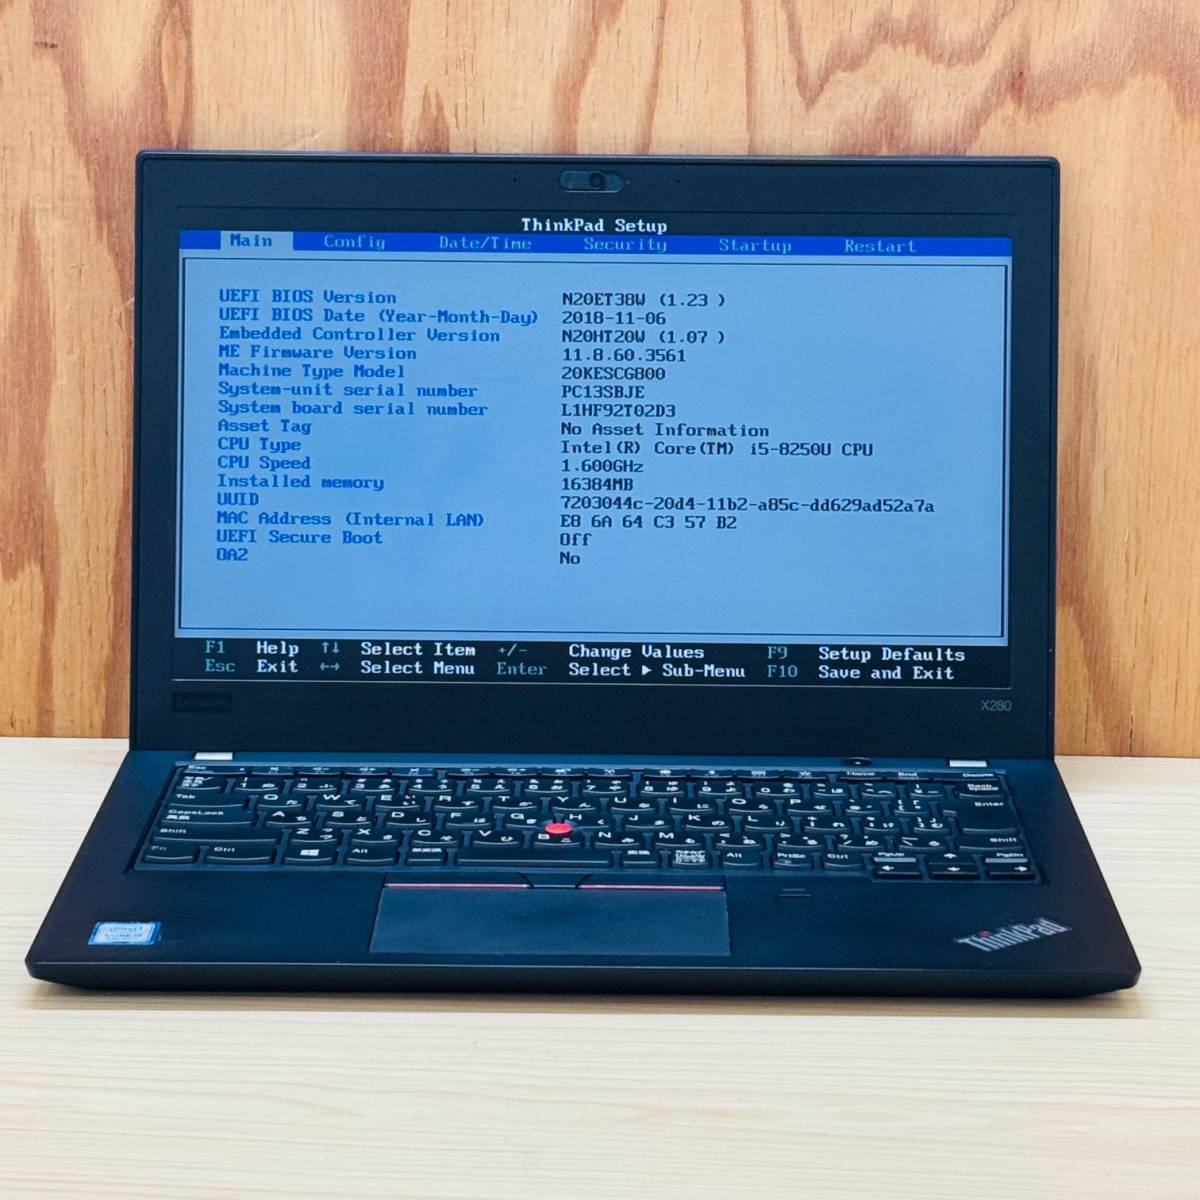
I actually never took a photo of the Thinkpad X280 running the stock bios, so, this one is a random picture I found in the internet, credits to the author