Disassemble Thinkpad X280
Table of Contents
This post is honestly kinda unnecessary, since I should just send you off to watch a youtube video (which I don’t think is necessary either, because this machine is super easy work with), but it helps me show the exact spot of the bios chip (and saves you from having to dig through a Russian forum like I had to XD.)
Anyway, here’s a disassembly video for my visual learners:
Remove bottom cover. #
Just as a reminder. Make sure the machine is completely turned off.
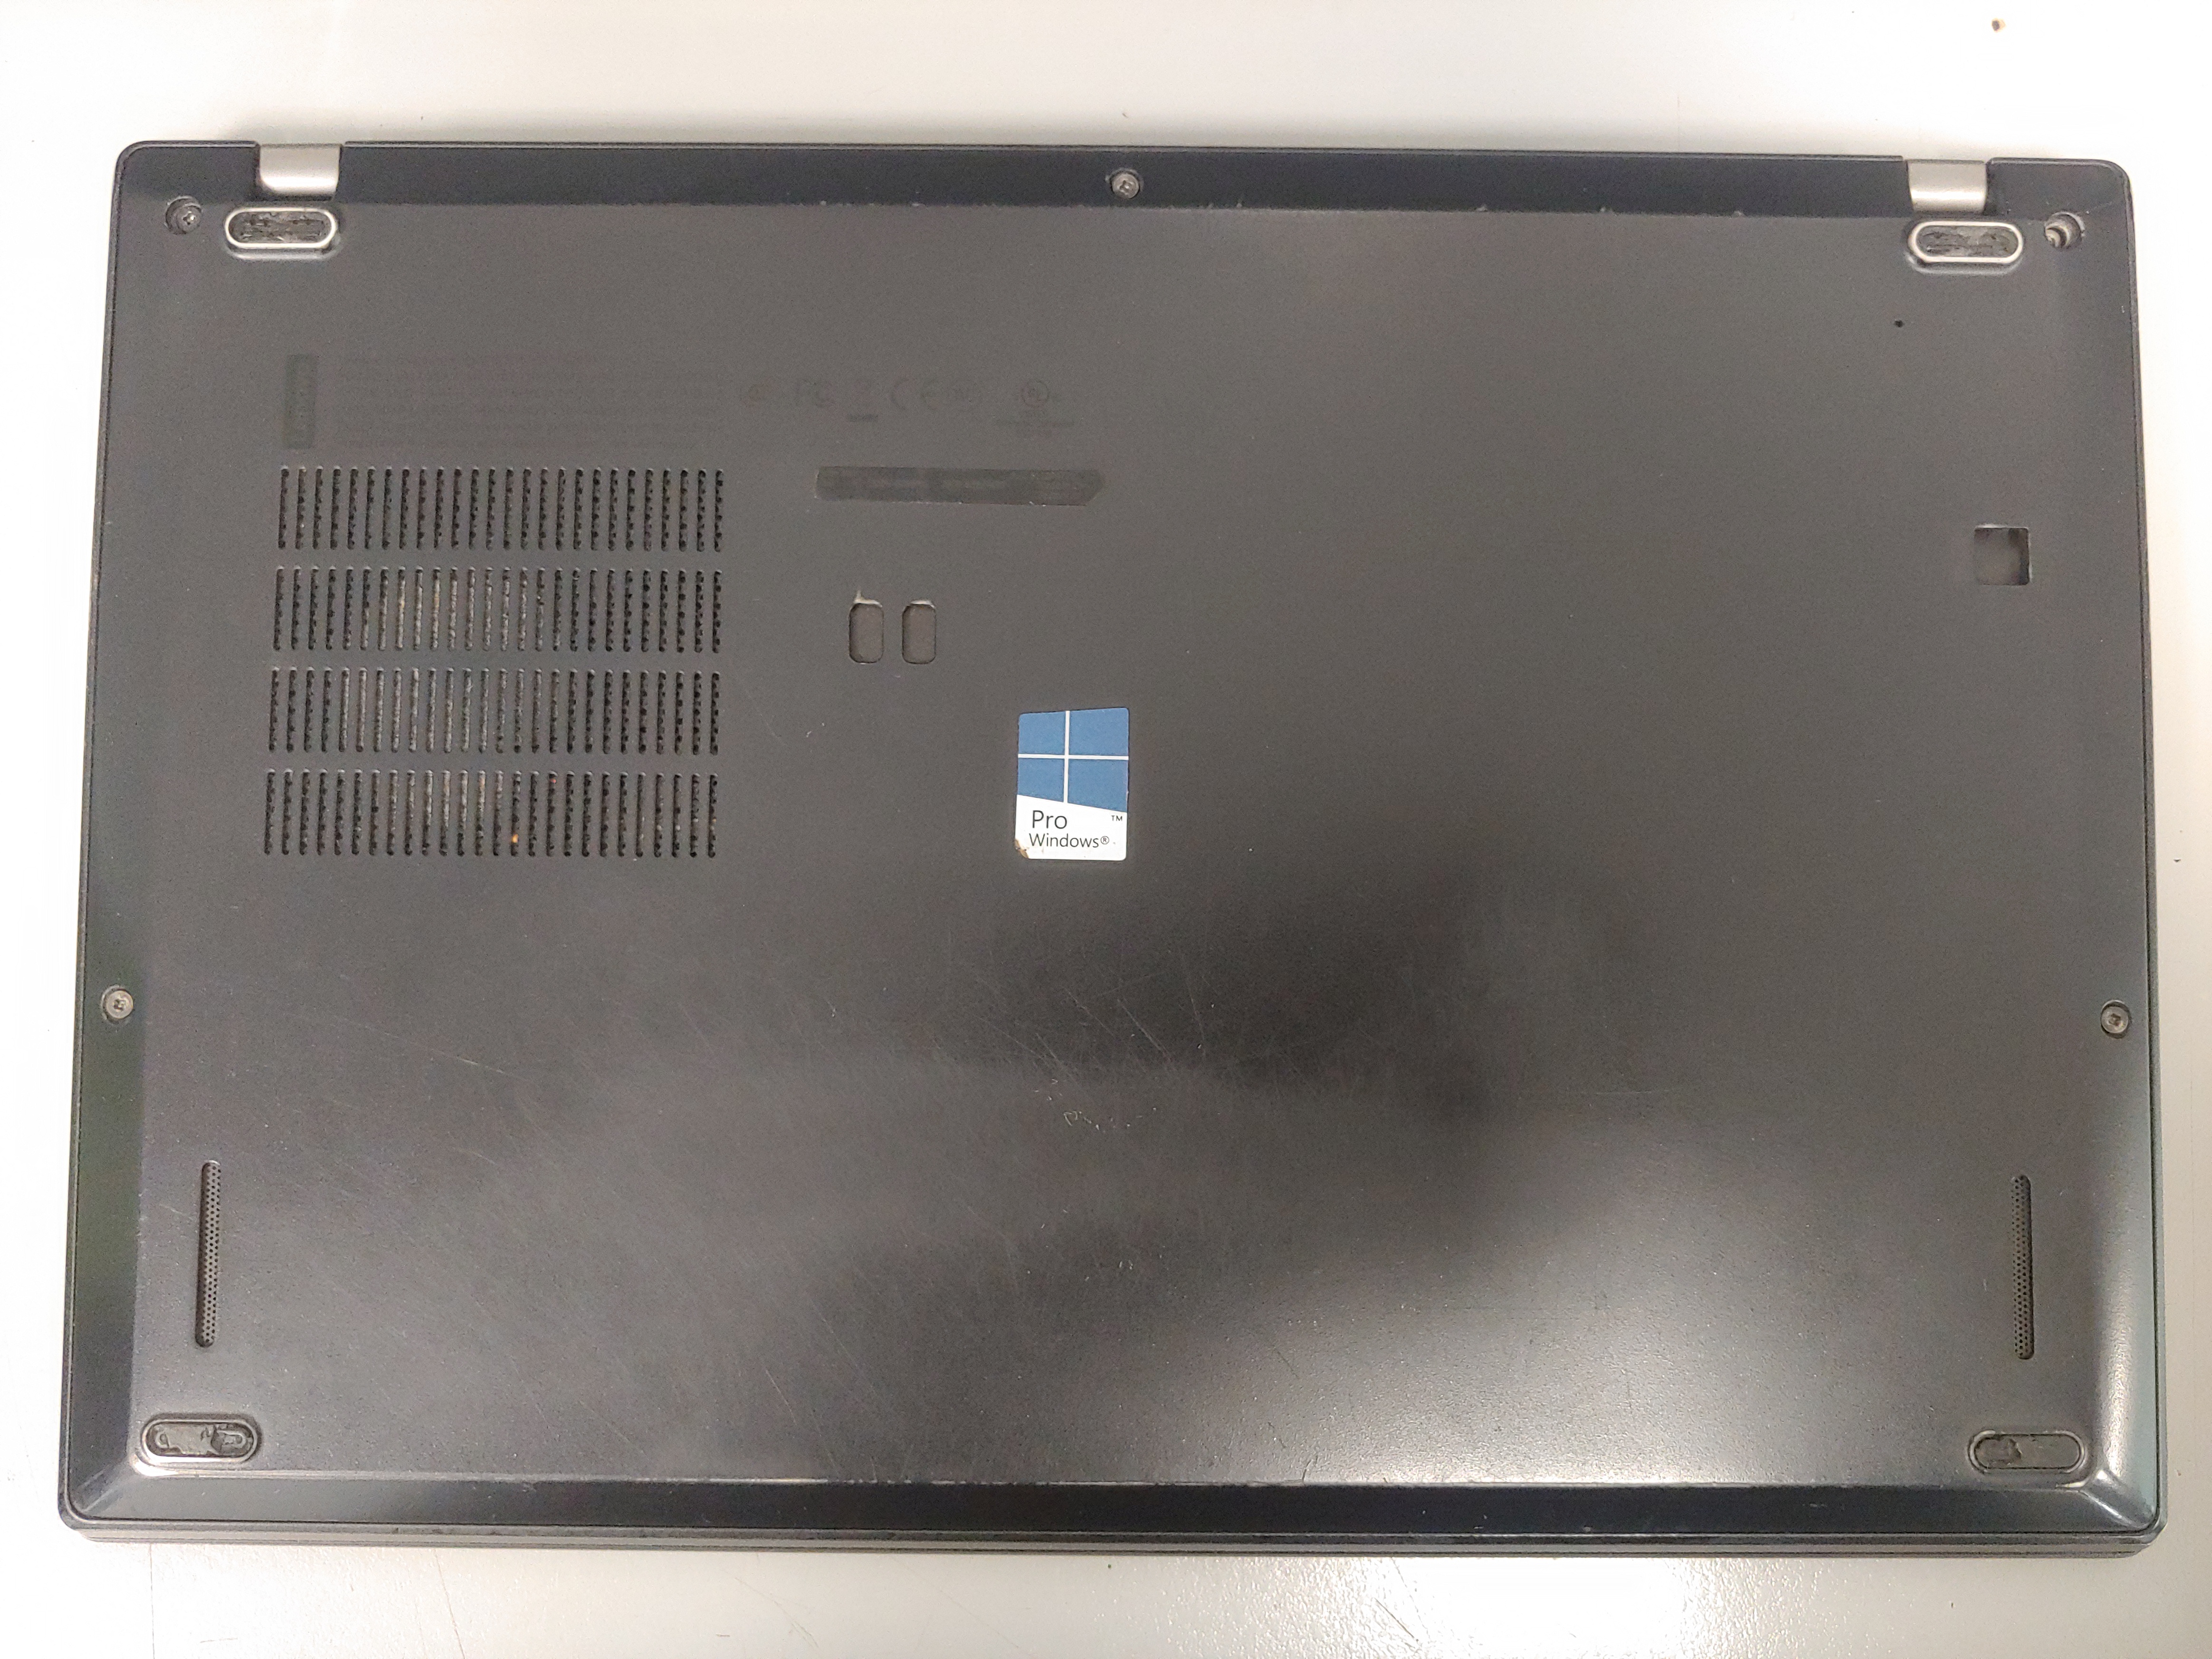
Now we take out the 5 visible screws on the bottom cover. Honestly, I’m not sure what screwdriver size you should use, but whatever fits and let you remove them works.
Remove main battery. #
With the machine open, it’s essential to disconnect any power source from the system, just like the coreboot documentation says.
To remove the battery, take out the 5 screws holding it in place. You can use the same screwdriver you used to take off the bottom cover.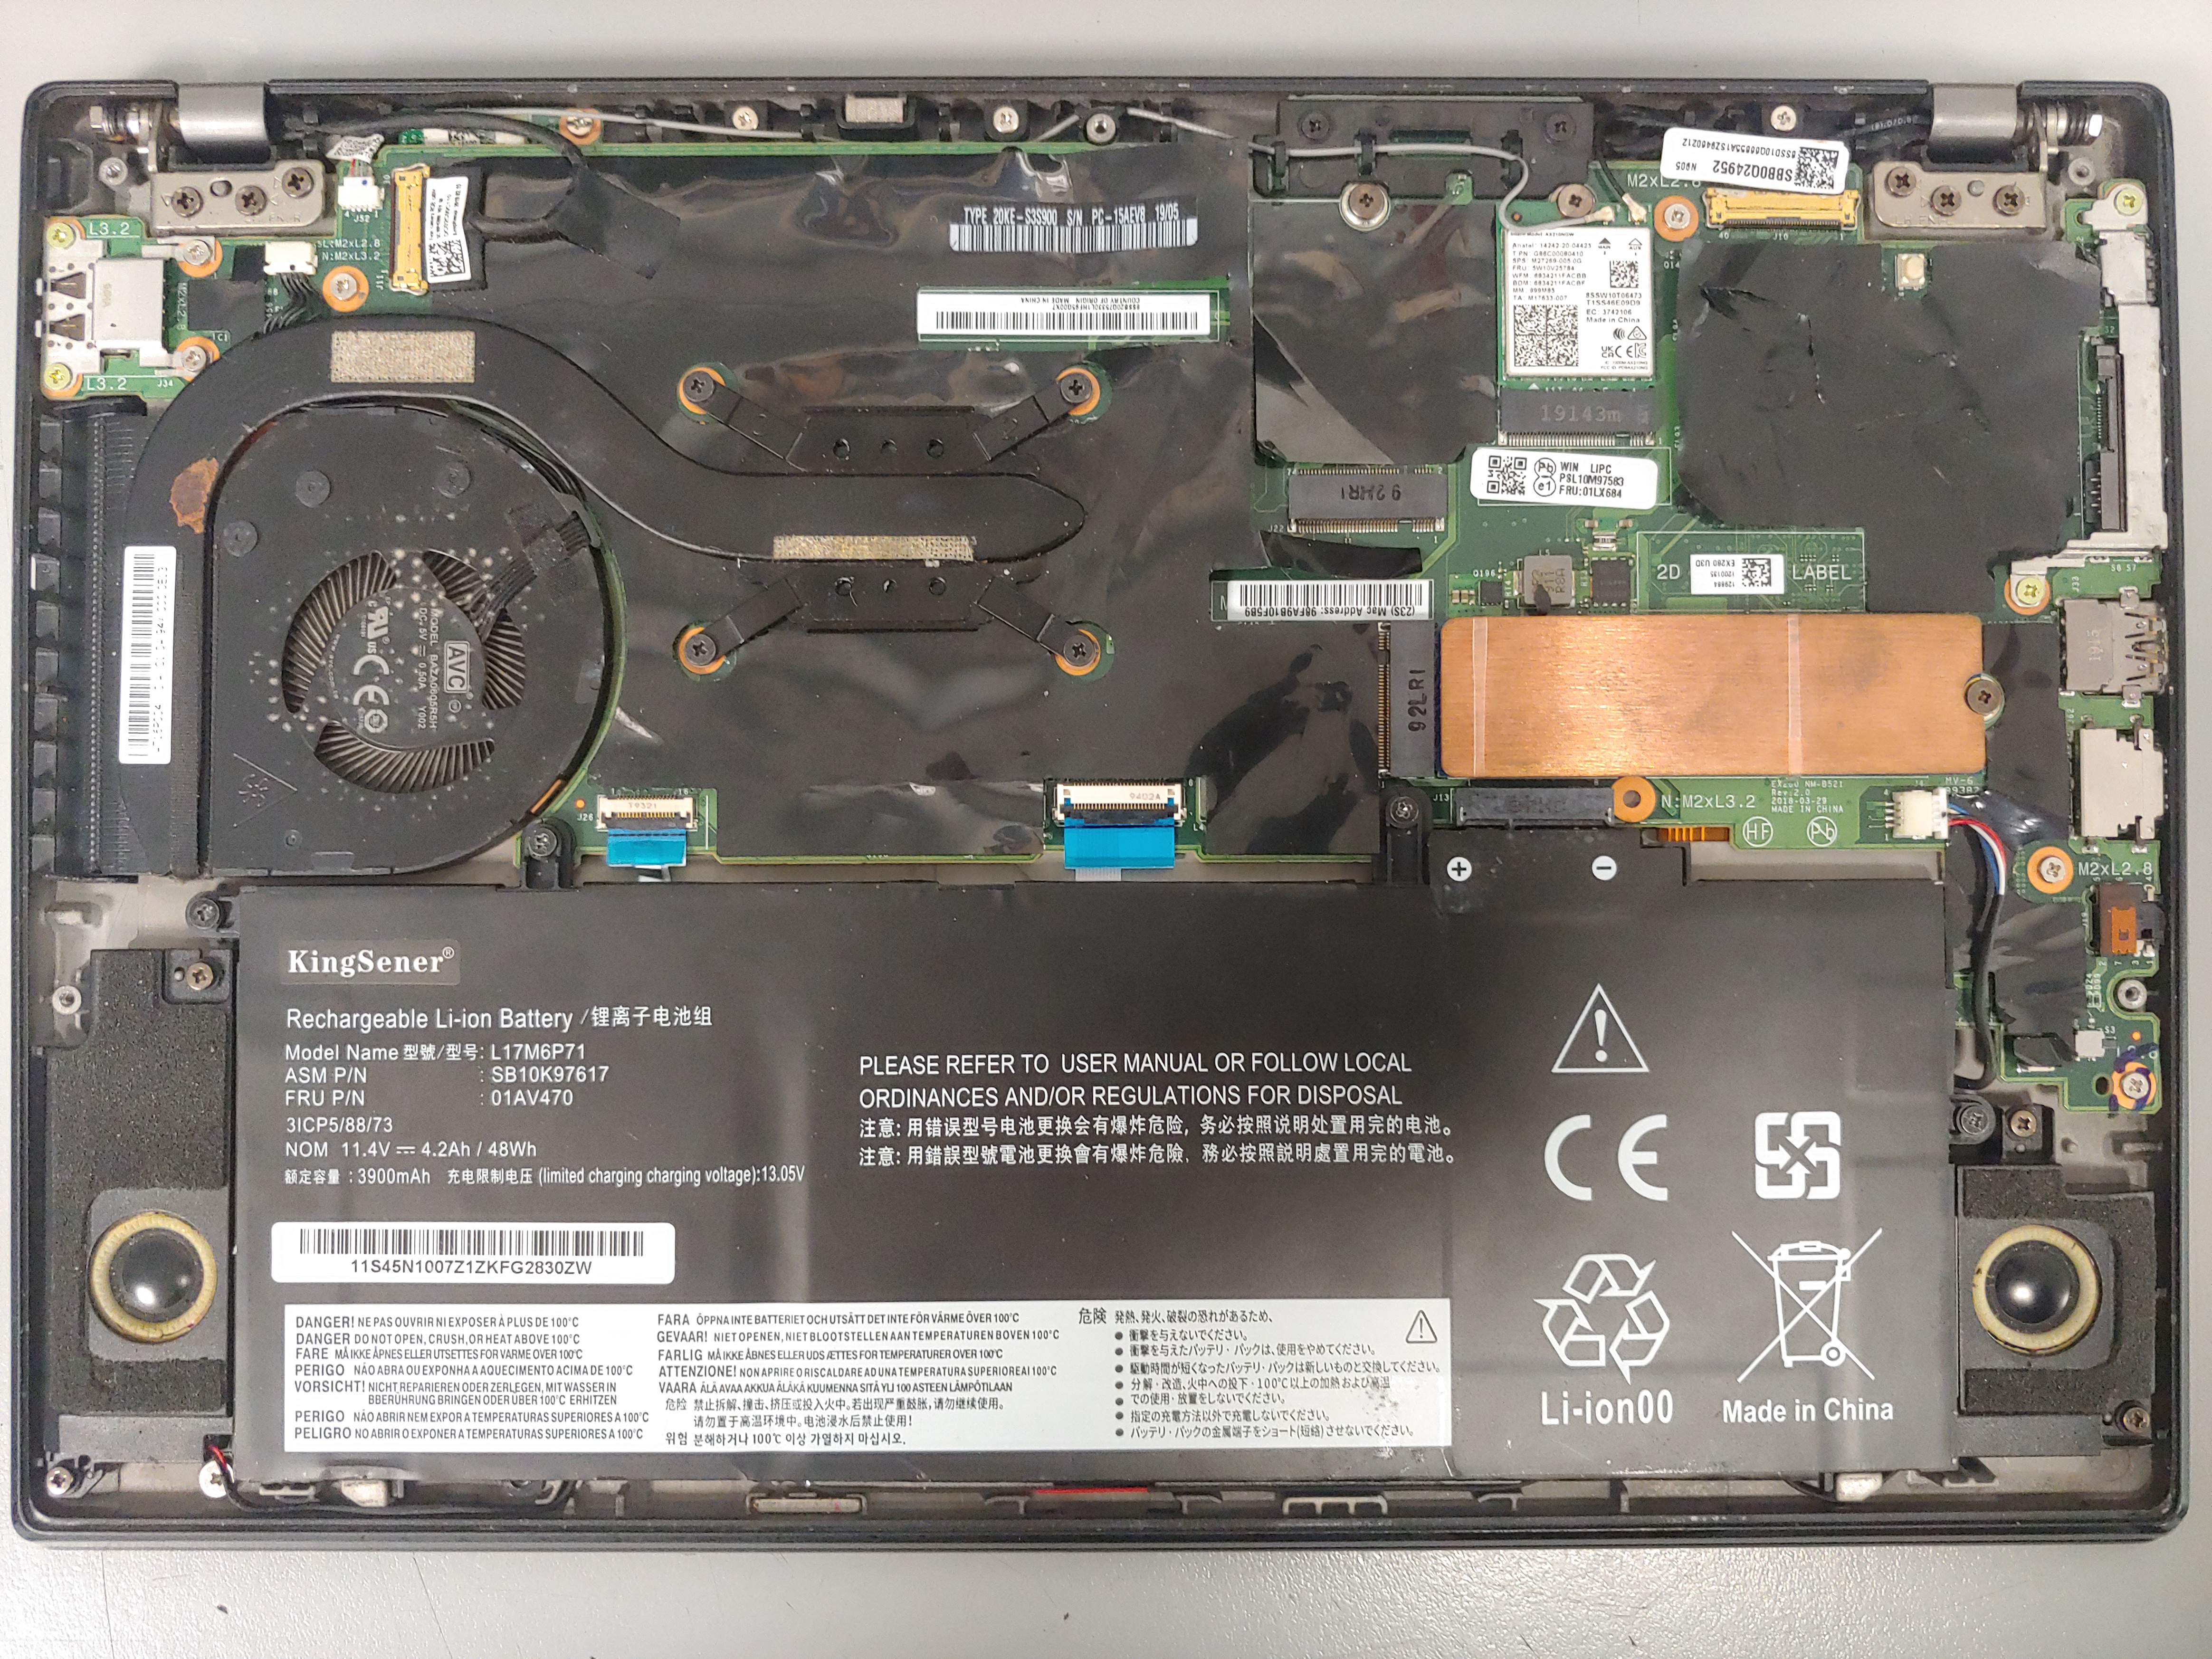
Now pull it gently towards you and that’s it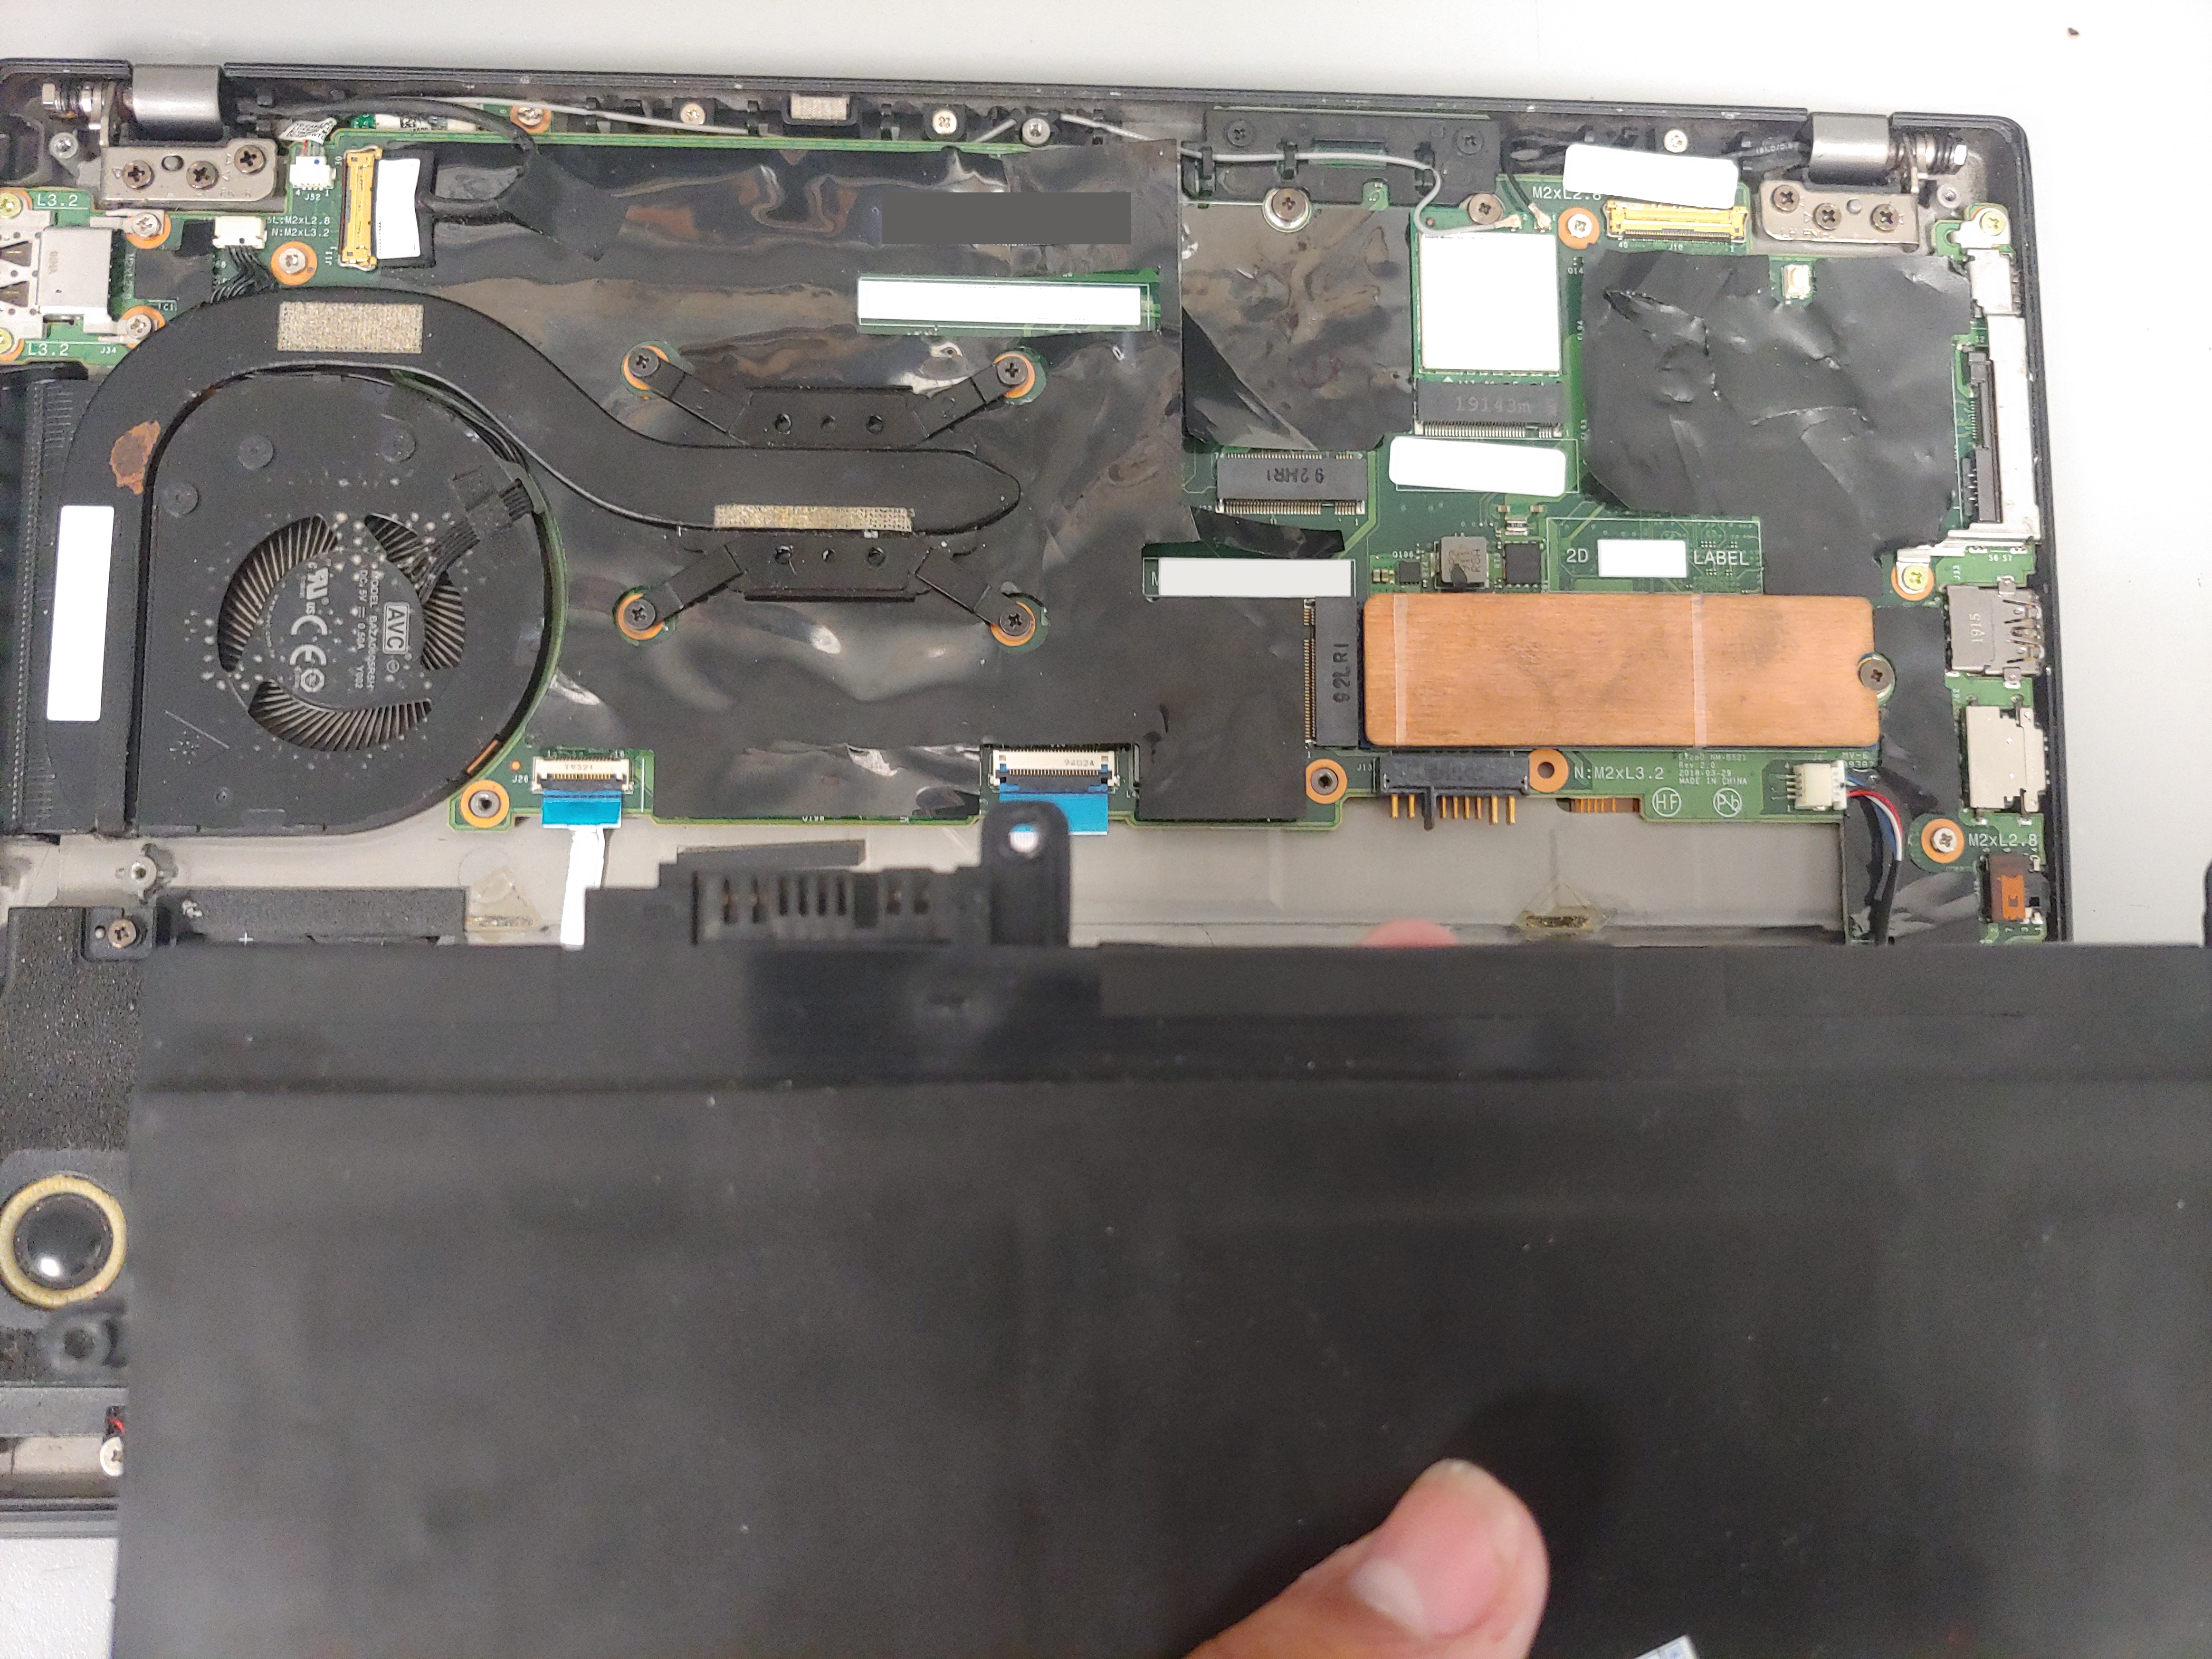
Remove CMOS battery. #
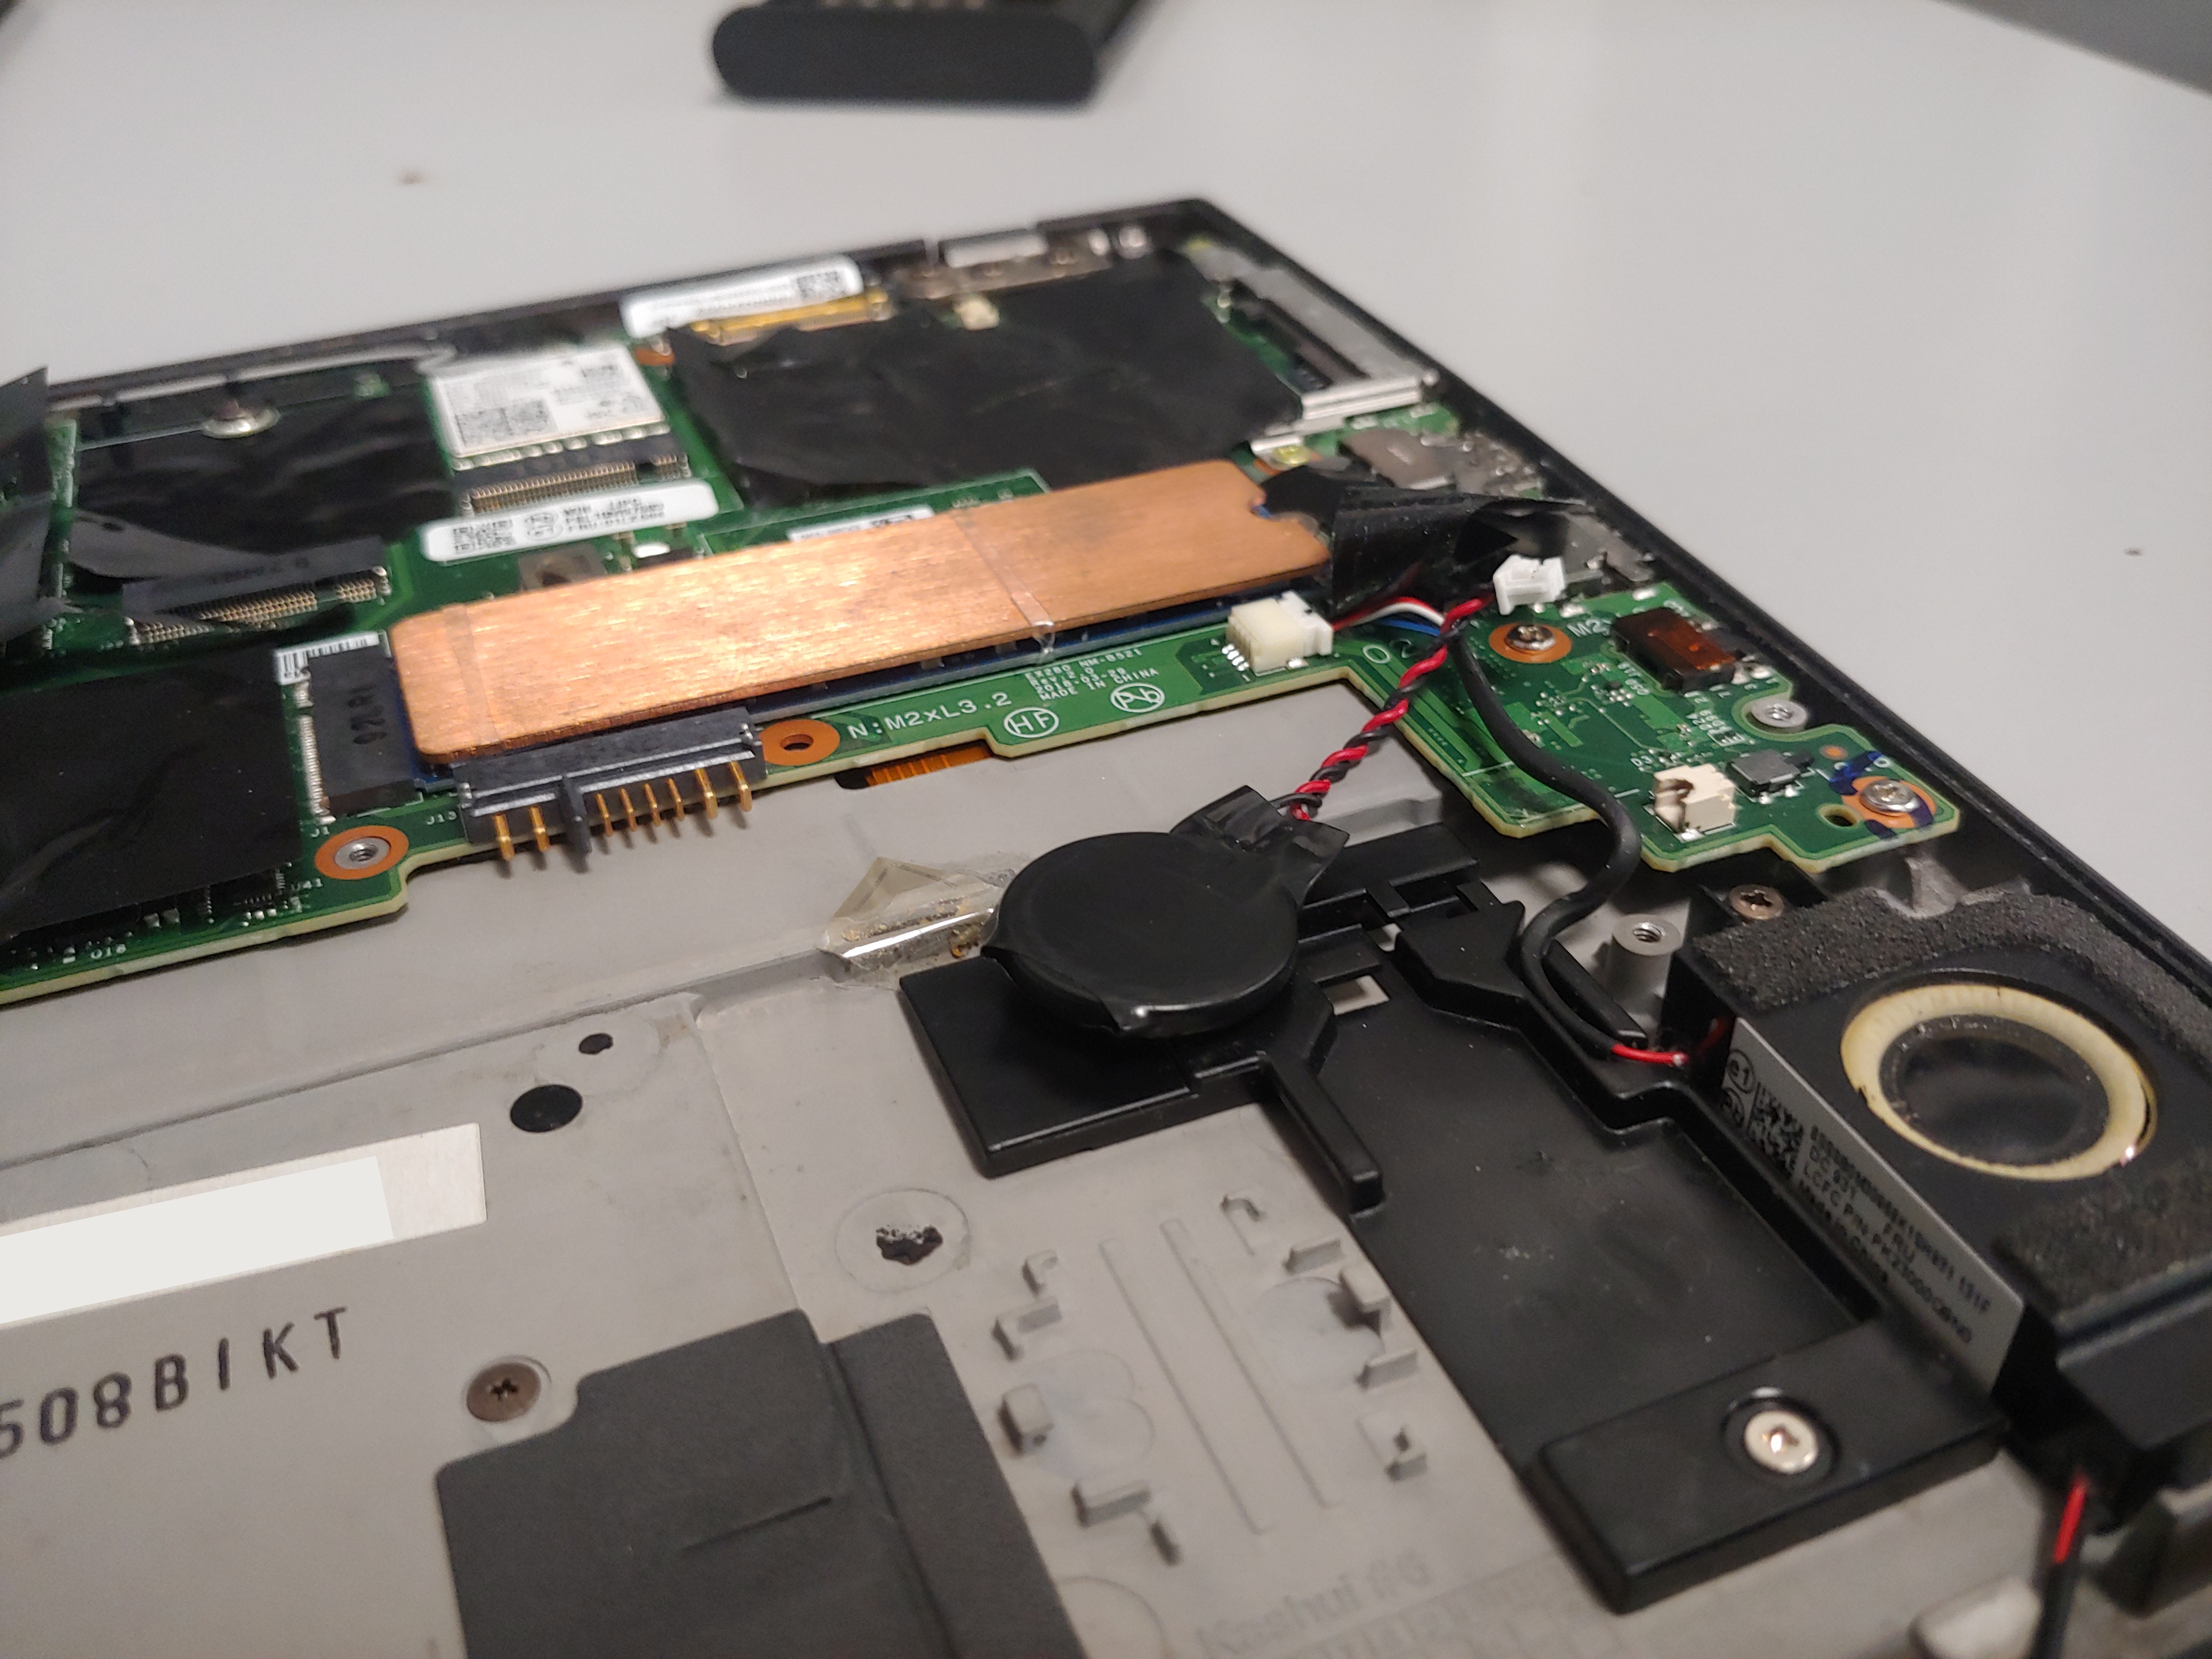
To remove the CMOS battery you need to take out the main battery first. Now just pull the connector and you’re good to go.