How To Install Libreboot on the Thinkpad X280

Table of Contents
Introduction. (Filler) 🗿 #
I’m writing this guide and starting this blog because it would have been super useful for me to have something like this when I first installed coreboot on my Thinkpad X280. While the official documentation has everything you need to successfully install coreboot on your own (which is what I did), the truth is that many parts can end up being quite confusing if you don’t have the necessary experience to carry out this kind of process (not to mention that several things aren’t explained and you basically have to “guess” them). And I won’t lie: on several occasions I ended up bricking my laptop from not really knowing what I was doing.
Anyway, the blog topic itself is a story for another post (if I ever get around to writing about it; if so, I’ll update things here so you can check it out).
The Thinkpad X280 was not a machine supported by the Libreboot project up until now, but thanks to Pull Request #412, submitted to the official Libreboot project by yours truly, it is now possible to easily install Libreboot on this computer. I hope someone finds this guide useful.
While everything should go smoothly if you follow this guide to the letter, it doesn’t cover every single scenario out there. It assumes the user has enough experience to troubleshoot existing variations (such as installing dependencies and extra tools).
Likewise, if you are not totally sure what is going on here or why you should do it, but you are still here because it sounds cool to you: first of all, let me congratulate you on that great curiosity of yours and your drive to learn. In any case, reading the contents of this post inside and out will help you learn new stuff. I also leave you with some interesting resources on the subject so you can dive deeper. (They helped me out a lot at one point).
A video.
Another video.
More videos.
Another video cuz why not.
That being said, I don’t think it’s really that hard with the right steps. The hardest part is actually getting over the fear of messing up the hardware, but as you’ll see, if anything goes wrong we can always restore the stock BIOS.
Prerequisites. ⬅️ #
Since I noticed many steps were repeated across Libreboot/Coreboot/Linuxboot Heads installations whether for this machine or the T480 (which I also plan to write guides for) I decided to break them down into reusable parts. Here is the order to follow:
Building the ROM. ⛏️ #
Libreboot is the easiest scenario, since you just clone the repo and run a single command to get your image.
To do that, we obviously have to clone the official lbmk repository (Libreboot’s automated build system):
Clone the repo. #
git clone [https://codeberg.org/libreboot/lbmk](https://codeberg.org/libreboot/lbmk)
cd lbmk
Build the Libreboot ROM. #
Alright, now inside the lbmk project directory itself, run the following command:
./mk -b coreboot x280_vfsp_16mb
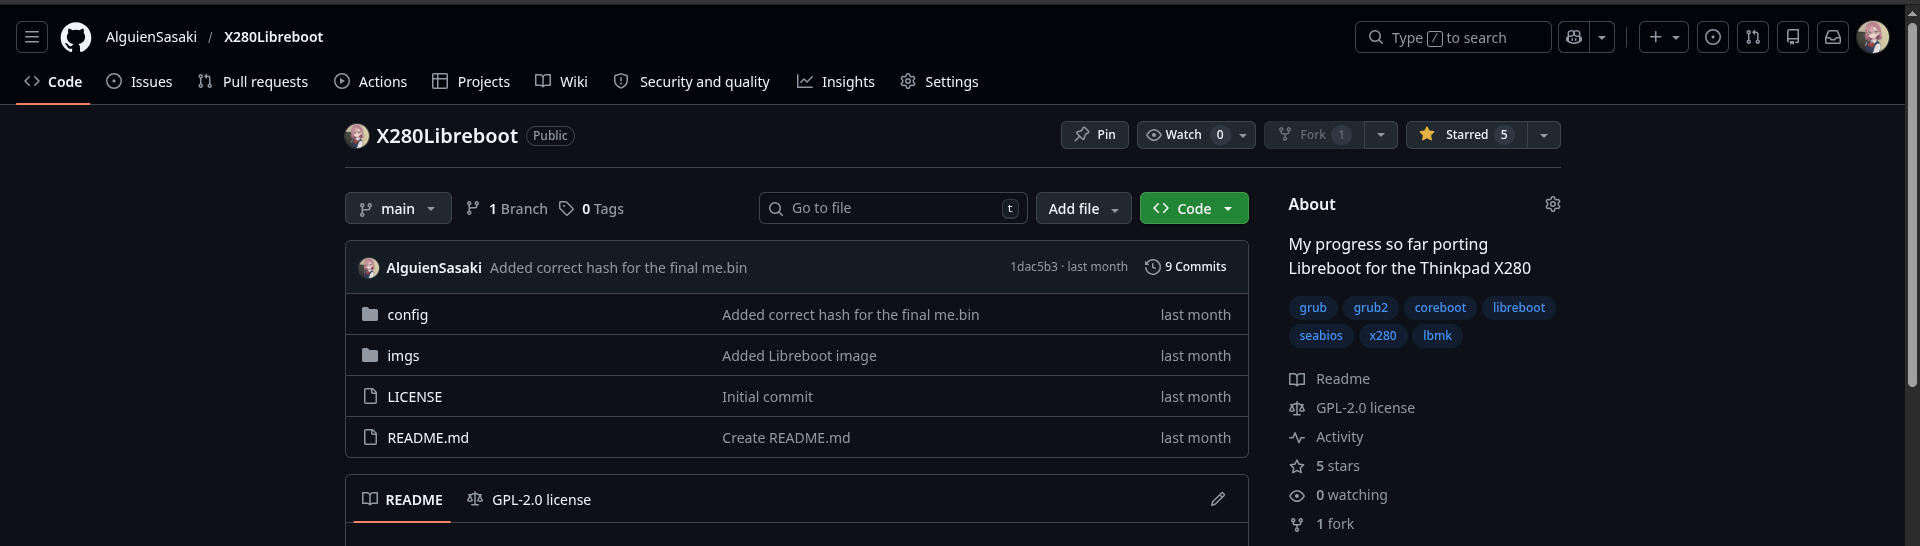
Fun fact: this section was entirely rewritten. It was originally based on the notes I left in my X280Libreboot GitHub repo.
But the developers already merged my pull request, so it’s no longer necessary (still keeping it here to aura farm, tho lmao).
Compilation time. ☕ #
Time on Ideapad S145-14AST. 💻 #
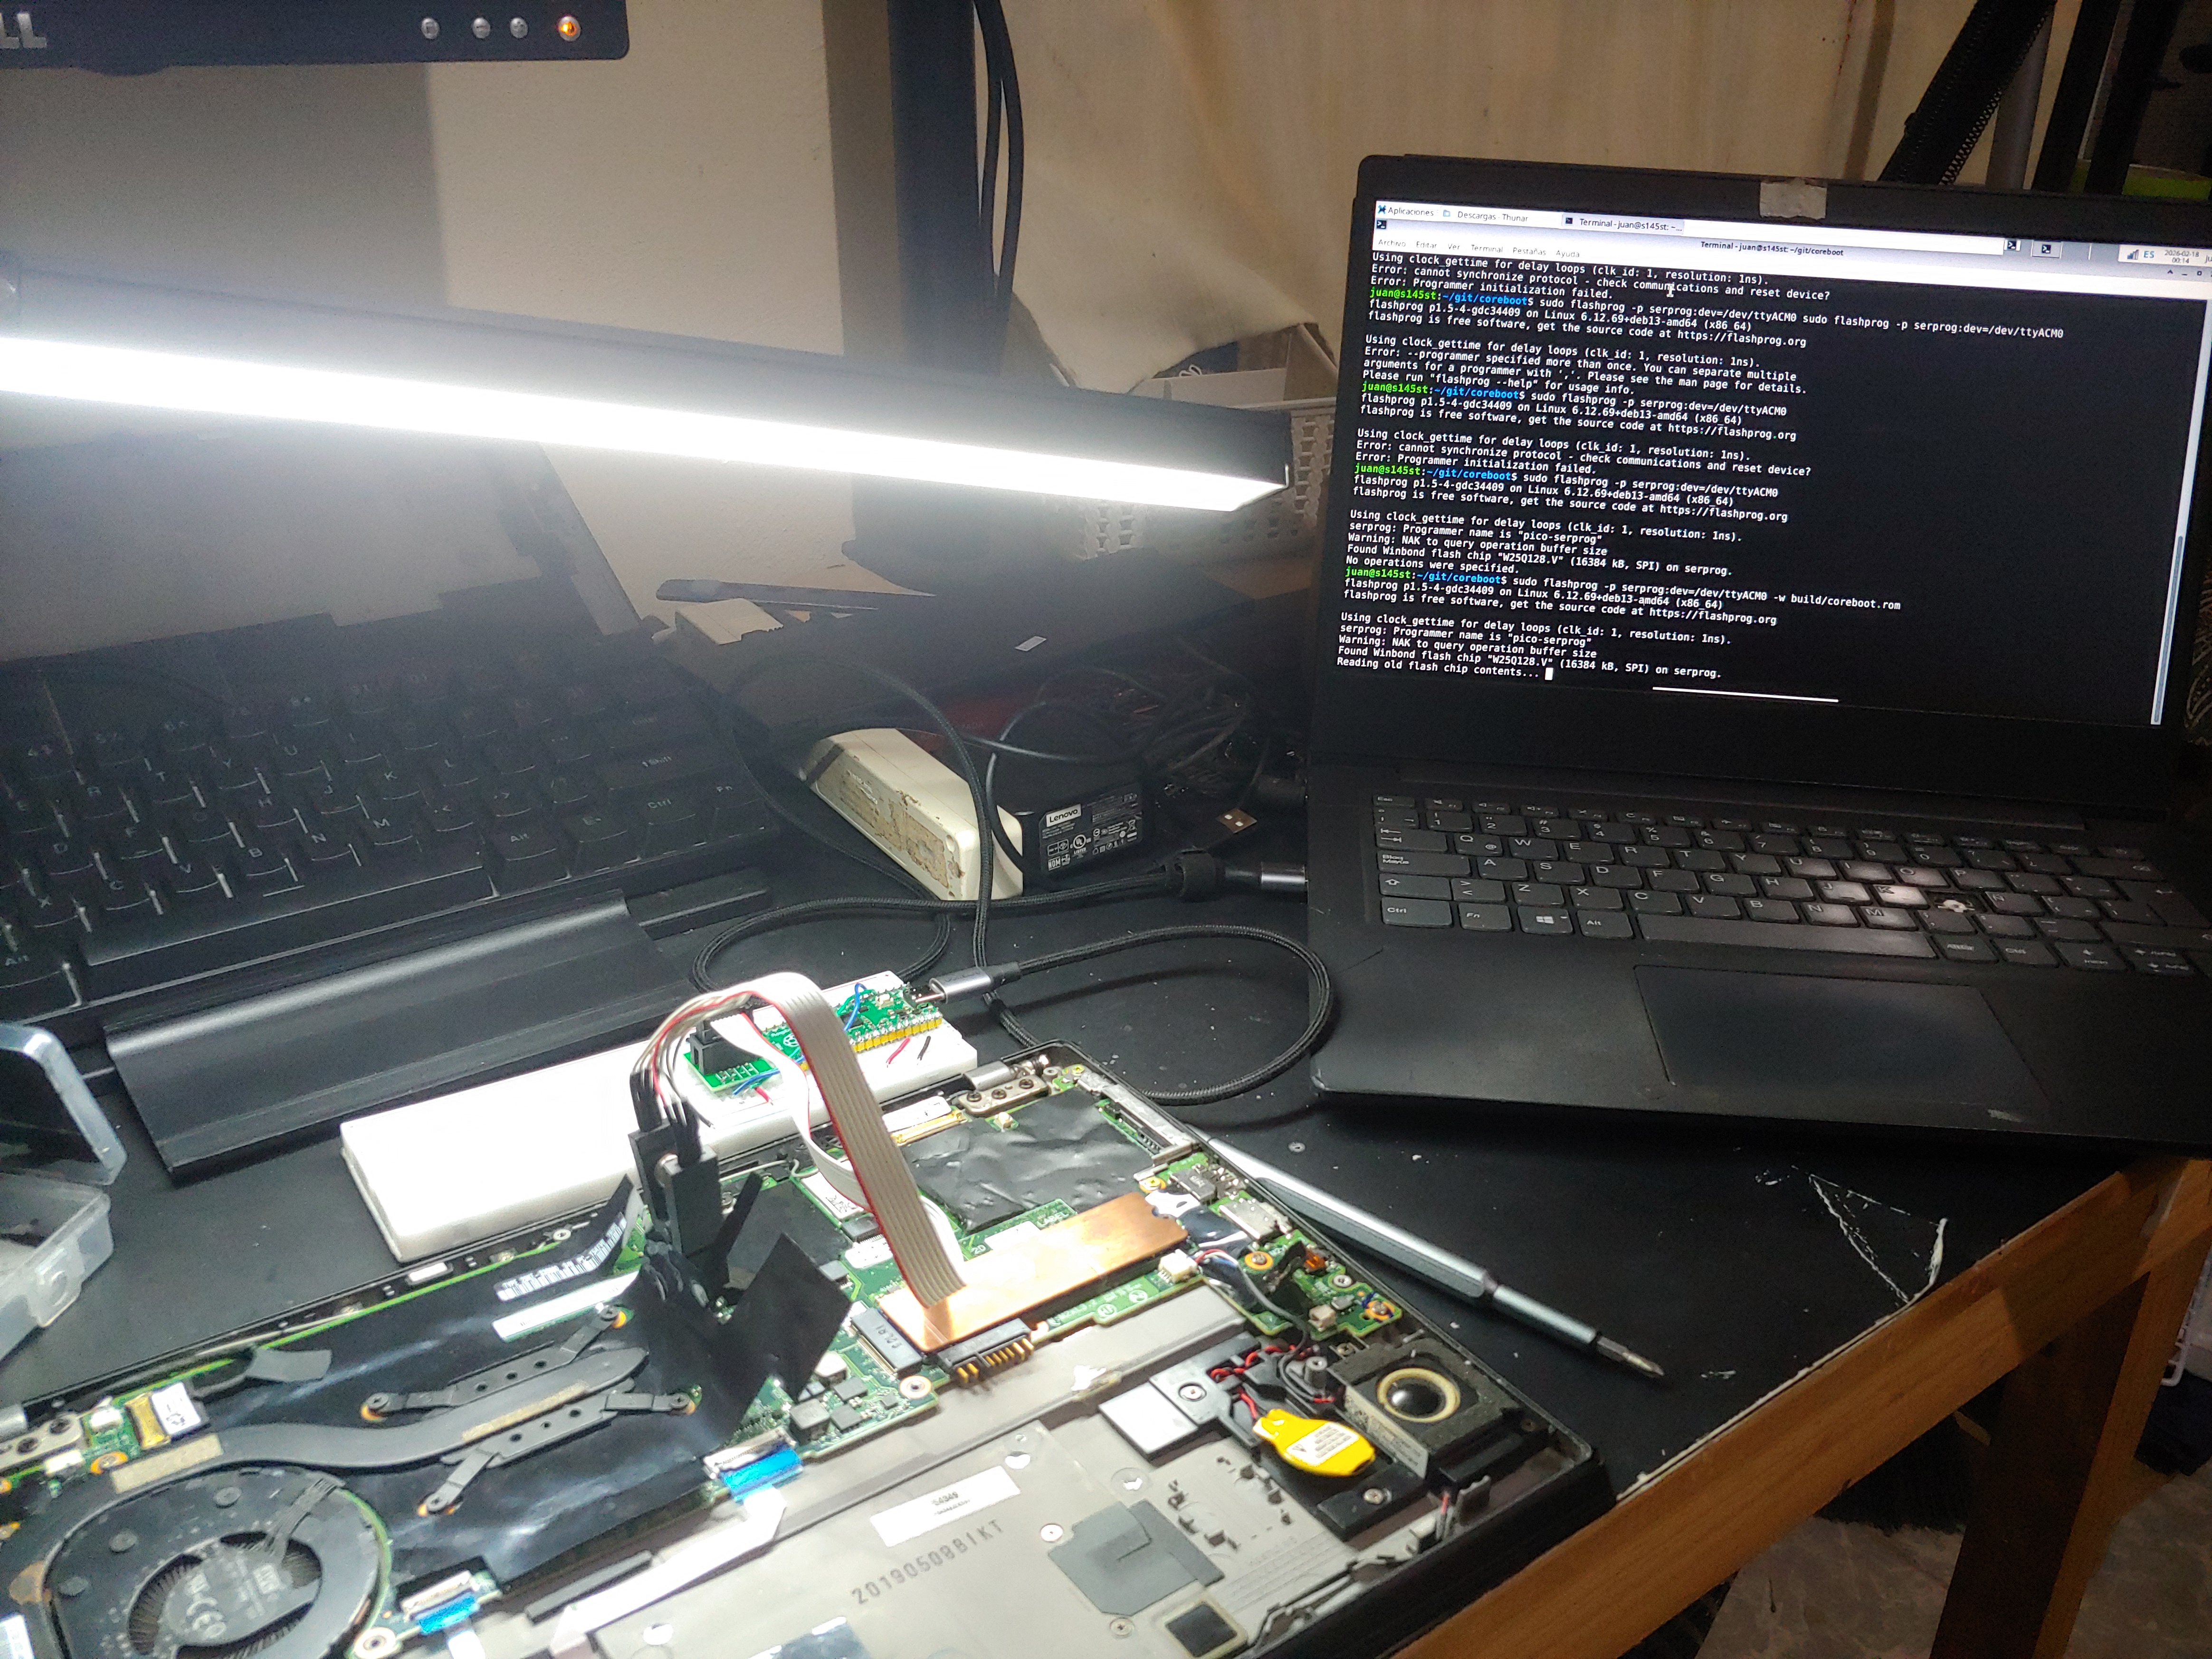
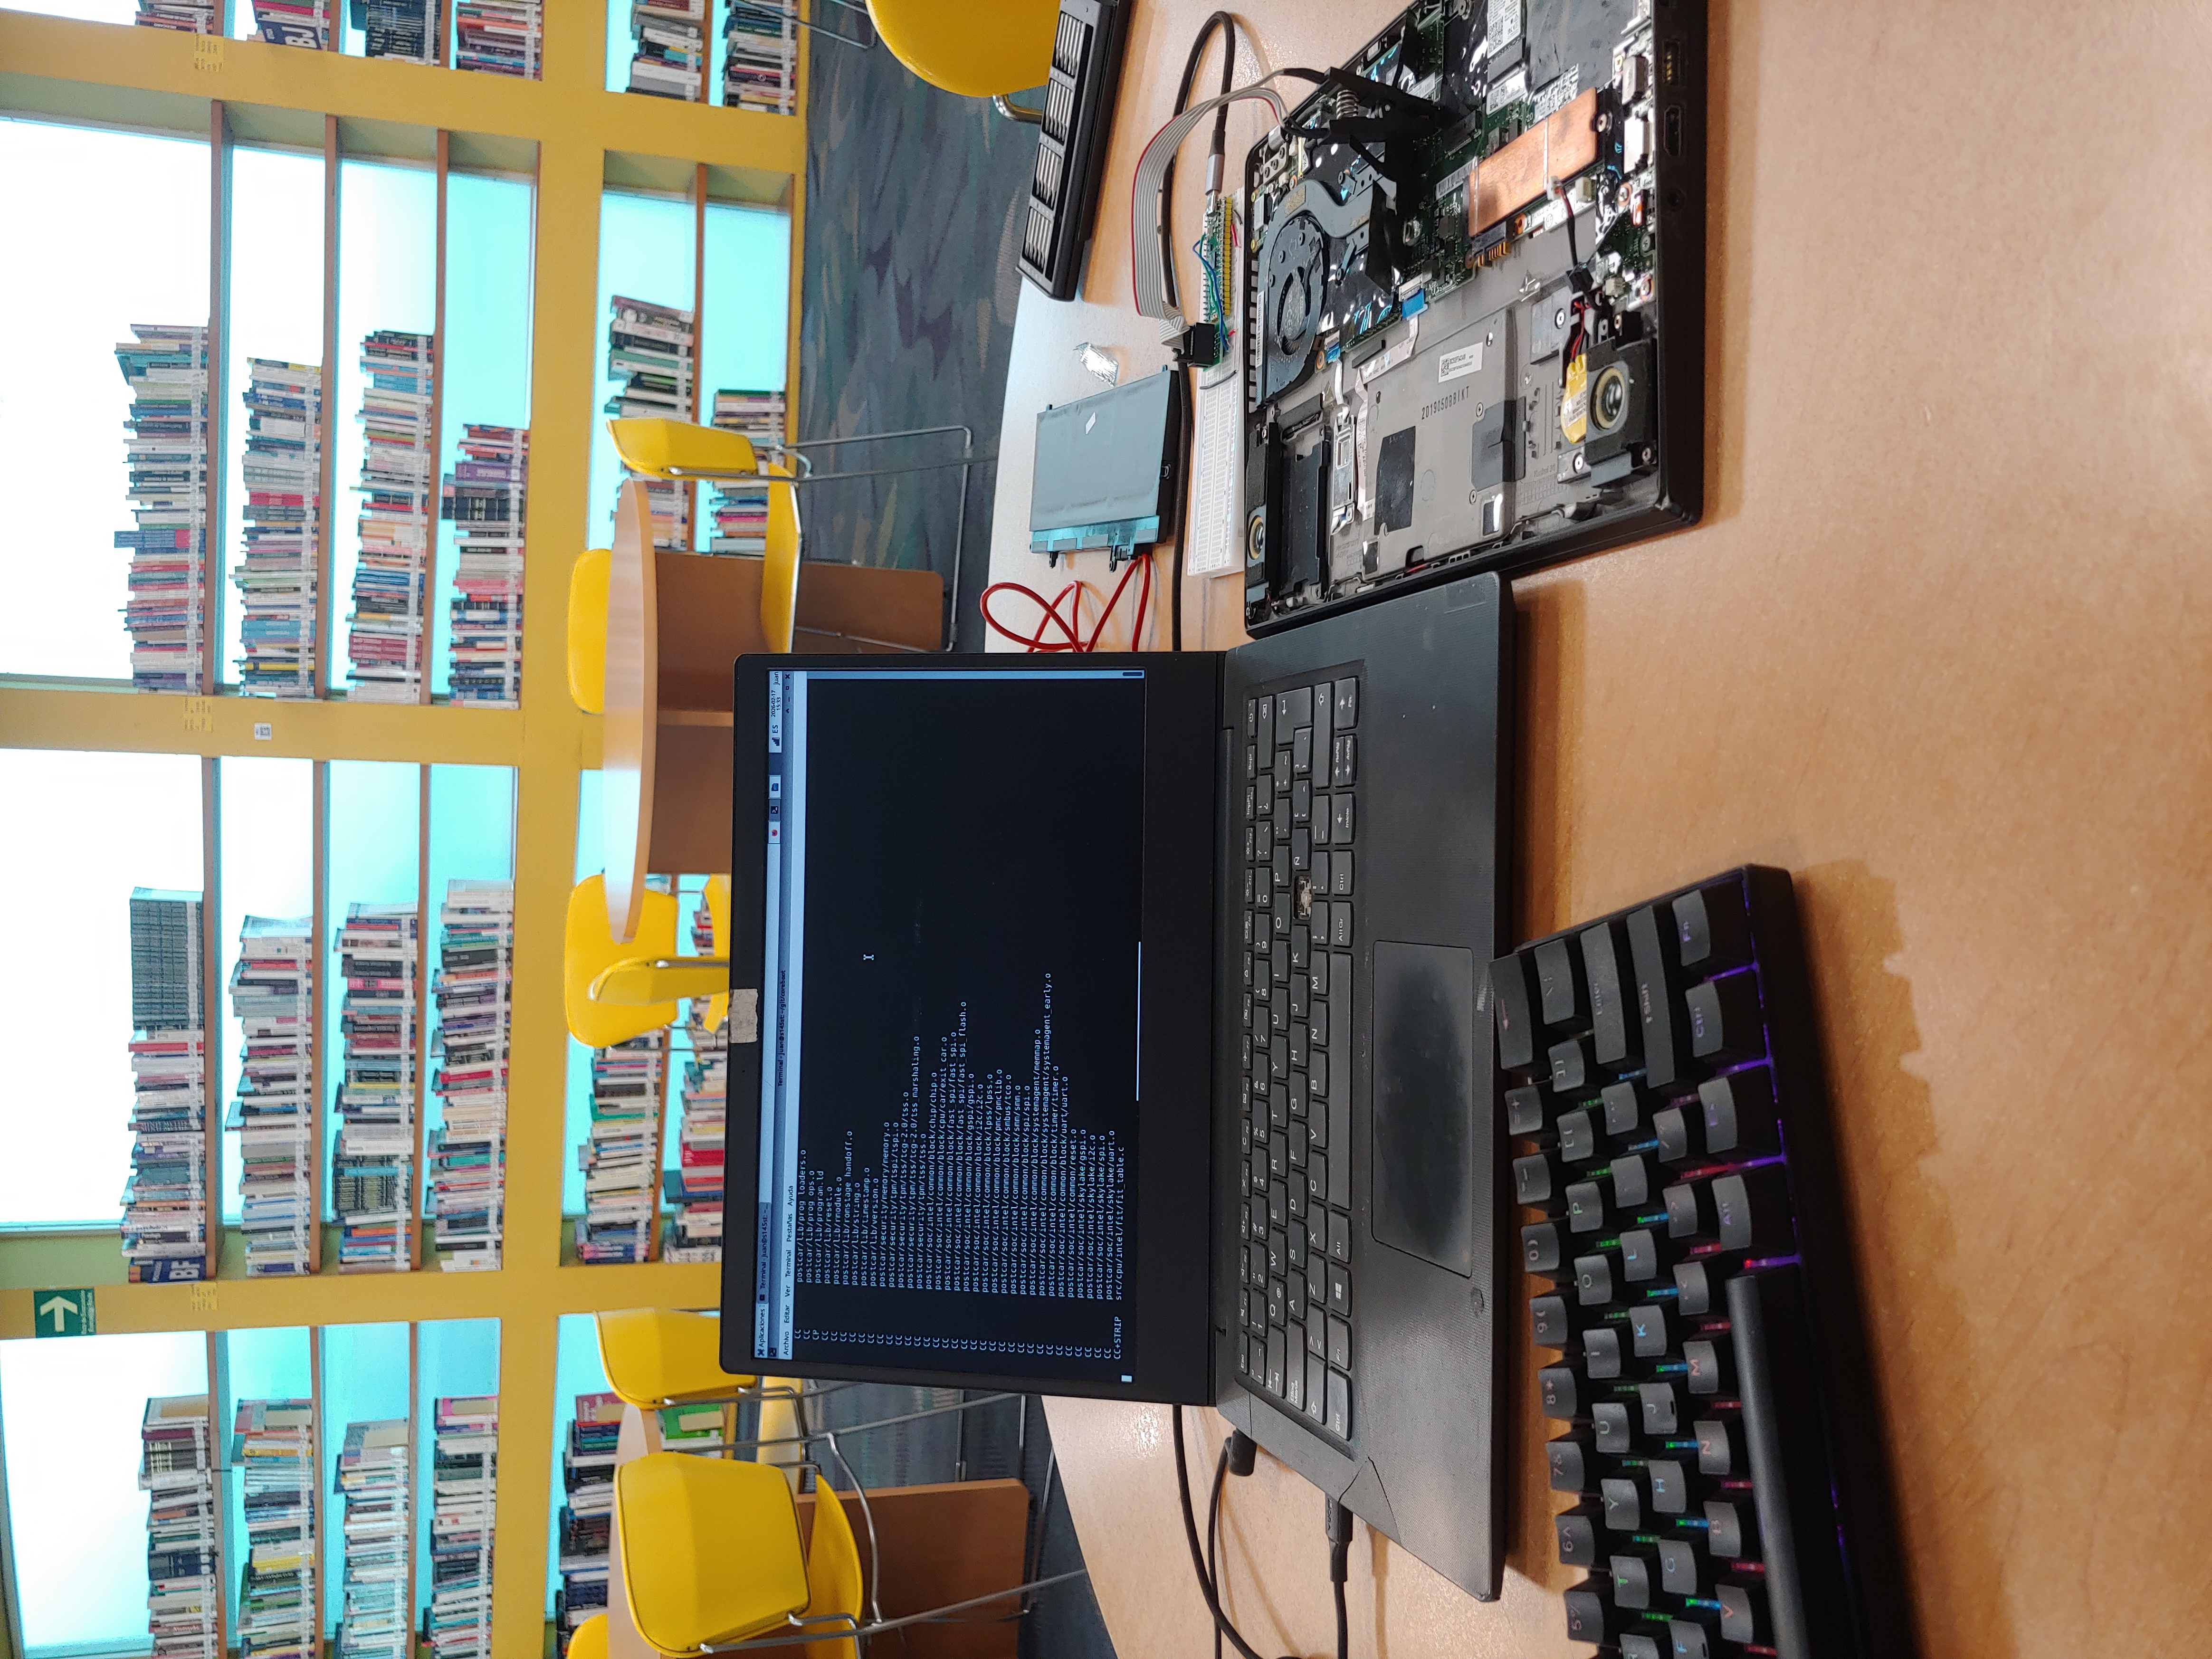
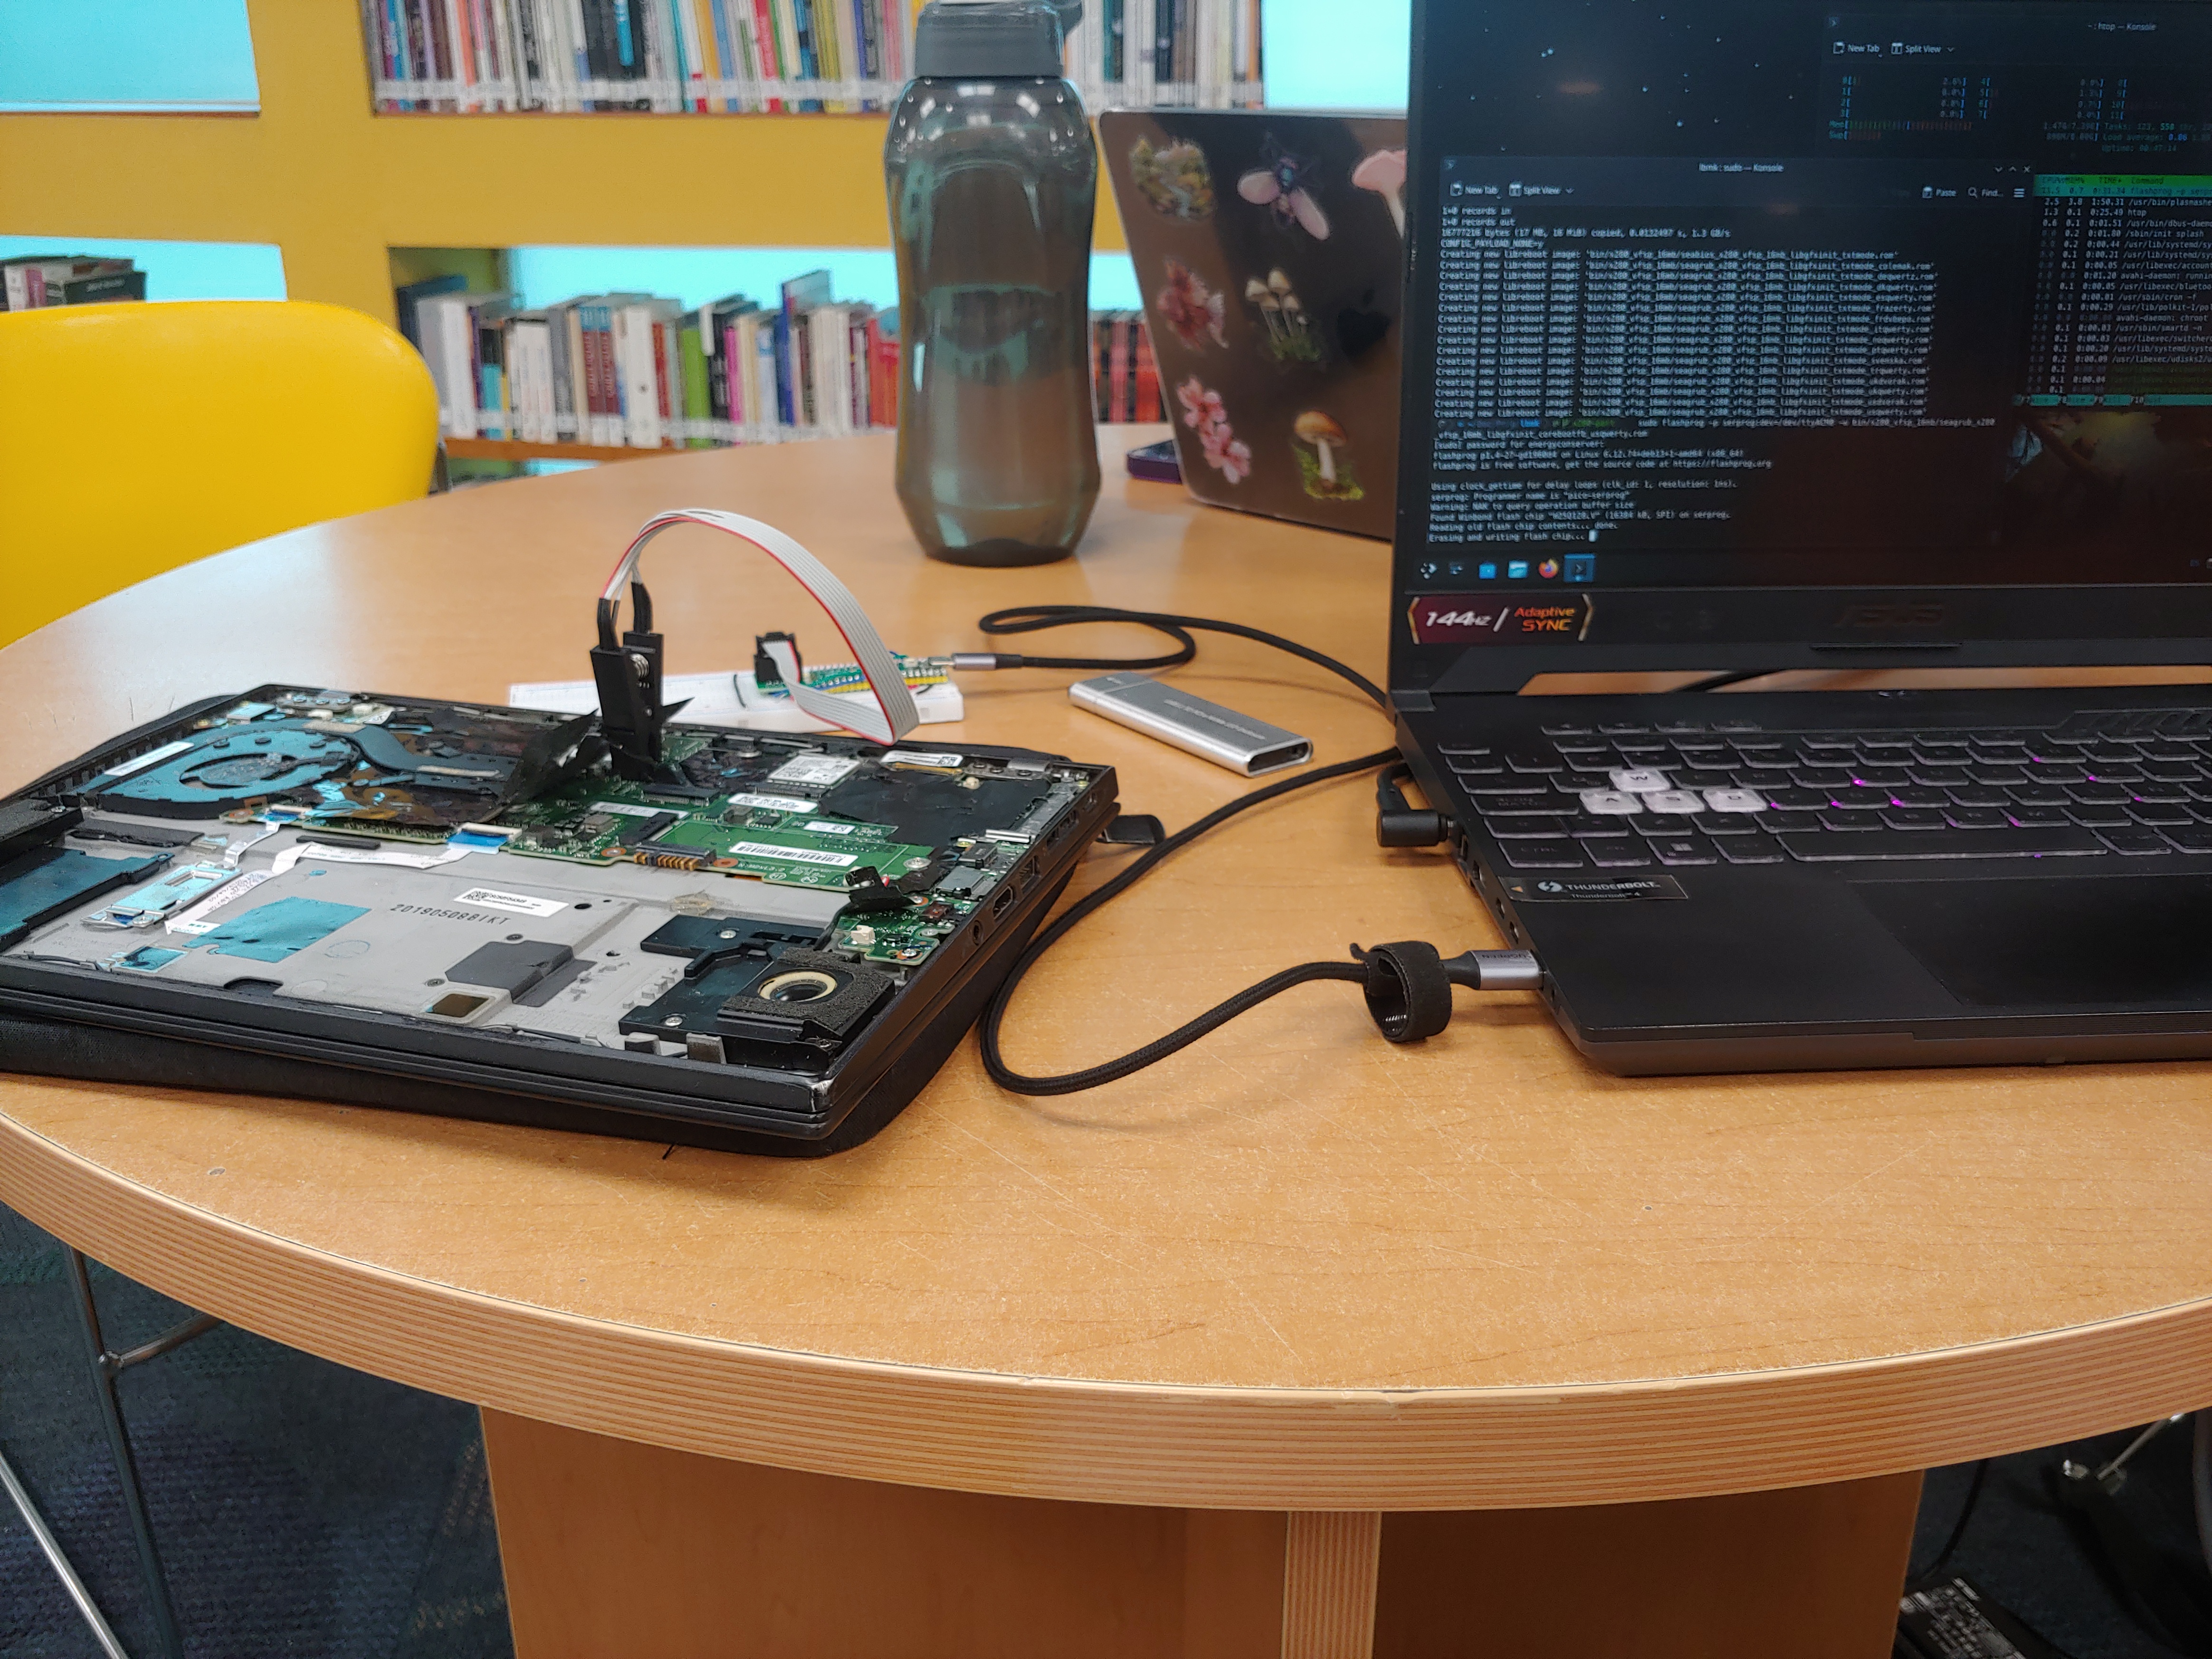
And this is the moment to go grab a coffee or something, because this command can take a really long time depending on the computer you’re compiling with. I ran this test several times across 3 different machines:
- On an Ideapad S145-14AST with an AMD A9-9425 (and 4GB of RAM at 2400MHz), which took a little over 2 hours. That is an estimated time, not exact since I didn’t take any metrics or used the time command.
Time on X280 itself. 💻 #
- The Thinkpad X280 itself (i7-8650U with 16GB of RAM) already running Libreboot. I mention this because before submitting my pull request, I forgot to enable “Hyper Threading”, which left me with only the 4 physical cores; the machine in this state took about an hour and a half. But once I changed the configuration, the time dropped to roughly one hour.
Time on a friedn’s gaming laptop. 🎮 #
- And finally, on a friend’s ASUS gaming laptop. I don’t know the exact model, (And I can’t just go and ask him, since the laptop is now broken lmao) but it had an 11th gen H-series i5, so most likely it was an i5-11400H. This computer took only 20 minutes to compile the image (most of which was just downloading stuff 💀💀💀).
Understanding which ROM to flash. 🤔 #
Once the process is done, we will see that a folder named “x280_vfsp_16mb” has been generated inside the bin/ directory:
bin
└── x280_vfsp_16mb
    ├── seabios_x280_vfsp_16mb_libgfxinit_corebootfb.rom
    ├── seabios_x280_vfsp_16mb_libgfxinit_txtmode.rom
    ├── seagrub_x280_vfsp_16mb_libgfxinit_corebootfb_colemak.rom
    ├── seagrub_x280_vfsp_16mb_libgfxinit_corebootfb_deqwertz.rom
    ├── seagrub_x280_vfsp_16mb_libgfxinit_corebootfb_dkqwerty.rom
    ├── seagrub_x280_vfsp_16mb_libgfxinit_corebootfb_esqwerty.rom
    ├── seagrub_x280_vfsp_16mb_libgfxinit_corebootfb_frazerty.rom
    ├── seagrub_x280_vfsp_16mb_libgfxinit_corebootfb_frdvbepo.rom
    ├── seagrub_x280_vfsp_16mb_libgfxinit_corebootfb_itqwerty.rom
    ├── seagrub_x280_vfsp_16mb_libgfxinit_corebootfb_noqwerty.rom
    ├── seagrub_x280_vfsp_16mb_libgfxinit_corebootfb_ptqwerty.rom
    ├── seagrub_x280_vfsp_16mb_libgfxinit_corebootfb_svenska.rom
    ├── seagrub_x280_vfsp_16mb_libgfxinit_corebootfb_trqwerty.rom
    ├── seagrub_x280_vfsp_16mb_libgfxinit_corebootfb_ukdvorak.rom
    ├── seagrub_x280_vfsp_16mb_libgfxinit_corebootfb_ukqwerty.rom
    ├── seagrub_x280_vfsp_16mb_libgfxinit_corebootfb_usdvorak.rom
    ├── seagrub_x280_vfsp_16mb_libgfxinit_corebootfb_usqwerty.rom
    ├── seagrub_x280_vfsp_16mb_libgfxinit_txtmode_colemak.rom
    ├── seagrub_x280_vfsp_16mb_libgfxinit_txtmode_deqwertz.rom
    ├── seagrub_x280_vfsp_16mb_libgfxinit_txtmode_dkqwerty.rom
    ├── seagrub_x280_vfsp_16mb_libgfxinit_txtmode_esqwerty.rom
    ├── seagrub_x280_vfsp_16mb_libgfxinit_txtmode_frazerty.rom
    ├── seagrub_x280_vfsp_16mb_libgfxinit_txtmode_frdvbepo.rom
    ├── seagrub_x280_vfsp_16mb_libgfxinit_txtmode_itqwerty.rom
    ├── seagrub_x280_vfsp_16mb_libgfxinit_txtmode_noqwerty.rom
    ├── seagrub_x280_vfsp_16mb_libgfxinit_txtmode_ptqwerty.rom
    ├── seagrub_x280_vfsp_16mb_libgfxinit_txtmode_svenska.rom
    ├── seagrub_x280_vfsp_16mb_libgfxinit_txtmode_trqwerty.rom
    ├── seagrub_x280_vfsp_16mb_libgfxinit_txtmode_ukdvorak.rom
    ├── seagrub_x280_vfsp_16mb_libgfxinit_txtmode_ukqwerty.rom
    ├── seagrub_x280_vfsp_16mb_libgfxinit_txtmode_usdvorak.rom
    └── seagrub_x280_vfsp_16mb_libgfxinit_txtmode_usqwerty.rom
2 directories, 32 files
Before getting ahead of ourselves flashing Libreboot onto our Thinkpad X280, it’s essential to understand what each of these files does:
First, we have the seabios/seagrub prefixes. This comes down to whether we want SeaBIOS + GRUB as payloads or SeaBIOS only. Ideally you want both, since GRUB enables advanced features like FDE (Full Disk Encryption) and SeaBIOS is a legacy BIOS implementation. Apparently, for this lineup of machines (X280, T480s, T480, T580), the ROM isn’t automatically built with U-Boot support (an open-source UEFI implementation), but it can be added if needed.
Next is x280_vfsp_16mb, which indicates the board model and BIOS chip size. Since there are no hardware variations for this model, there is nothing to pick here, unlike models like the T440p where you do need to keep this in mind.
libgfxinit is the graphics initialization method, or something along those lines; I’m not entirely certain, but the point is you don’t need to overthink it since it’s the only option available XD.
Where you do have to choose is corebootfb/txtmode. The first one boots into with graphics support, while the second shows nothing and jumps straight to boot. In most cases, you will want corebootfb to be able to see something.
Finally comes the keyboard layout. As you can see, Colemak, QWERTY, and Dvorak are available; apparently you don’t need to choose anything if using Colemak, but for the other two you will see a prefix before the layout name. If you have a Spanish keyboard, you should choose
esqwerty(which comes fromes+qwerty). Personally, I have an English keyboard with a QWERTY layout, so I’d pick the one ending in usqwerty.
Quite the rundown, but I think it’s completely necessary so you know what you are flashing and don’t end up stuck with a black screen (like I did once).
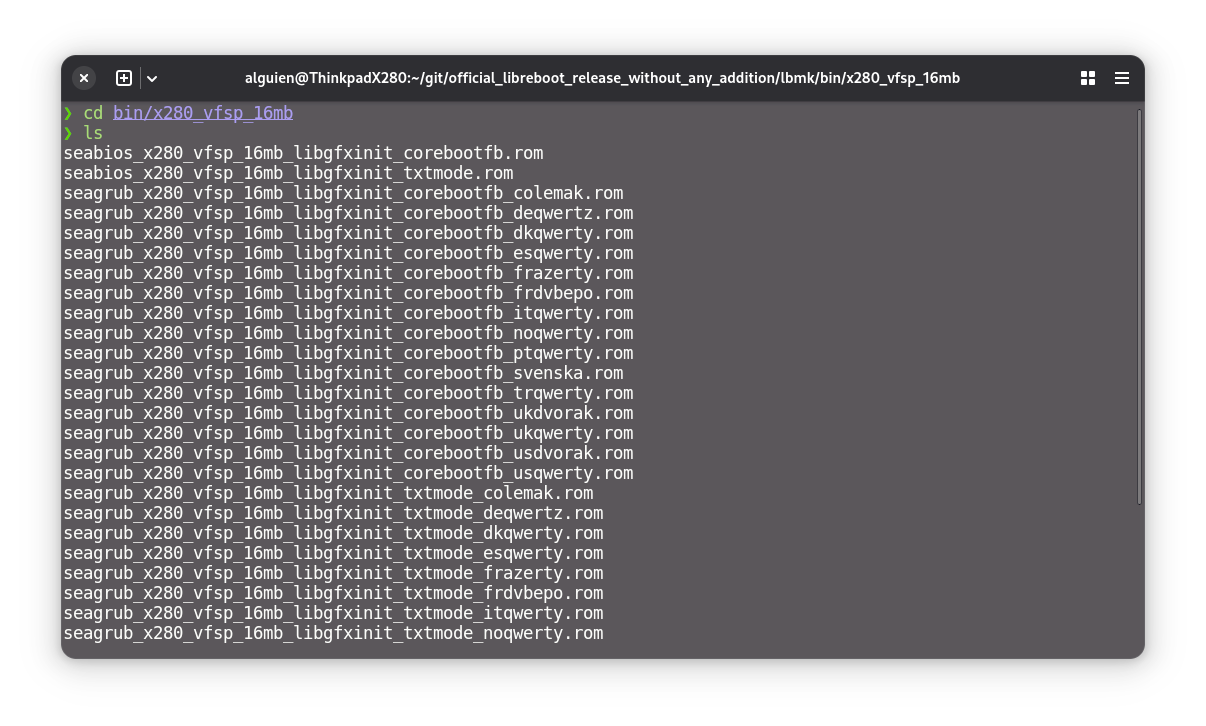
Assuming you are still in the root directory of the lbmk project, let’s move into the folder containing the final Libreboot images:
cd bin/x280_vfsp_16mb
ls
And sure enough, the .rom files mentioned above should be the same:
Flashing the Libreboot ROM. 🥵🔥🔥🔥 #
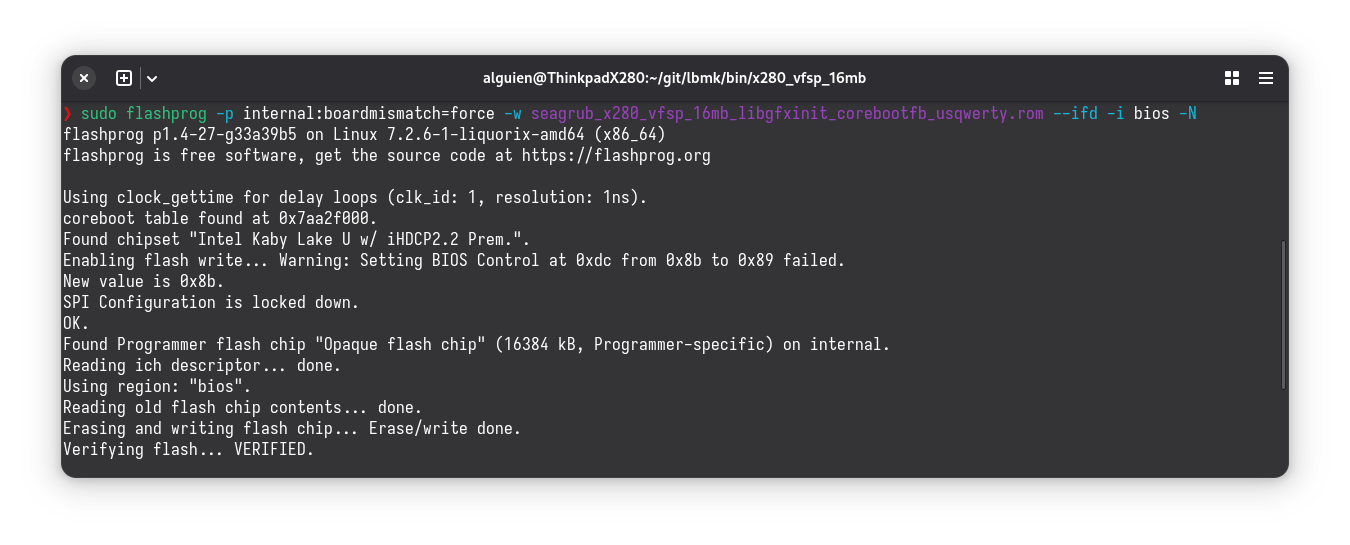
Now, we can finally flash Libreboot onto our Thinkpad X280 with the following command:
#sudo flashprog -p serprog:dev=/dev/ttyACM0 -w seagrub_x280_vfsp_16mb_libgfxinit_corebootfb_esqwerty.rom #In the case you happen to have a spanish keyboard.
sudo flashprog -p serprog:dev=/dev/ttyACM0 -w seagrub_x280_vfsp_16mb_libgfxinit_corebootfb_usqwerty.rom
Naturally, you should pick the ROM that fits your needs. This step takes around 10 to 20 minutes, though it might take more or less depending on cable length and all that stuff explained earlier. And as a heads up:
If everything went well, we should see a screen like this:
All that’s left is to carefully remove the clip from the X280’s BIOS chip and reassemble the laptop, which is just doing the disassembly steps but backwards.
Now, if we try to power on the Thinkpad, the indicator lights will blink and it will shut off. This is completely normal because the BIOS is doing POST (training/detecting all the hardware) so be patient and try turning it on for like 3 or 4 times.
Once it decides to power up, we’ll see this:
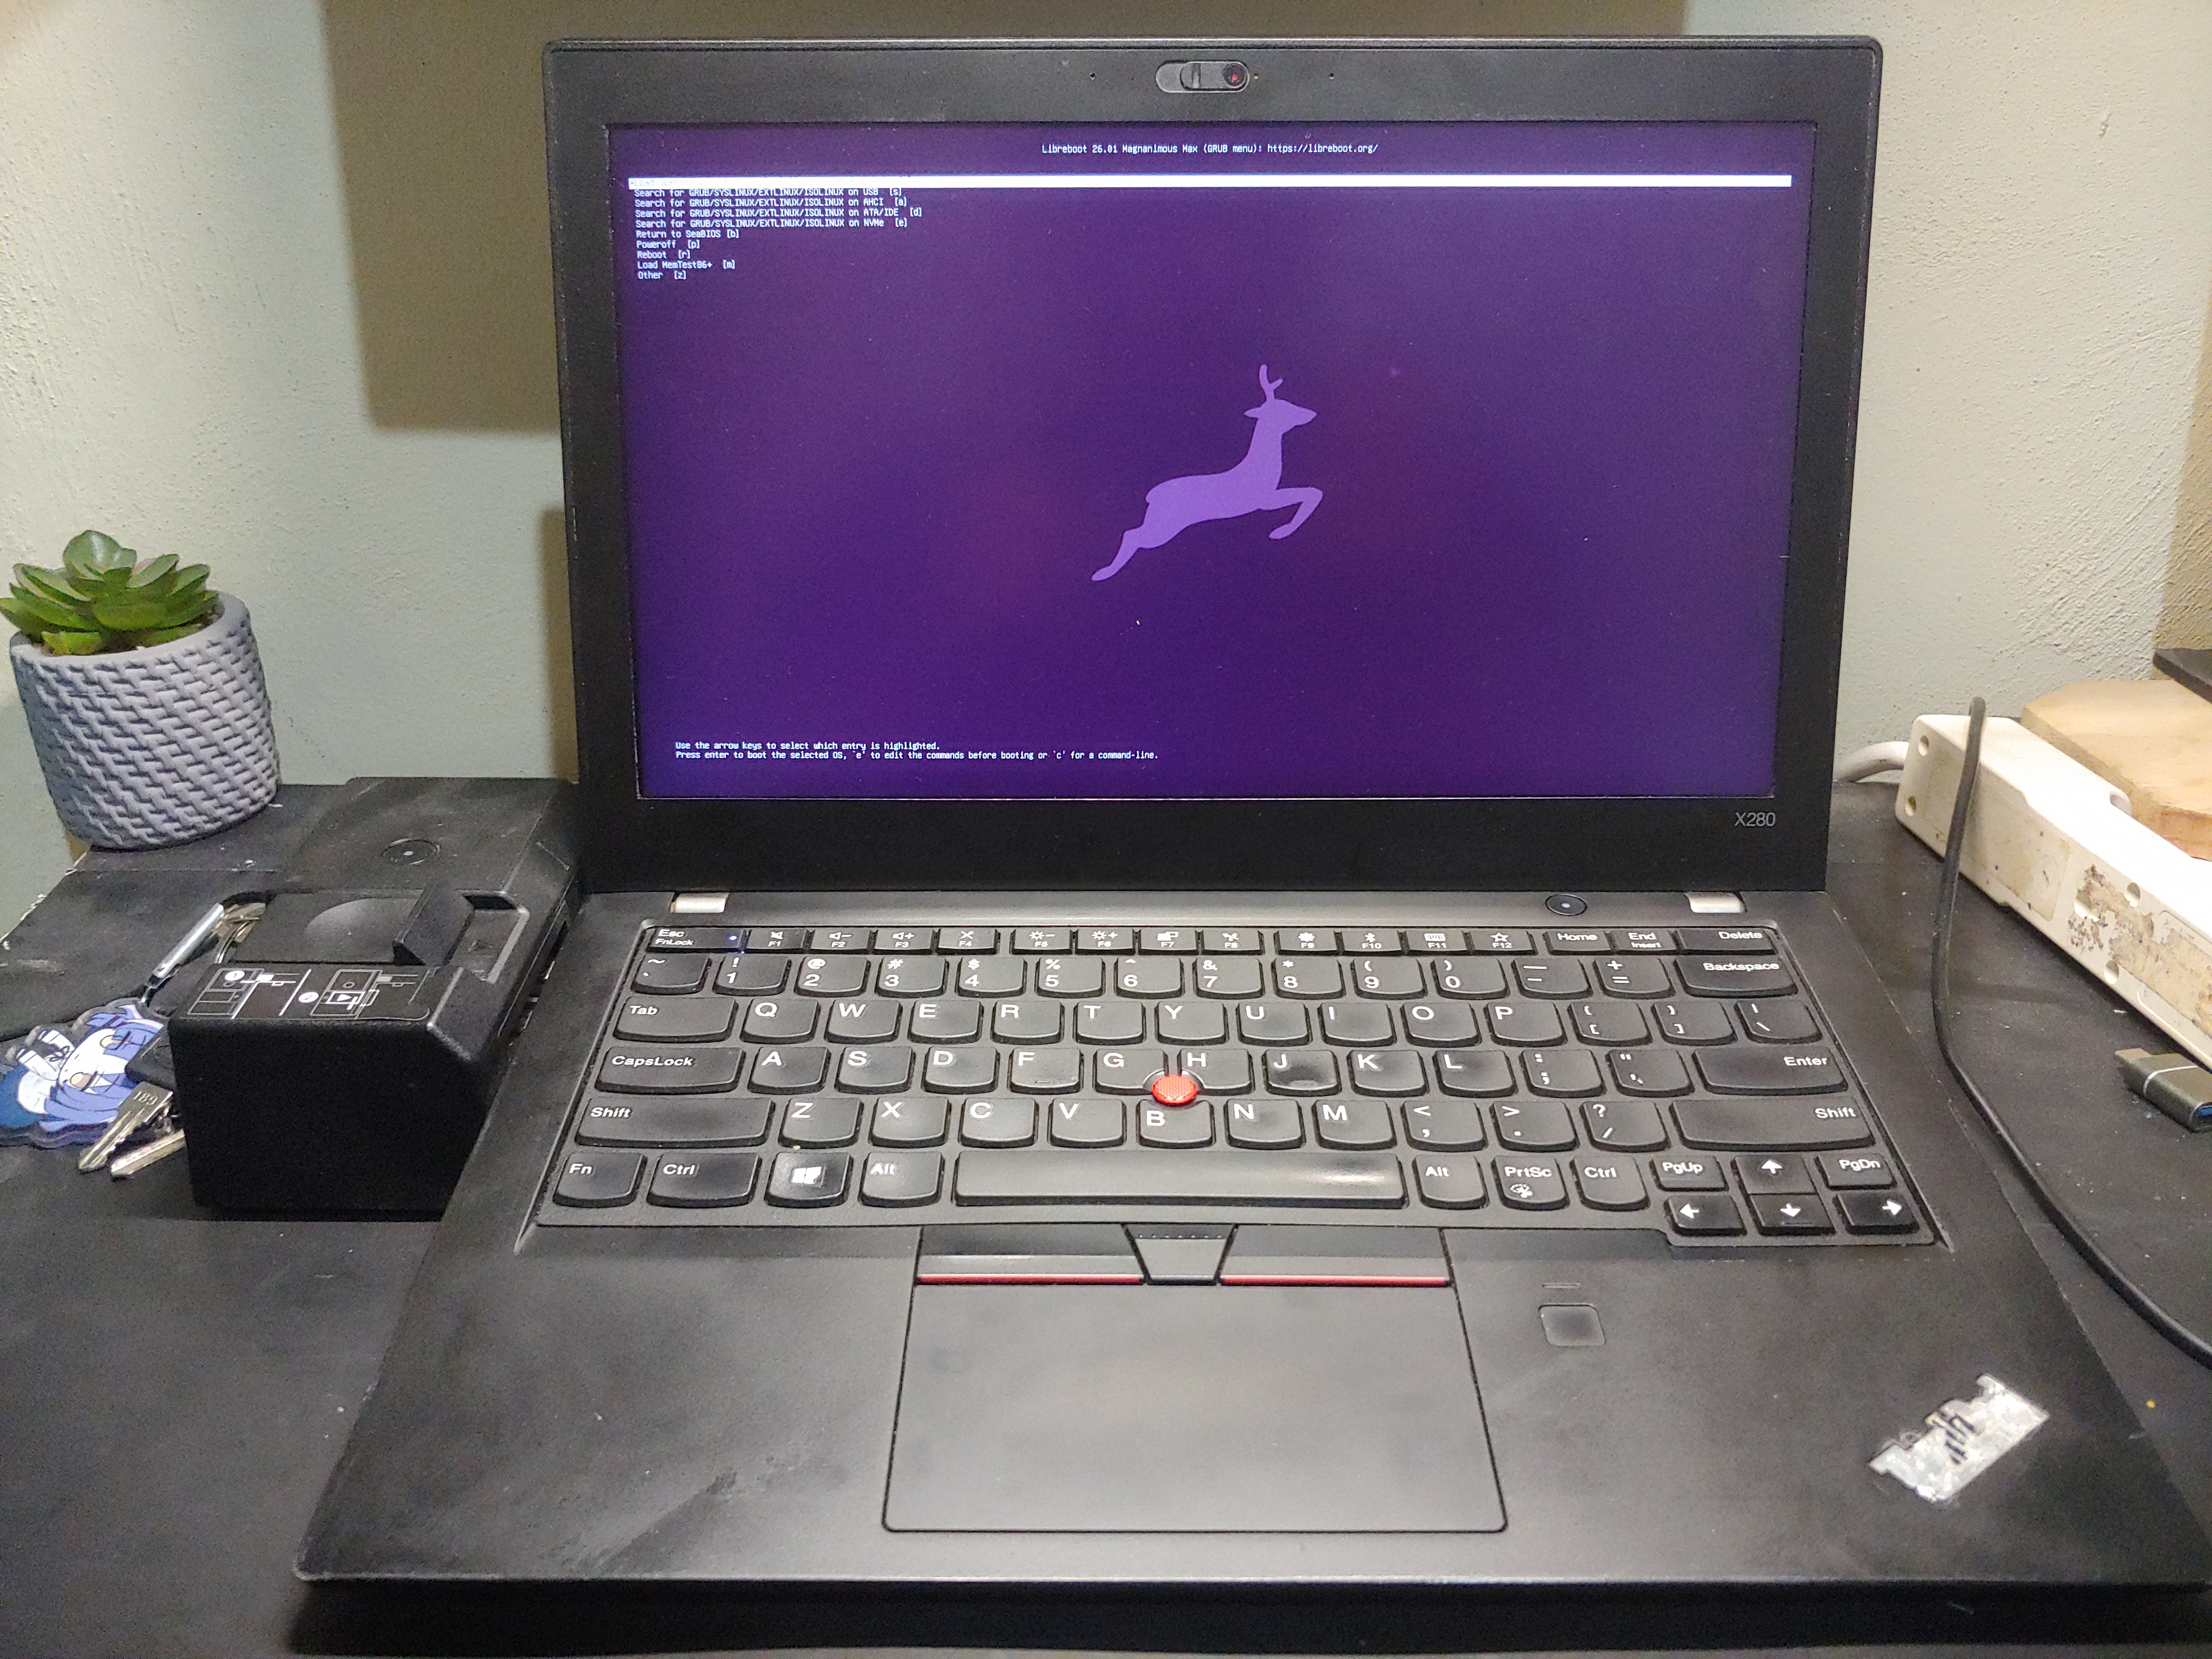
It’s done. Let’s goooo!!!!!
Conclusions. (Even more filler) 🗿 #
If you made it this far, congratulations. Modifying a computer like this is something very few people dare to do (whether out of fear of causing bricking/irreparable damage or simply not seeing many immediate benefits).
The truth is that in our modern world, we have been conditioned to treat these machines as magic black boxes, accepting that underneath them run abstract layers without knowing what they do or who they answer to. While I don’t want to sound like a paranoid, since the code isn’t auditable, we can’t just assume we aren’t being monitored 24/7. (Maybe we are, maybe not, who knows lol).
By replacing proprietary firmware with something like Libreboot (or any coreboot distro, really), we break away from that dynamic even if just a little, there’s no denying it. It represents something simple that should be obvious, yet seems so out of reach: true ownership over something you bought yourself. You gain control over your hardware; it answers to you and you alone.
Of course, it’s not 100% perfect. We still need Intel’s proprietary microcode to have a working system (it can be removed, but the system becomes really unstable), as well as other proprietary binary blobs just to turn on the board in the first place, like the IFD, GbE, and the ME (Intel Management Engine, even if double-neutralized with deguard + me_cleaner). But don’t let that discourage you or make you feel this is pointless; don’t let perfection be the enemy of good. You don’t need to memorize every single line of assembly, C, or processor architecture to appreciate the beauty of this.
Nobody (or at least that’s what I think) understands their hardware and software 100%. The beauty of free and open-source software isn’t that you personally have to audit every single bit on your own, but rather that anyone who feels like it has the right and the ability to do so.
In the end, the computer no matter how old, but it boots up, runs on code auditable by a massive community, and stops depending almost entirely on the vendor’s leash to work. That alone makes all the effort worth it.
Remember:
Free software is always worth it; freedom has no price tag.